


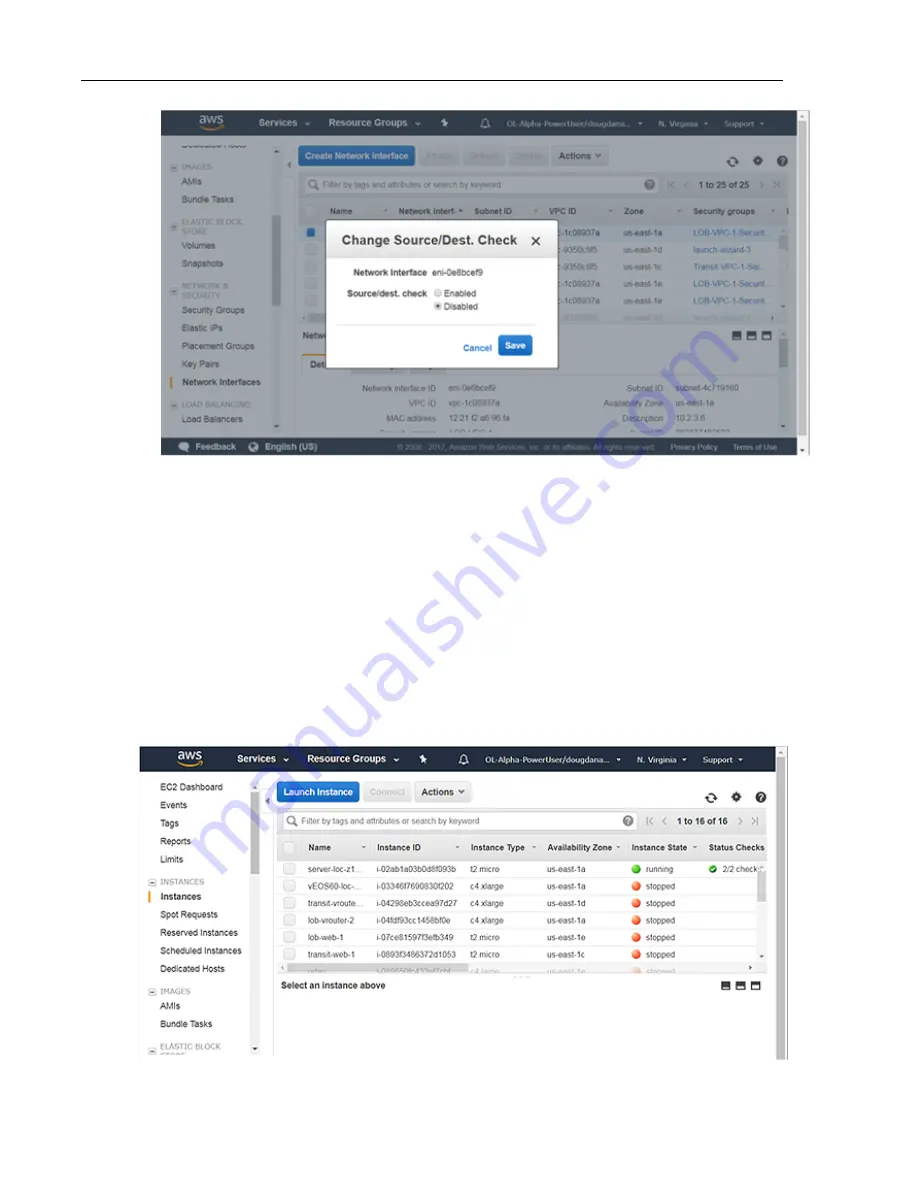
b) Select the Disabled option, then click on the Save button.
Attach the new network interface to a vEOS Router instance (see
Attaching the New Network Interfaces to
Instances
on page 55).
Attaching the New Network Interfaces to Instances
Attaching the new network interfaces to vEOS Router instances is the second networking configuration task.
This task involves selecting the new network interfaces created in the previous procedure and then attaching the
interfaces to vEOS Router instances.
Complete these steps to attach the new network interfaces to vEOS Router instances.
1. Go to the EC2 Dashboard.
2. Open the INSTANCES menu on the left side of the page, then click Instances.
The page lists all of the current network interfaces.
55
Using vEOS Router on the AWS Platform
Summary of Contents for vEOS
Page 6: ......
Page 12: ......
Page 60: ......
Page 72: ......
Page 77: ...7 Select the default network 8 Complete the launch process 77 Server Requirements ...
Page 94: ...Figure 17 Linux SRIOV PCI Passthrough based Deployment vEOS Router Configuration Guide 94 ...
Page 124: ......
Page 128: ......