


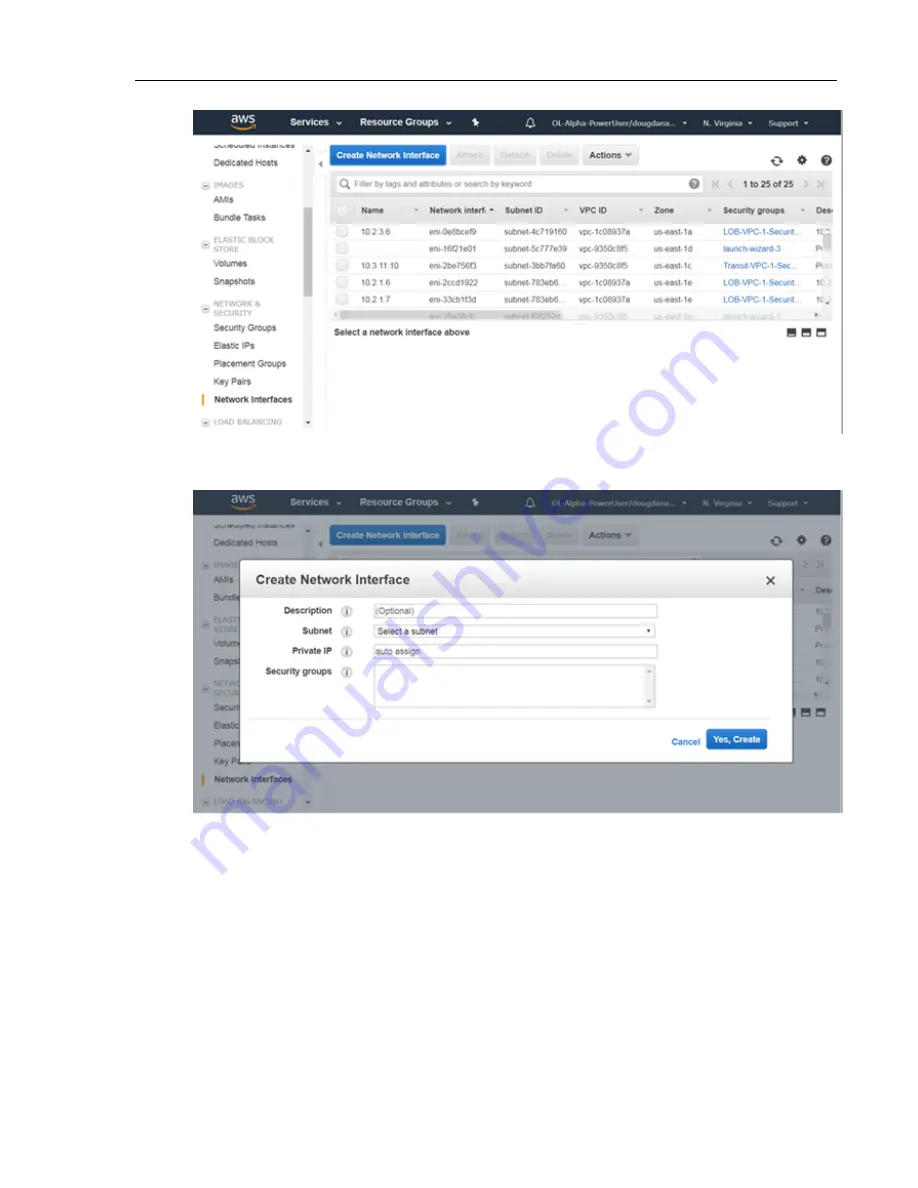
3. Select the Create Network Interface button.
The Create Network Interface dialog appears.
4. Do the following:
a) Enter a description for the network interface.
b) Select the subnet for the network interface. (This can be the existing subnet for the vEOS Router instance
or a different subnet.)
c) Type the names of the security groups for the network interface. (Specify the existing security groups
for the vEOS Router instance, or different security groups.)
5. Select the Yes, Create button.
The new network interface is added to the list of interfaces on the page.
6. Repeat steps 3 through 5 to create additional interfaces as needed.
7. For each network interface created, complete steps a and b:
a) Select the interface, then choose Actions > Change Source/Dest Check.
The Change Source/Dest Check dialog appears showing the selected name of the network interface.
vEOS Router Configuration Guide
54
Summary of Contents for vEOS
Page 6: ......
Page 12: ......
Page 60: ......
Page 72: ......
Page 77: ...7 Select the default network 8 Complete the launch process 77 Server Requirements ...
Page 94: ...Figure 17 Linux SRIOV PCI Passthrough based Deployment vEOS Router Configuration Guide 94 ...
Page 124: ......
Page 128: ......