77
●
Image:
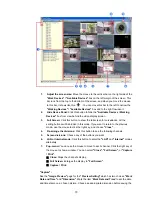
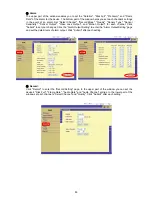
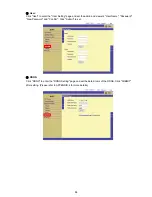
Click "Image" to enter the "Image " page to set each channel's "Channel Title", "Quality", "Noise Filter",
"Brightness", "Contrast", "Color" and "Hue". Click "Submit" after each setting.
●
Alarm:
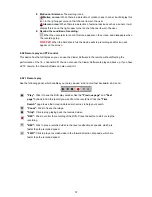
The upper part of the window enables you to set the "Duration", "Disk Full", "PreAlarm", and "Frame Rate" of
the alarm for the device. The bottom part of the window helps you set each channel's settings in the event of
an alarm. Set the "Select Channel", "Record Mode", "Quality", "Sensor Type", "Sensor Sensitivity", "Sensor
Output", "Video Loss Output", and "Motion Output" for each channel. Click "Submit" to set your changes.
●
Record:
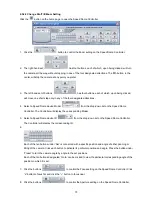
Click "Record" to enter the "Record Setting" page. In the upper part of the window you can set the device's
"Disk Full", "Frame Rate", "Audio Rate" and "Audio Channel" entries. In the lower part of the window set each
channel's "Select Channel" and "Quality". Click "Submit" after each setting.
●
User:
Click "User" to enter the "User Setting" page and set the device's "User Name", "Password", "New Password"
and "Confirm". Click "Submit" to set.
●
DDNS:
Click "DDNS" to enter the "DDNS Setting" page and set the detail items of the DDNS. Click "SUBMIT" after
setting. (Please refer to APPENDIX-4 for more details.)
NOTE: This device also provides remote control and viewing capabilities via the IE Browser. Please
refer to section 7, Microsoft Internet Explorer, for more details.
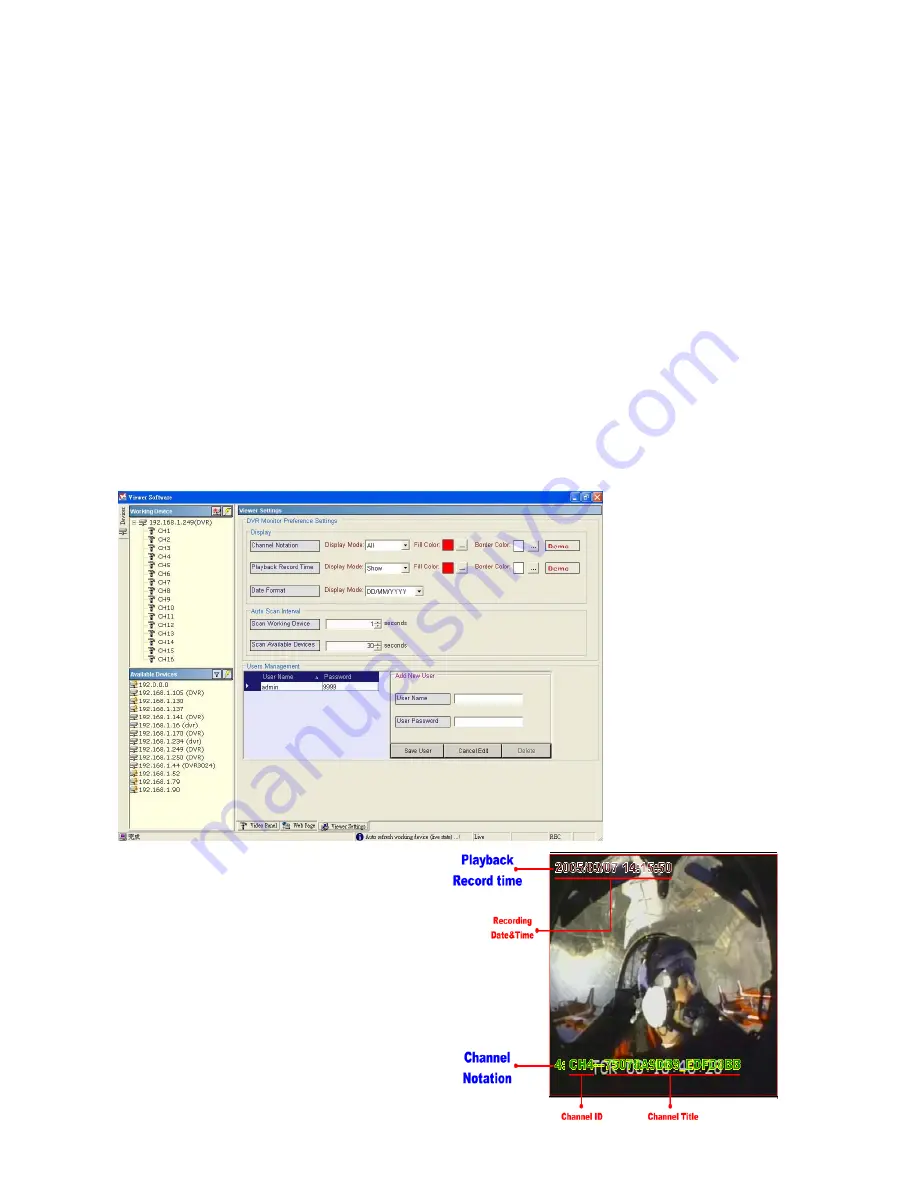
6.5.5 Viewer setting
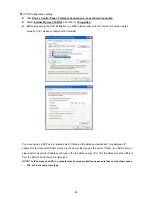
1.
"Channel Notation".
If you wish to change the
"Display Mode"
, open
its drop - down list and select any of the four items
there. Your choice will automatically appear in the
relevant blank space. Similarly you can enter the
"Fill Color"
and
"Border Color"
entries to open
their respective color tables. Click
"OK"
in each
case to set your choice.
Summary of Contents for DVR-3016, DVR-3016D
Page 2: ......
Page 100: ...98 Figure 7 RMN040200255 V5 2 ...

