Digital Video Recorder User Manual
63
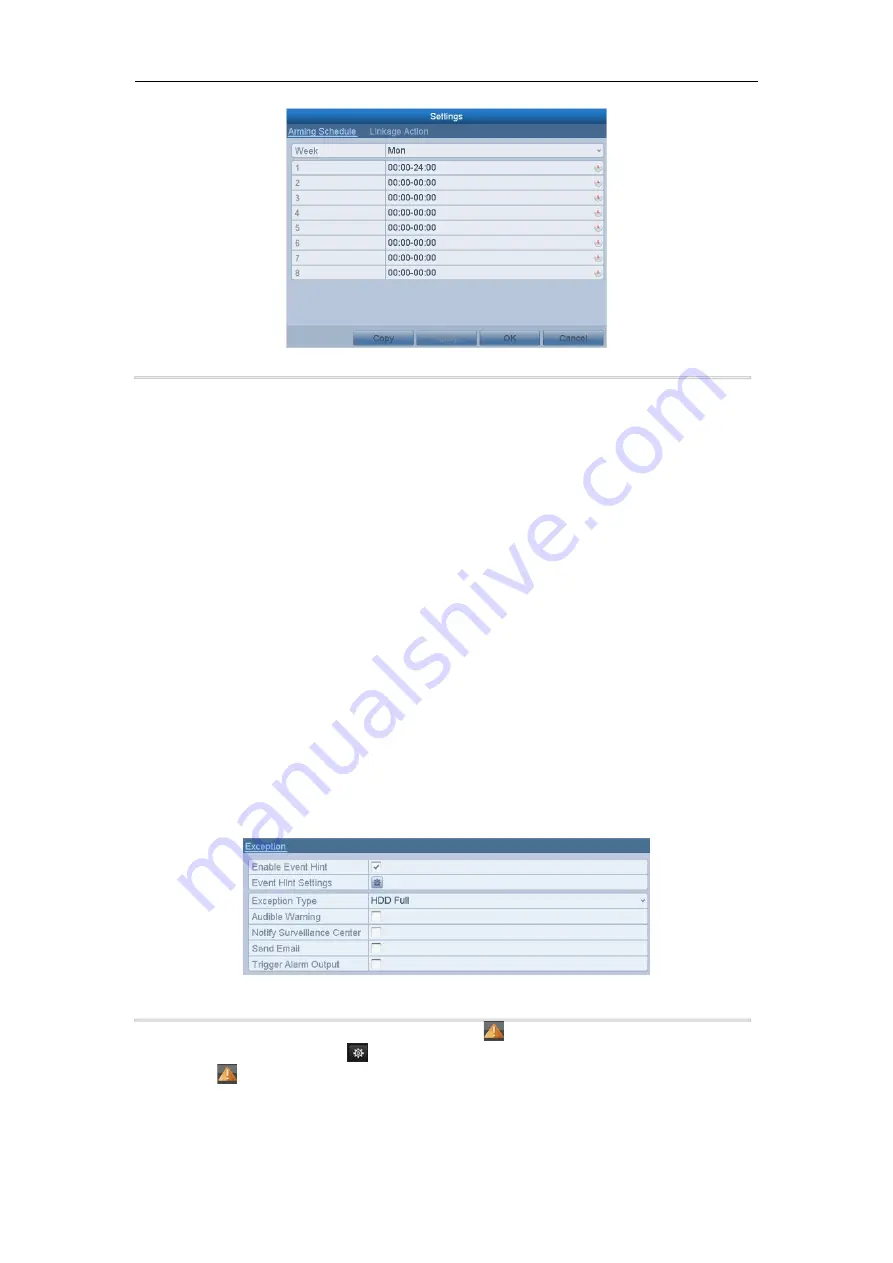
Figure 8. 7 Set Arming Schedule of Video Tampering
3) Select
Linkage Action
tab to set alarm response actions of video tampering alarm (please refer to
Chapter 8.7 Setting Alarm Response Actions
).
Repeat the above steps to set arming schedule of other days of a week. You can also use
Copy
button to
copy an arming schedule to other days.
4) Click the
OK
button to complete the video tampering settings of the channel.
Repeat the above steps to finish settings of other channels, or click the
Copy
button copy the above
settings to them.
5.
Click the
Apply
button to save and activate the settings.
8.4 Handling Exceptions
Purpose:
Exception settings refer to the handling method of various exceptions, e.g.
•
HDD Full:
The HDD is full.
•
HDD Error:
Writing HDD error, unformatted HDD, etc.
•
Network Disconnected:
Disconnected network cable.
•
IP Conflicted:
Duplicated IP address.
•
Illegal Login:
Incorrect user ID or password.
•
Input/Recording Resolution Mismatch:
The input resolution is smaller than the recording resolution.
•
Record Exception:
No space for saving recorded files.
Steps:
1.
Enter Exceptions interface and handle various exceptions.
Menu> Configuration> Exceptions
Other Models
Figure 8. 8 Exception Settings Interface
2.
Check the checkbox of
Enable Event Hint
to display the
(Event/Exception icon) when an exceptional
event occurs. And click the icon
to select the detailed event hint for display.
Click the icon
appears in the live view interface, and you can view the detailed information of the exceptional
event. Click the button
Set
, and then you can select the detailed event hint for display.
3.
Set the alarm linkage actions. For details, see
Chapter 8.7 Setting Alarm Response Actions.
4.
Click
Apply
to save the settings.


