


Initial Set Up and Testing
NiteHAWK Internet Jukebox
2-2
22022613 Rev A
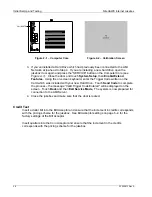
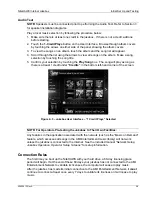
CALIBRATE
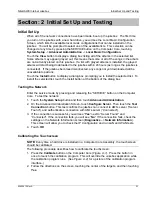
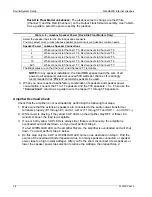
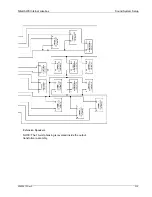
Figure 2–1 – Computer Core
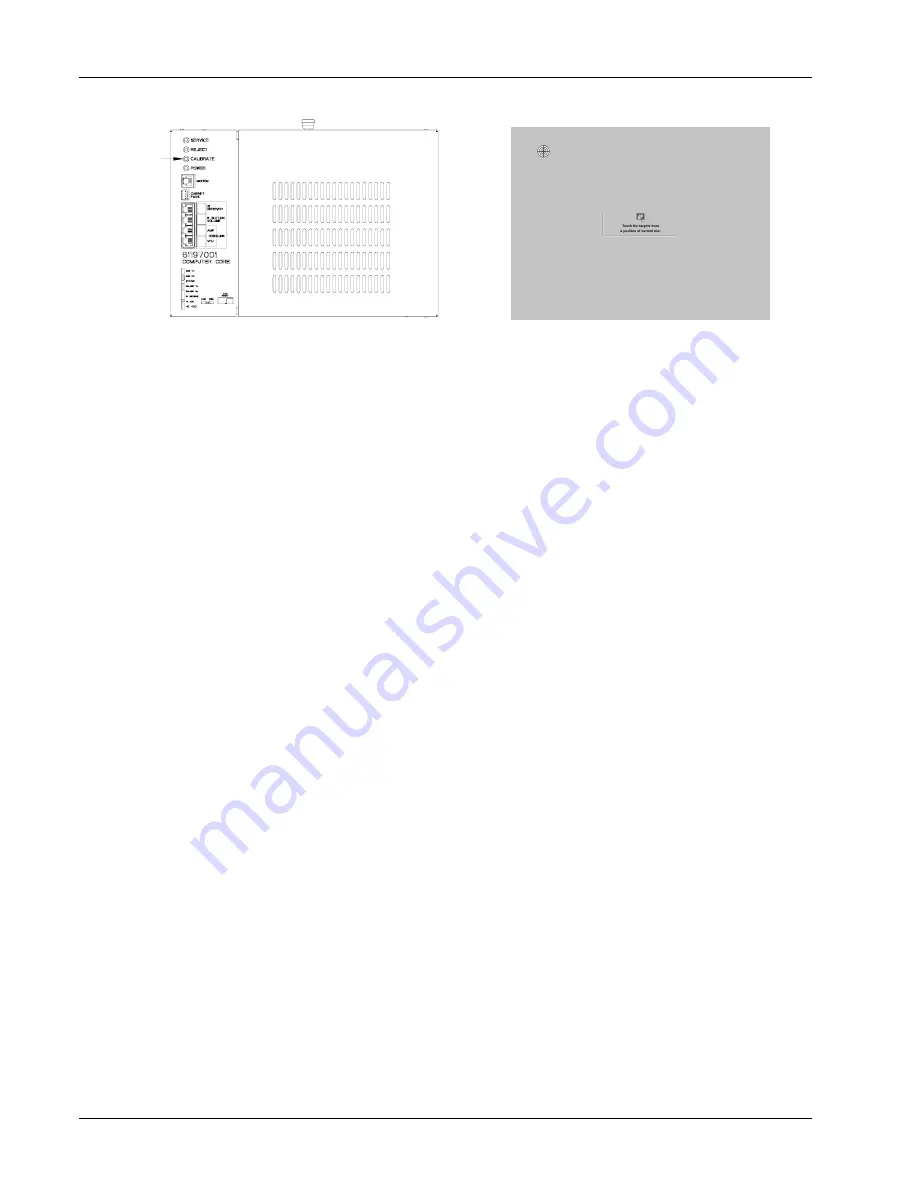
Figure 2–2 – Calibration Screen
3. If you’ve installed a Hard Drive which had previously been connected to the AMI
Network, skip ahead to Step 4. If you are installing a new hard drive open the
jukebox door again and press the “SERVICE” button on the Computer Core (see
Figure 2–1
). Close the door and touch
System Setup
, then
Enable/Extend
Features
. Using the on-screen keyboard, enter the Trigger Code written on the
Card which was included with your new Hard Drive. Touch
Send Code
to complete
the process – the message “Valid Trigger Code Entered” will be displayed on the
screen. Touch
Back
and then
Exit Service Mode
. The system is now prepared for
connection to the AMI Server.
4. Close the jukebox and make sure that the door is locked.
Credit Test
Insert a dollar bill into the Bill Acceptor and ensure that the increment in credits corresponds
with the pricing scheme for the jukebox. See Bill Acceptor settings on page 5–4 for the
factory settings of the Bill Acceptor.
Insert quarters into the Coin Acceptor and ensure that the increment in the credits
corresponds with the pricing scheme for the jukebox.
Summary of Contents for NiteHAWK
Page 2: ......
Page 12: ...This page intentionally left blank ...
Page 26: ...This page intentionally left blank ...
Page 35: ...This page intentionally left blank ...
Page 37: ...NiteHAWK Internet Jukebox Sound System Setup 22022613 Rev A 3 11 ...
Page 41: ...NiteHAWK Internet Jukebox Sound System Setup 22022613 Rev A 3 15 ...
Page 58: ...This page intentionally left blank ...
Page 68: ...This page intentionally left blank ...
Page 73: ...This page intentionally left blank ...
Page 86: ......