Step 4 Install the Motherboard,
Continued
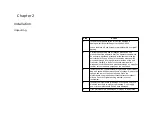
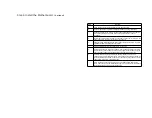
Step
Action
a
Place the chassis for the motherboard on an anti-static mat.
b
Connect the chassis to ground to avoid static damage during installation.
c
Connect an alligator clip with a wire lead to any unpainted part of the chassis.
Ground the other end of the lead at the same point as the mat and the
wristband.
d
Rotate the chassis so that the front is to the right, and the rear is to the left. The
power supply is mounted at the far end of the chassis.
e
Push four nylon standoffs from the solder side of the motherboard in the holes
provided for them. The standoffs lock in place.
f
Find the slots provided for the standoffs on the chassis.
g
Hold the motherboard, component-side up, with the edge with three standoffs
toward the front, and the edge with the power supply connector away from the
front. The edge connectors for the adapter cards should be on the left.
h
Carefully slide the motherboard into the chassis. Make certain that the
standoffs fit the slots provided for them. If the standoffs are properly locked, the
motherboard should not slide. It should also rest level with the chassis. The far
edge should fit the slots in the plastic clips.
i
Place the two mounting screws in the holes provided for them and tighten
them. If necessary, shift the motherboard slightly to align the mounting holes on
the motherboard with the holes on the chassis.
Summary of Contents for 42 Series
Page 1: ...American Megatrends Inc Series 42 Mark V Baby Screamer 80386 Motherboard User s Guide ...
Page 2: ...MAN 642 Rev C 9 11 92 ...
Page 13: ......
Page 35: ...A29 SA02 B29 5 A30 SA01 B30 OSC A31 SA00 B31 GND ...
Page 59: ......
Page 82: ......
Page 85: ...SRAM Locations ...

