Chapter 6.2: Advanced Voice over DSL Configuration
Page
20
When finished configuring DNS Relay, go to the Configuration menu and click on
Save config to save the new settings into the CopperJet.
Note: You need to fill in the CopperJet IP address as DNS server on your network
card or configure the DHCP Server and enable the setting: Use Router as DNS
Server.
5.3.5.2 Disabling DNS Relay manually
To manually disable DNS Relay, go to the Configuration menu and select DNS
relay.
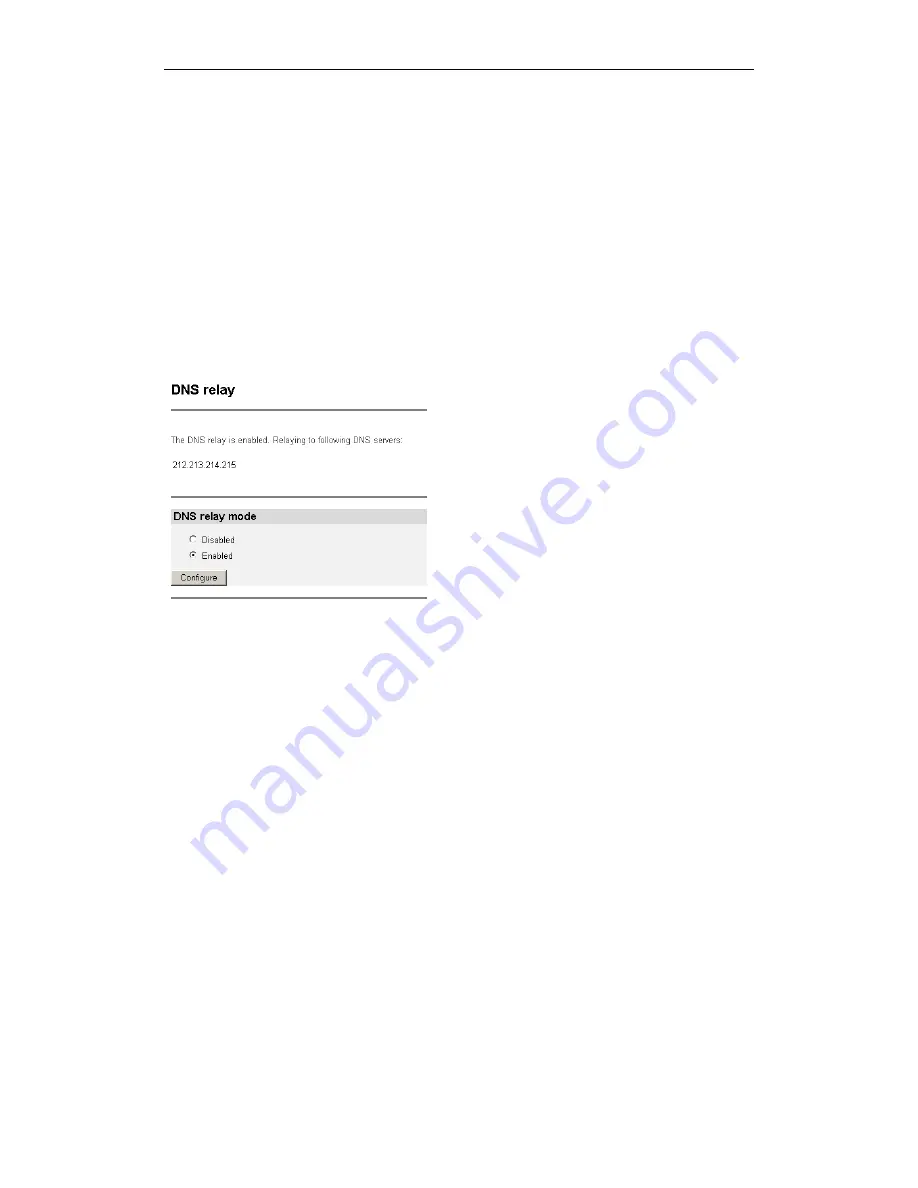
The DNS Relay page is displayed:
To disable DNS Relay, select Disabled and click on Configure. The confirmation
message Confirm Change: All DNS server addresses will be deleted will appear.
Click op Apply and the DNS Relay is disabled.
Go to the Configuration menu and click on Save config to save the new settings
into the CopperJet.
5.3.5.3 Automatically discover DNS Relay addresses
For configuring the automatic discovery of DNS addresses, a WAN Connection
need to be configured. See section 5.4 WAN Connections for configuring WAN
connections.
For both PPPoA and PPPoE connections, the CopperJet can discover the DNS
addresses automatically. The service provider will provide the DNS addresses
through DHCP. In this situation, there is no need to configure DNS Relay
manually. Go to the Configuration menu and select WAN Connections. The WAN
connections that are defined are displayed. Edit the preferred WAN connection by
selecting Edit. The WAN connection page is displayed.
For PPPoA, select the PPPoA tab. For PPPoE, select the PPPoE tab.
Be sure that following options are set to true if you want the CopperJet to
automatically discover the DNS addresses.


