


1
1
7
7
5
5
6
6
-
-
Q
Q
S
S
1
1
0
0
4
4
A
A
-
-
E
E
N
N
-
-
P
P
C
C
o
o
n
n
t
t
r
r
o
o
l
l
L
L
o
o
g
g
i
i
x
x
Q
Q
u
u
i
i
c
c
k
k
S
S
t
t
a
a
r
r
t
t
Page 43
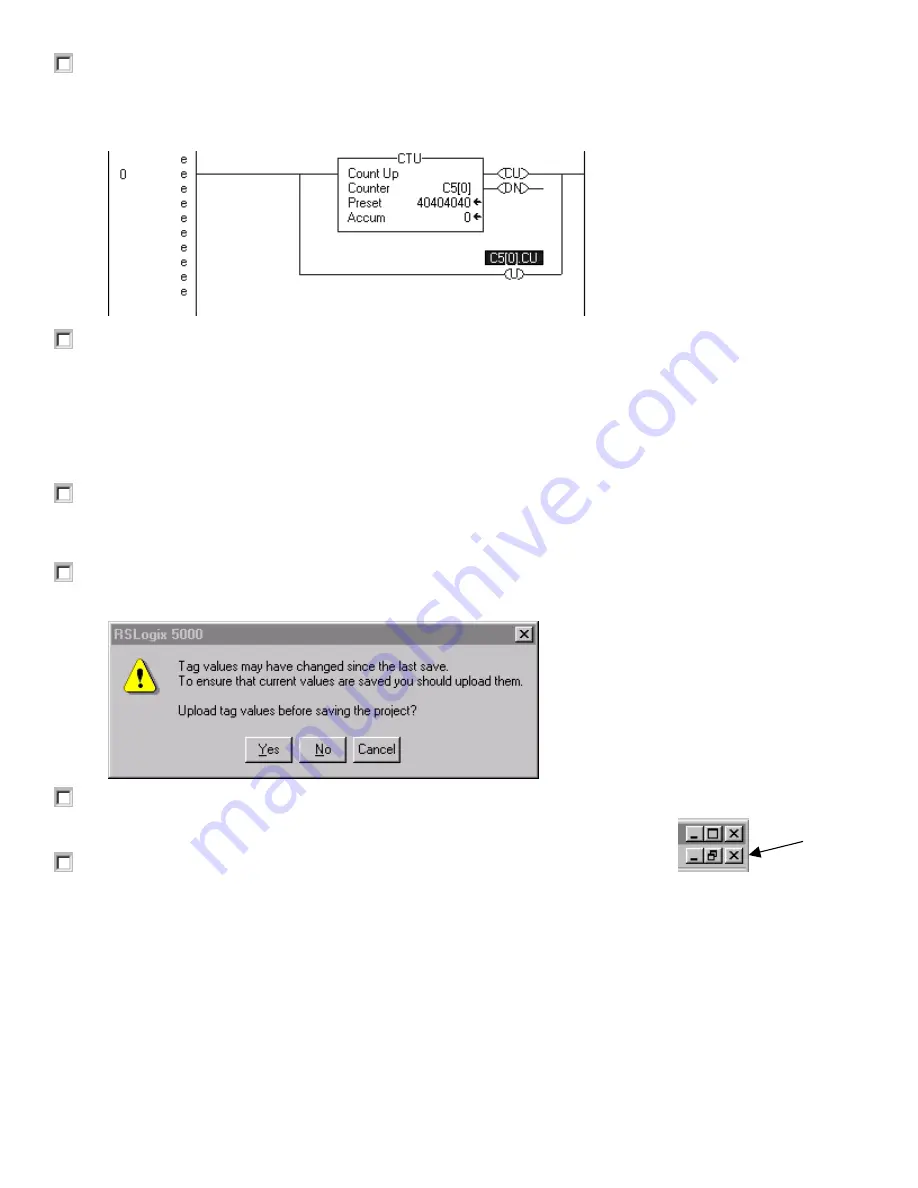
13. Press
Enter
with your cursor on the
Question Mark (?)
, and press the down arrow to view the
available tags; select the
C5[0].CU
tag for the OTU instruction, and press
Enter
to accept the
operand.
Rung 0 now looks like this:
14. Right click on the rung number
(0)
and choose
Verify Rung
.
A message appears at the bottom of the RSLogix 5000 window indicating the results of the Verify Rung
command. (Note: The message will appear either in the status bar at the bottom of the screen, or in
the Results window if it is selected under the View menu. If there are errors, you must correct them
before the rung will verify. If there are no errors, the "e's" next to the rung will change to "i's"; this
indicates the logic still needs to be inserted into your controller image. You can also verify the entire
routine by choosing
Verify > Routine
from the
Logic
menu.
15. Right click on the rung number
(0)
and choose
Accept Pending Rung
.
This merges the rung edits into your existing code. You can also verify the entire routine by choosing
Accept Pending Rung Edit
from the
Logic
menu.
16. From the
File
menu, choose
Save
to save your program.
A dialog appears, prompting you to confirm whether you would like to upload the tag values.
17. Click on
No
.
18. Click on the
X
in the upper right corner of the Ladder Editor to close the editor.
Allen-Bradley Parts


