HERA LS Series CD/DVD Duplication System / User Manual
24
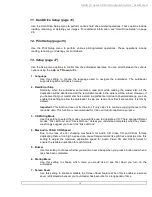
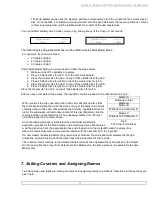
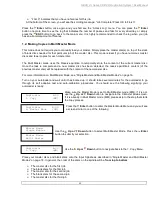
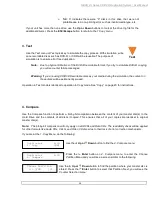
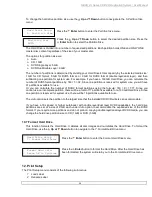
Master #1, Total 20
Pass 20, Fail 0
Master #2, Total 40
Pass 40, Fail 0
Master #3, Total 30
Pass 30, Fail 0
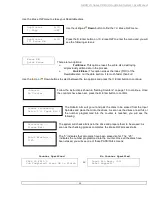
Access Log File
OK?
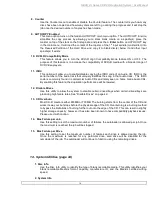
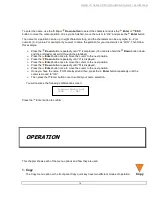
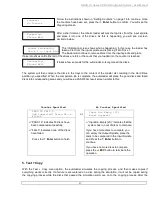
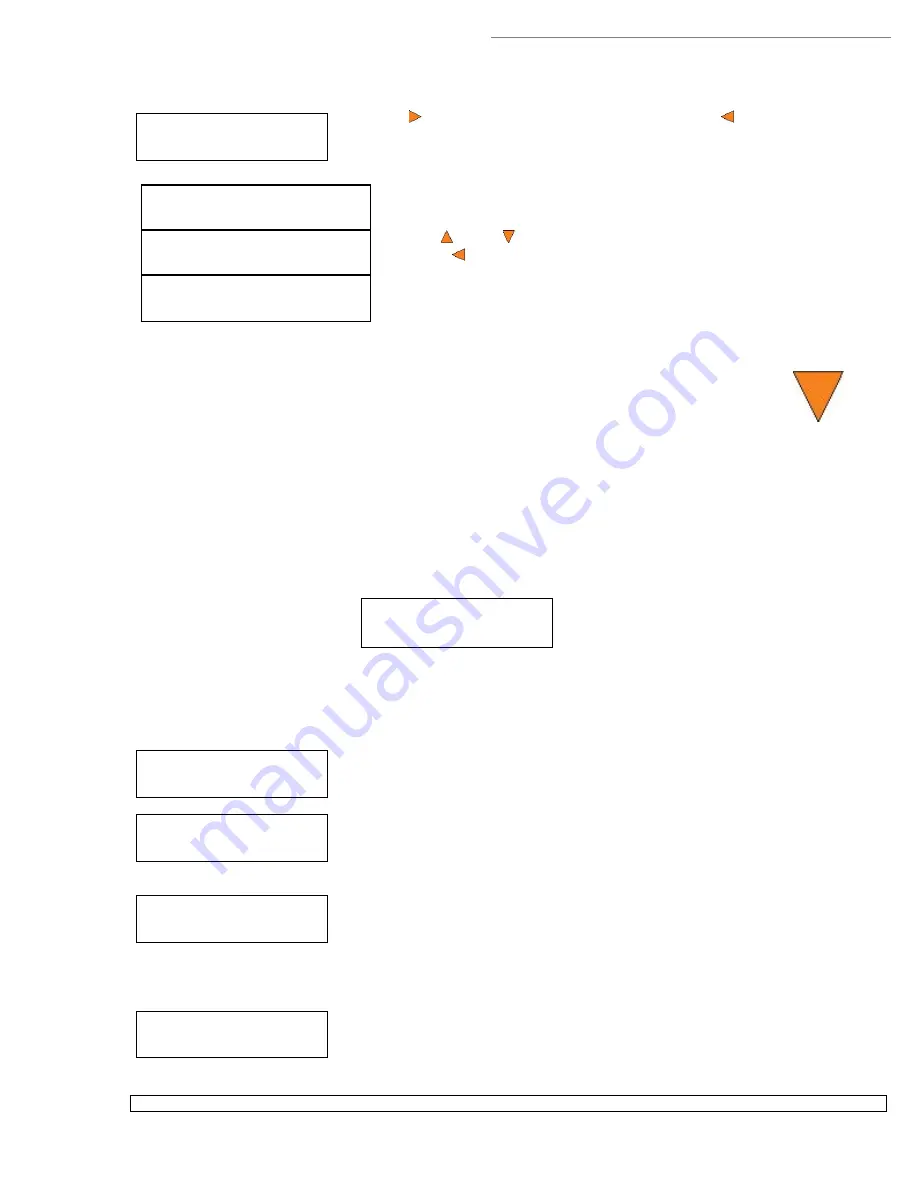
Duplicator 2.20
1. Copy (SM)
Please Select Label
[FUN.lsi] 25MB
Counter:
No Counter
OK: 0 NG: 0 NB: 0
Input Bin > Drive01
Processing...
Please Wait
Press the
Enter
button to view the log file or press the
ESC
button to return to
the
1.Copy
menu. If you choose to see the log file, you will see a screen similar to
below:
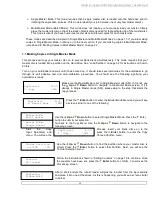
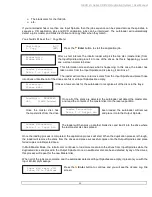
Use the
Up or
Down
buttons to look at the log file for the various jobs.
Press the
ESC
button to return to the
1.Copy
menu
2. Print
Use the
menu to print label(s) directly onto the label side of your LightScribe printable
media. Before you start a printing process, please make sure you have successfully loaded your
LightScirbe label file(s) into the Hard Drive via the “Load Label” function located under “Print Setup”.
See page 35 for details. For additional information on creating/designing your labels, please refer to
“Design and Create a Label File” on page 54.
To begin the printing process, perform the following:
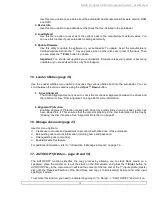
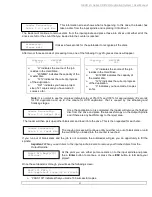
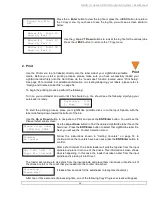
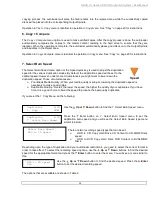
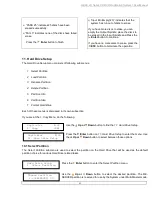
Turn on your autoloader and wait until it has booted up. You should see the following signifying your
autoloader is ready:
To start the printing process, place your LightScribe printable discs in to the Input Spindle, with the
label side facing down toward the bottom of the bin.
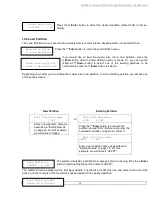
Use the
Up or Down
button to navigate to 2.Print and press the
ENT/Enter
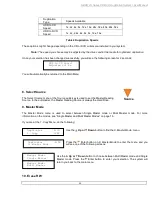
button. You will see the
Please Select Label screen:
Use the
Up or Down
button to find the desired LightScribe label file on the
hard drive. Press the
ENT/Enter
button to select that LightScribe label file.
Next, you will see the
Counter Selection
menu:
Follow the instructions shown in “Setting Counters” on page 18 to
continue. Once the counters have been set, press the
ENT/Enter
button to
confirm.
After a short interval, the robotic loader will pick the top disc from the input
spindle and place it into one of the drives. This information screen shows
what is happening. In this case, the loader has taken a disc from the input
spindle and is placing it into Drive 1.
The loader will continue to pick discs from the input spindle and place them into drives until either all of
the drives are full, or the count that you loaded into the counter is reached.
It takes a few seconds for the autoloader to recognize the disc(s).
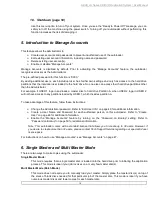
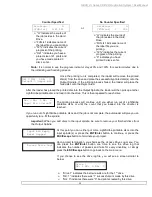
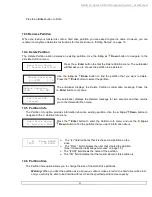
After two or three seconds of processing time, one of the following
Copy Progress
screens will appear.


