Users Guide
Page
24
of
127
Printed for Reference Only on November 15, 2006
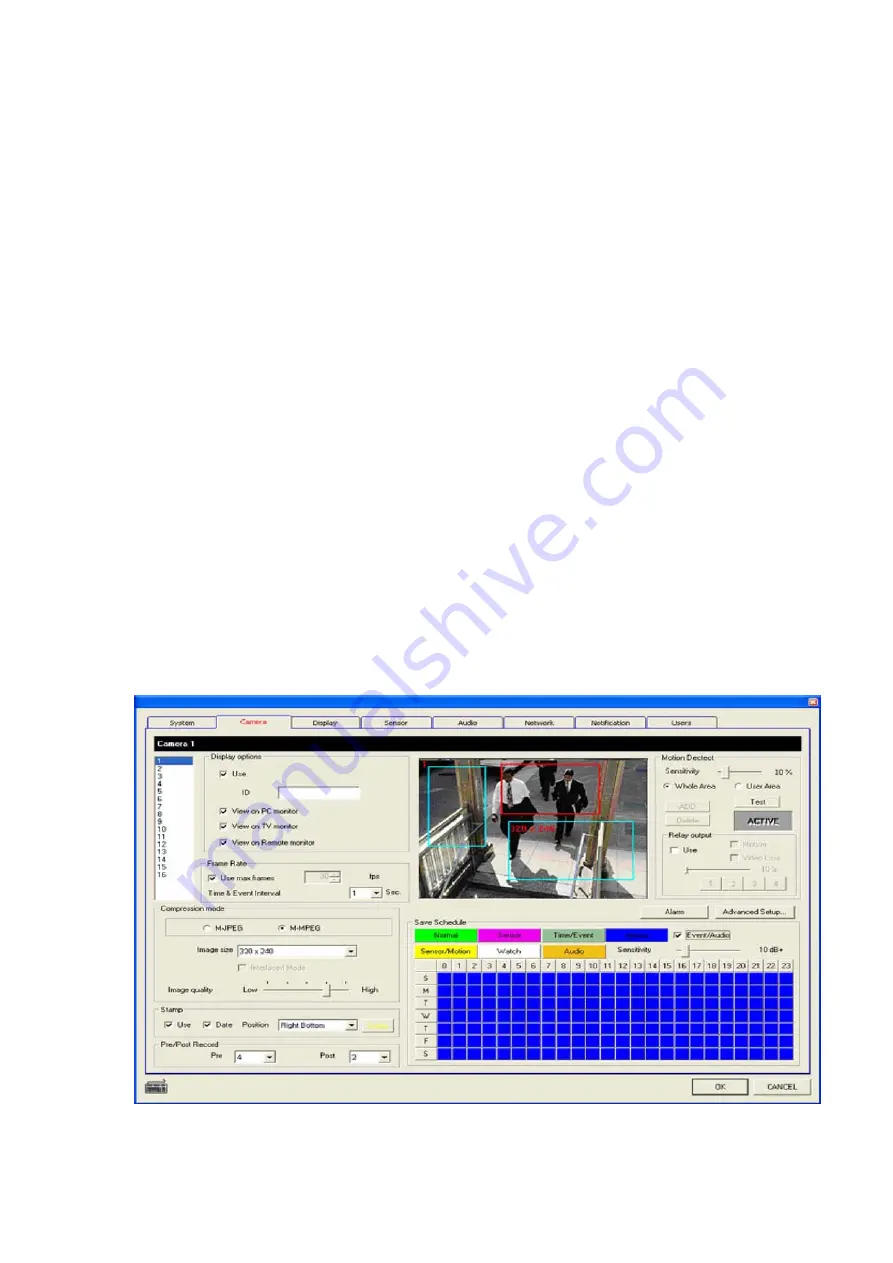
4) Stamp
-
Use : If User select the check box, stamp will be displayed at some part of a recording image .
-
Date : If User select the check box, Date will be displayed.
-
Position : User can choose the location of stamp (Left Top, Right Top, Left Bottom, Right
Bottom)
5) Pre/Post Record
: User can define the number of frames that will be recorded before and after detecting the motion
-
Pre : Define the number of frames before detecting the motion.
-
Post : Define the number of frames after detecting the motion.
(Note: If you want audio recording in the Sensor/ Motion/ Normal & Event modes, you need to set
the number of the “Post” as 30 frames over.)
6) Motion Detect
-
Sensitivity : Define the Rate of Sensitivity(the default value is 10%).
-
Whole Area Mode : Motion will be detected in whole area.
-
User Area Mode : Motion will be detected in the defined area by the User.
-
ADD : If User want to defined the area, Click this ADD button, and define the range through the
clicking the area at the displayed screen at the setting menu. After User add a area, system will
show the red box(see the sample picture below)
-
Delete : If User want to delete the area that was defined(or added), Click this DEL button.
-
Test : When User click this button, screen will display the detected area as red dots. So, User
can test the motion detection.
-
ACTIVE : When the motion is detected, this button will be blinked.
-
Relay Out : Use : If User want to send the Output, Click this check box. (Additional equipment is
required to send the Output.
-
Relay Out : Relay Time : User can define the relay time of the Output from 1 second to 10
second.(If User select 5 second, the Output will be sent every 5 seconds.)
-
Relay Out : Relay Ports : User can define the port that will be used to send the Output. (User
can select port 1, 2, 3, 4)
-
If you check video loss, when video loss occurs, relay will be output


