


106
Chapter 3
Basic Digital Operation
Using Waveform Markers
1.
Remove any existing marker points (
page 103
).
2.
In the
Marker Utilities
menu (
page 101
), press
Set Markers
.
3.
Highlight the desired waveform segment.
In ARB formats there is only one file (AUTOGEN_WAVEFORM) and it is already highlighted.
4.
Highlight the desired marker number: Press
Marker 1 2 3 4
5.
Set the first sample point in the range (in this example, 5):
Press
Set Marker On Range Of Points
>
First Mkr Point
>
5
>
Enter
.
6.
Set the last marker point in the range to a value less than the number of points in the waveform,
and
greater than or equal to the first marker point (in this example, 25):
Press
Last Mkr Point
>
25
>
Enter
.
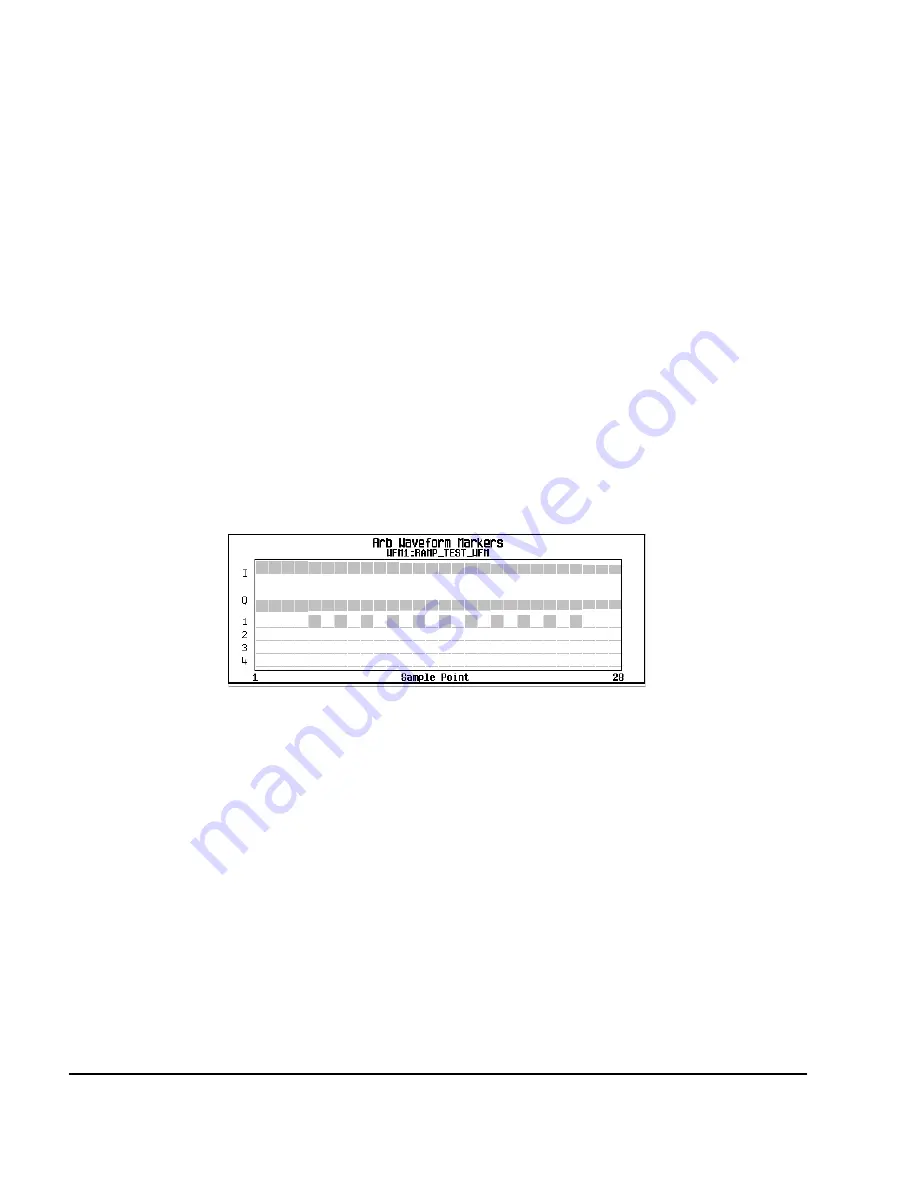
7.
Enter the number of sample points that you want skipped (in this example, 1):
Press
# Skipped Points
>
1
>
Enter
.
8.
Press
Apply To Waveform
>
Return
.
This causes the marker to occur on every other point (one sample point is skipped) within the
marker point range, as shown below.
One application of the skipped point feature is the creation of a clock signal as the auxiliary output.
3. Controlling Markers in a Waveform Sequence (Dual ARB Only)
In a waveform segment, an enabled marker point generates an auxiliary output signal that is routed
to the rear panel event connector (described in
Rear Panel
) corresponding to that marker number.
For a waveform sequence, you enable or disable markers on a segment–by–segment basis; this enables
you to output markers for some segments in a sequence, but not for others. Unless you change the
marker settings or cycle the power, the setting remains the same for the next loaded sequence.
As You Create a Waveform Sequence
After you select the waveform segments to create a waveform sequence, and
before
you name and
save the sequence, you can enable or disable each segment’s markers independently. Enabling a
marker that has no marker points (
page 104
) has no effect on the auxiliary outputs.
1.
Select the waveform segments (
Step 1
on
page 93
).
Viewing markers is described on
page 102
Summary of Contents for E8257D
Page 12: ...Contents xii ...
Page 50: ...36 Chapter 1 Signal Generator Overview Rear Panel ...
Page 92: ...78 Chapter 2 Basic Operation Using the Web Server ...
Page 194: ...180 Chapter 6 Custom Arb Waveform Generator Configuring Hardware ...
Page 234: ...220 Chapter 8 GPS Modulation Option 409 Real Time GPS ...


