77
Center of Gravity
Warning, DO NOT skip this step!
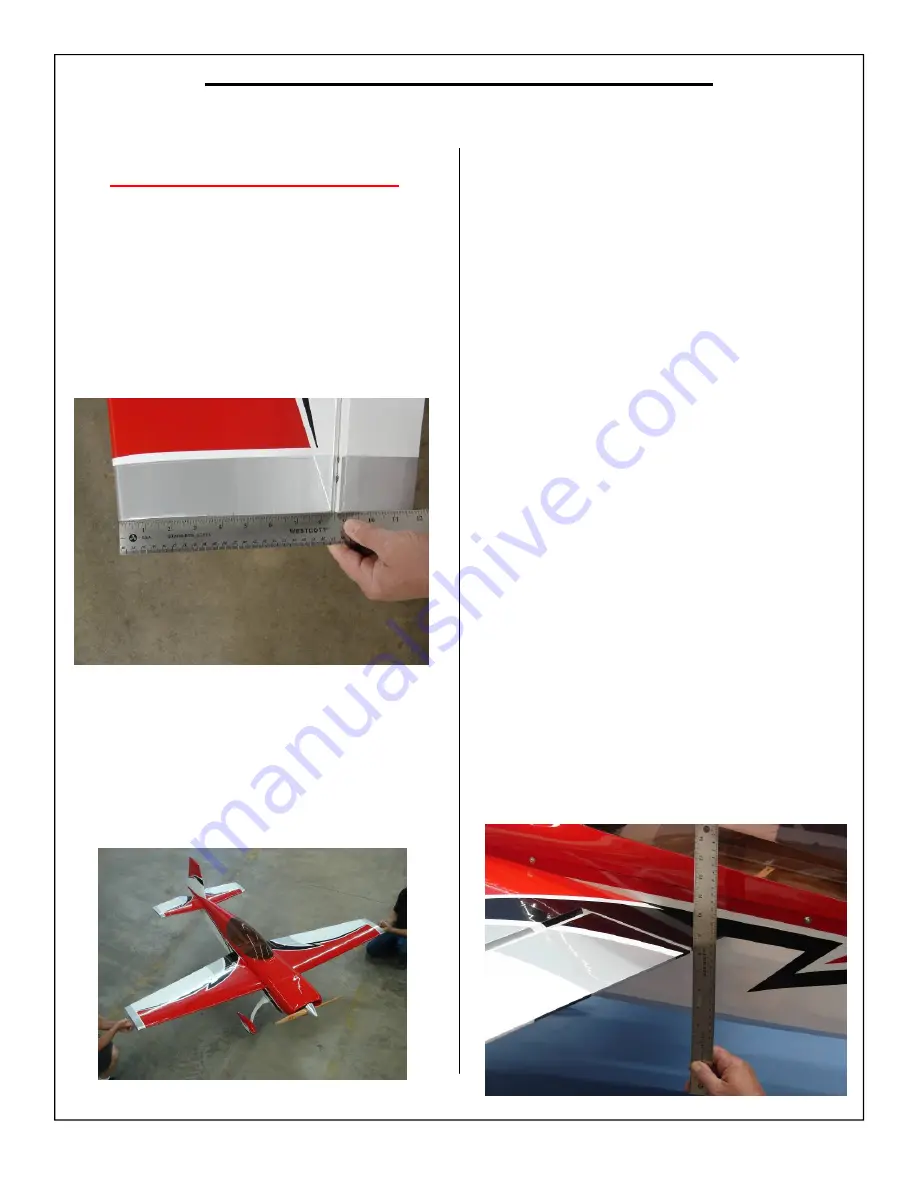
1. The recommended starting CG is
(5 3/4”)
back from the wing leading edge at the wing tip
as shown.
Note:
During the test flights we found 5 1/2” to be
the optimal C.G. location for precision
flying and 6” to be the optimal location for
3D.
CENTER OF GRAVITY - CONTROL THROWS
2. Balance the Extra 300 without fuel in the tank
with the batteries installed and
READY TO
FLY
. The engine, radio, servos, and batteries
you use will determine the final weight and loca-
tions of equipment. Try to balance the model by
moving the batteries and receiver before adding
any ballast.
3.
Start at recommended CG until you are com-
fortable with the flight characteristics of the
aircraft. You may find this a bit nose heavy at
first but that is fine to start with. After you are
comfortable adjust the CG to suit your flying
style in small steps, especially when shifting
the CG toward the tail. Move the battery or
add small stick on weights to the nose or tail as
necessary.
Note:
If additional nose weight is necessary we rec-
ommend moving the engine forward slightly
by adding extra spacer or washers to move the
C.G. forward. Try this before adding an addi-
tional weight.
4.
For aerobatic flying a more aft balance point is
better. For smooth sport flying or precision
pattern a more forward CG is better. An air-
craft that is too nose heavy does not fly well
and is difficult to land. A tail heavy aircraft is
uncontrollable and will likely crash.
Control Throws
1. The amount of control throw should be
adjusted using mechanical means as much as
possible and then electronically with the radio.
The control throws are shown in degrees and
inches of deflection.
Aileron throw measured in inches at the widest
point of the aileron.


