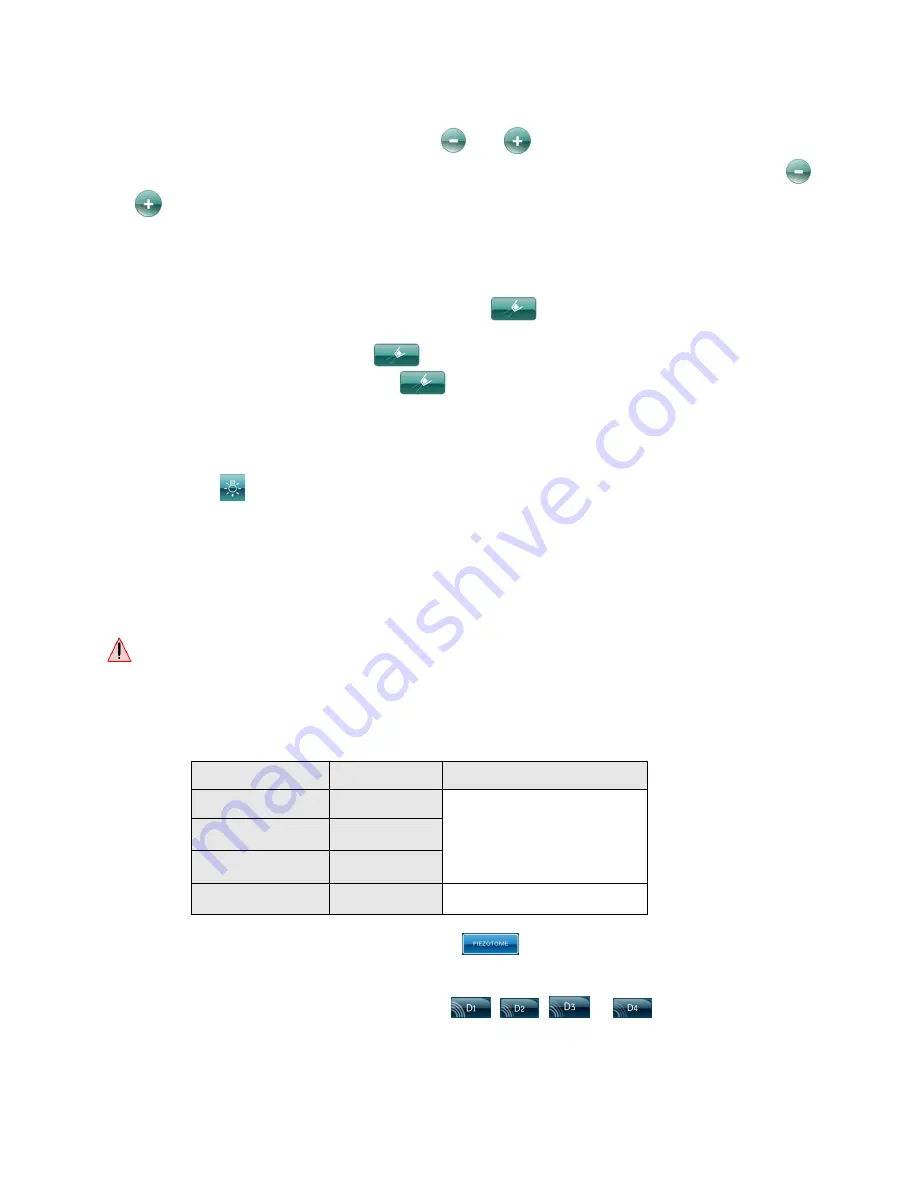
b) Flow rate adjustment
The irrigation flow rate is adjusted using buttons
and
(Fig. 3-4 and 5).
Each time the corresponding button is pressed, the flow rate is adjusted. Press and hold buttons
and
(Fig. 3-4 and 5) to scroll the flow rate values.
The adjusted value is displayed on the LCD screen (Fig. 3-2) and stored in the current program.
The flow rate can be adjusted while the device is being used.
c) Irrigation ON/OFF
The irrigation is switched ON or OFF by pressing button
(Fig. 3-3) or the footswitch button (Fig.
8-4).
When irrigation is selected, the symbol
is highlighted.
When irrigation is not selected, the symbol
is darkened.
7. 4 LIGHT FUNCTION
The light function is displayed on the LCD screen.
Pressing button
(Fig. 3-11) switches the light function available for the N
EWTRON
and P
IEZOTOME
functions ON or OFF.
The light function has a default light-off time-out of nine seconds.
Switching off the light function becomes effective when the time-out has elapsed.
If necessary, you can lengthen the time-out (refer to 7.7).
7. 5 PIEZOTOME FUNCTION
Important:
The P
IEZOTOME
function settings can be customized by the user.
The P
IEZOTOME
function settings can be adjusted when no P
IEZOTOME
2 handpiece is connected to the
device.
The program giving the highest power is D1.
Program
Main functions
Very powerful
D1
Osteotomy, osteoplasty
Powerful
D2
Medium
D3
Low
D4
Soft tissue detachment
Select the Piezotome function by pressing button
(Fig. 3-12) or by pressing the footswitch
button (Fig. 8-5).
On the LCD screen, the P
IEZOTOME
tab must be highlighted.
Select the program to be used by pressing button
,
,
or
(Fig. 4-14) or using the
footswitch button (Fig. 8-3); the selected program is highlighted on the LCD screen.
Adjust the programs and the power level according to the tip data sheet recommendations.
If necessary, modify the irrigation function (flow rate value, etc.) (refer to 7.3).
Summary of Contents for Satelec Implant Center 2
Page 1: ......
Page 56: ...FIG 2 FIG 3 ...
Page 57: ...FIG 4 FIG 5 ...
Page 58: ...FIG 6 ...
Page 59: ...FIG 7 FIG 8 ...


