


Chapter 3: Replacing notebook components
79
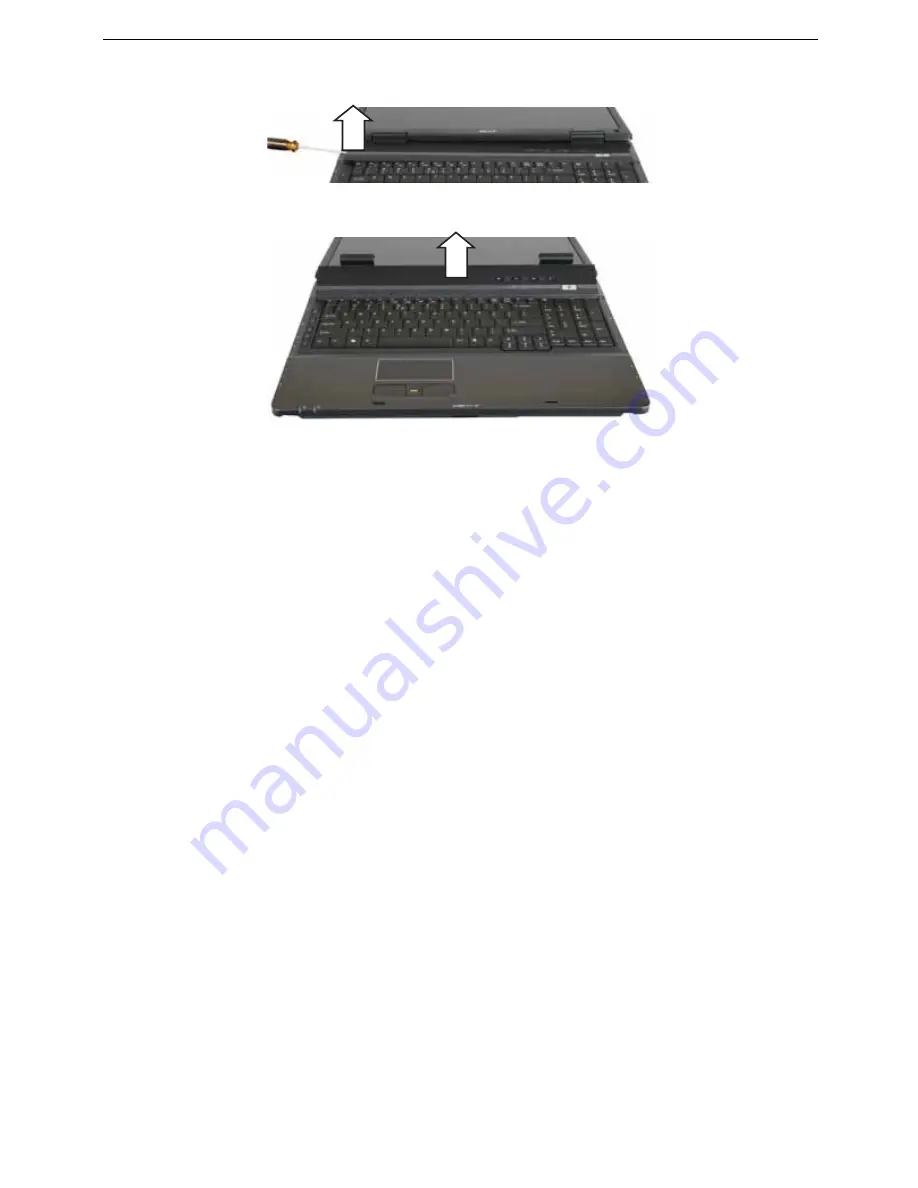
6
Insert the small flat-blade screwdriver under each end of the keyboard cover and
gently pry it up.
7
Pull the cover off the notebook by lifting the back corners of the cover. Be careful
to not damage the LCD panel.
8
Replace the keyboard cover by first inserting the tabs located on the front of the
cover into the slots provided, then pressing down on the back. Press down on the
cover in several places until it clicks in place. The cover is correctly mounted when
you can run you finger along the cover and find no loose spots. The cover should be
flat all the way across.
Caution:
If the cover is not correctly replaced, your notebook could be
damaged when you try to close the LCD panel.
9
Close the LCD panel.
10
Turn your notebook over so the bottom is facing up.
11
Replace the screws removed in
Step 2
.
Summary of Contents for TRAVELMATE 7730
Page 1: ...TravelMate 7730 7730A Service Guide ...
Page 4: ...IV ...
Page 8: ...VIII Contents ...
Page 13: ...Chapter 1 System specifications 5 System block diagram ...
Page 42: ...34 Chapter 1 System specifications ...
Page 58: ...50 Chapter 2 System utilities ...
Page 67: ...Chapter 3 Replacing notebook components 59 5 Pull the memory module out of the slot ...
Page 104: ......
Page 105: ......
Page 144: ...134 Chapter 3 Replacing notebook components ...
Page 164: ...154 Chapter 4 Troubleshooting ...
Page 170: ...160 Chapter 5 Jumper and connector locations ...
Page 183: ...173 Model definition and configuration Appendix A TravelMate 7730 7730G ...
Page 248: ...238 Appendix B Test compatible components ...
Page 250: ...240 Appendix C Online support information ...
Page 253: ......
Page 254: ...MAN MONSERRAT SVC GDE R0 06 08 ...