39
8
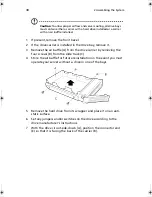
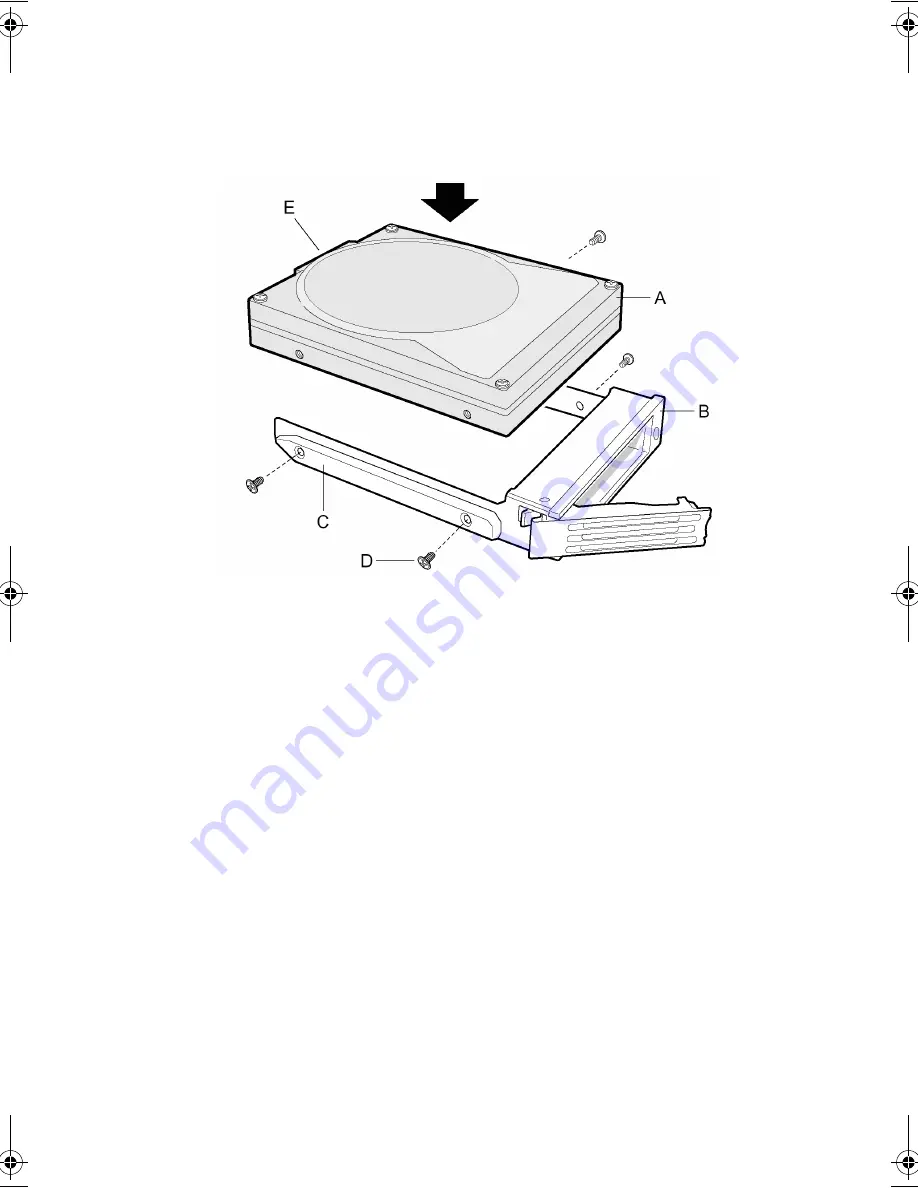
Align the holes in the drive to the holes in the drive carrier slide
track (C), insert the screws (D) that you previously removed, and
attach the carrier to the drive.
9
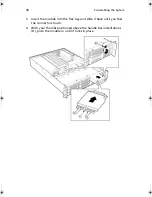
Slide the carrier/drive all the way into the drive bay with the
retention lever in the fully open position.
10 Push the retention lever closed to secure the carrier/drive in the
bay.
11 Reinstall a carrier/air baffle in any bays where you are not
installing a carrier/drive.
Installing a DVD drive/FDD or
CD-ROM drive/FDD Module
Your server does not come with a DVD drive, CD-ROM drive or floppy
disk drive. As an accessory, Intel offers slim-line DVD drive/FDD and CD-
ROM drive/FDD modules that you may purchase and install in the flex
bay.
1
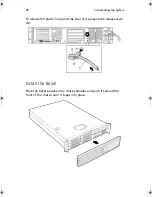
Remove the filler panel (A) and plug (B) from the front of the
chassis.
2
Ensure the handle bar (C) on the front of the module is rotated to
the down position.
AR700-e.book Page 39 Tuesday, September 10, 2002 2:31 PM
Summary of Contents for Altos R700 Series
Page 1: ...Altos R700 Chassis Subassembly Product guide...
Page 9: ...1 Chassis Description...
Page 22: ...1 Chassis Description 14...
Page 23: ...2 Assembling the System...
Page 51: ...3 Installing the System in a Rack...
Page 54: ...3 Installing the System in a Rack 46...
Page 55: ...4 Working Inside Your Server...
Page 75: ...Appendix A Equipment Log and Worksheets...
Page 77: ...69 DAT TApe Drive Item Manufacturer Name and Model Name Serial Number Date Installed...

