


83
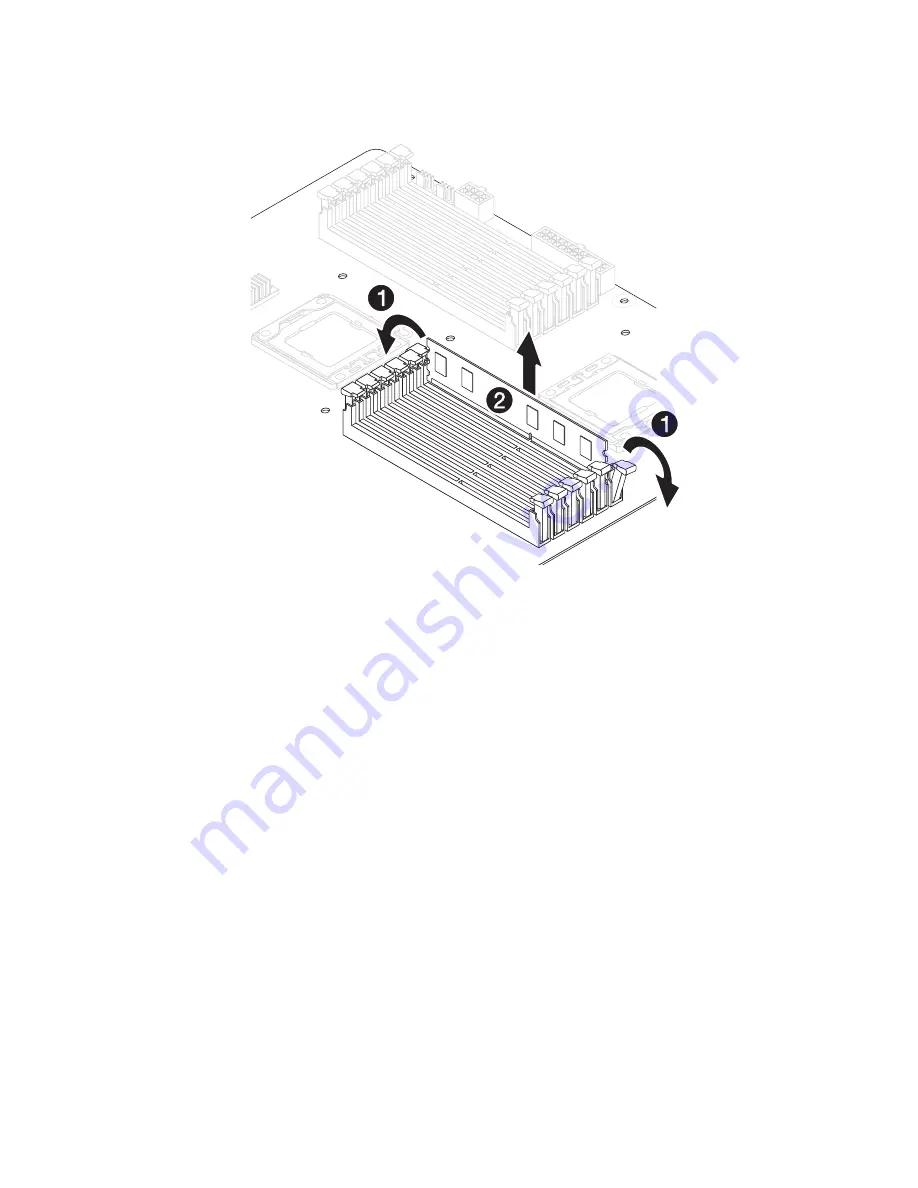
(2) Gently pull the DIMM upward to remove it from the socket.
5
If you intend to install a new DDR3 Registered/Unbufferred DIMM,
proceed to the next section for related procedure, otherwise
reinstall the air duct, then observe the post-installation
instructions described on page 42.
To install an DDR3 Registered/Unbufferred DIMM:
1
Perform steps 1 through 3 of the previous section.
2
Select an empty DDR3 Registered/Unbufferred DIMM slot.
3
If necessary, open the holding clips of the selected DDR3
Registered/Unbufferred DIMM slot.
4
Remove the new DDR3 Registered/Unbufferred DIMM from its
protective packaging, handling it by the edges.
5
Install the DDR3 Registered/Unbufferred DIMM.
(1) Align the DDR3 Registered/Unbufferred DIMM so that the
notch on the slot fits the keyed edge of the module, then
press the module at both ends to seat it fully into the slot.
If you insert an DDR3 Registered/Unbufferred DIMM but it
does not fit easily into the slot, you have inserted it incorrectly.
Reverse the orientation of the module and insert it again.
Summary of Contents for Altos G540 M2 Series
Page 1: ...Acer Altos G540 M2 Series User s Guide ...
Page 10: ...x ...
Page 11: ...1 System tour ...
Page 30: ...1 System tour 20 60 CPU2 Processor 2 Socket No Code Description ...
Page 38: ...1 System tour 28 ...
Page 39: ...2 System setup ...
Page 49: ...3 System upgrade ...
Page 69: ...59 2 Detach the plastic frame from the HDD carrier ...
Page 77: ...67 2 Connect the power and SATA cables to the new 5 25 inch drive ...
Page 105: ...4 System BIOS ...
Page 112: ...4 System BIOS 104 Processor Configuration ...
Page 122: ...4 System BIOS 114 Intel VT for Directed I O VT d ...
Page 143: ...5 System troubleshooting ...
Page 154: ...5 System troubleshooting 146 ...
Page 155: ...Appendix A Server management tools ...
Page 165: ...Appendix B Rack mount configuration ...
Page 166: ...This appendix shows you how to set up the Altos G540 M2 server in a rack mount configuration ...
Page 174: ...Appendix B Rack mount configuration 166 6 Fully extend the mounting rails on the rack ...
Page 177: ...169 7 Route all cables through the cable clips ...
Page 178: ...Appendix B Rack mount configuration 170 ...
Page 179: ...Appendix C Altos eXpress Console ...
Page 180: ...This appendix familiarize you to a standard web browser with a nice graphical user interface ...


