Advanced Videographic Recorder
SM2000
3 SETUP
32
IM/SM2000
Issue 11
3.4 Setup Menu
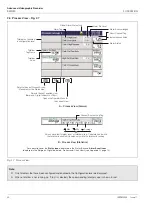
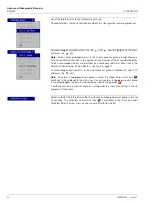
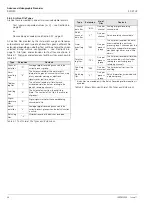
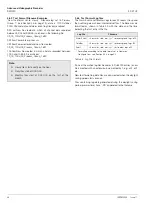
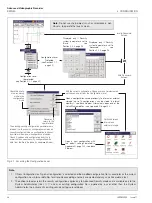
Use this menu to stop and start recording or switch between the Primary and Secondary
sample rates on one or more channels in the current Process Group.
The Primary sample rate is set typically to a relatively slow rate (depending upon process
recording requirements) and is active during normal process operating conditions in
order to maximize internal memory and external archive media.
The Secondary sample rate is set typically to a faster rate than the Primary sample rate
and may be selected manually in order to record the maximum amount of detail during,
for example, an alarm condition.
The rates are set during configuration:
If 'Configuration type' is set to 'Basic' (see Section 4.4.1, page 52), the primary
and secondary sample rates apply to all enabled channels in each Process Group
– see Section 4.5.1, page 64. Therefore, individual channel selections are greyed-
out in the menu and the 'Stop', 'Primary' and 'Secondary' selections are applied to
all channels in the current process group simultaneously.
If 'Configuration type' is set to 'Advanced' (see Section 4.4.1, page 52), each
channel's sample rates are configured independently (see Section 4.6.1, page 77)
and the 'Stop', 'Primary' and 'Secondary' selections can be applied to individual or
all channels.
Note.
Switching between the primary and secondary sample rates does not affect the
screen interval in the Chart view.
When a channel is set to 'Stop' the instantaneous value in the associated indicator
is displayed in red and, after the end of the next sample period, no further samples
are plotted on the associated trace.
Digital recording channels can only be set to 'Stop' or 'Go'.
Recording control can also be implemented using digital sources – see Sections
4.5.1 page 64 and 4.6.1 page 77.
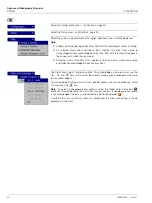
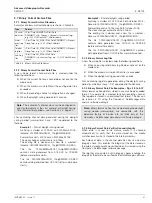
If selected, the date of the oldest unarchived data is set to that of the oldest data in the
internal flash memory. This allows all data in the internal memory to be re-archived to
external media.
Note.
Ideally, a blank media storage card should be inserted prior to selecting this
function.
To re-archive data:
1. Insert archive media, with sufficient free space, into the instrument.
2. Select 'Off-line' in the Setup Menu.
3. Select 'Reset archiving' in the Setup Menu.
4. Select 'On-line' in the Setup Menu.
5. Select data to be archived if >1 hour (Text format) or >1 day (Binary format) of data
in internal memory and press
.


