Note
Action
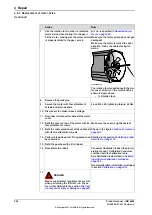
If the robot is to be calibrated with fine
calibration:
Remove all external cable packages
(DressPack) and tools from the robot.
Removal, motor
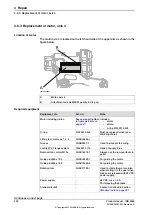
The procedure below details how to remove the motor, axis 6.
Note
Robots with protection type Foundry Plus or Foundry Prime require special repair
routines to maintain the tightness level, in addition to the procedure below,
described in
Replacement of the motor axis 6 (Foundry Plus) on page 308
Note
Action
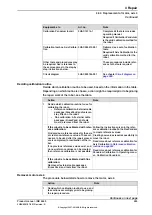
Decide which calibration routine to use, and take
actions accordingly prior to beginning the repair
procedure.
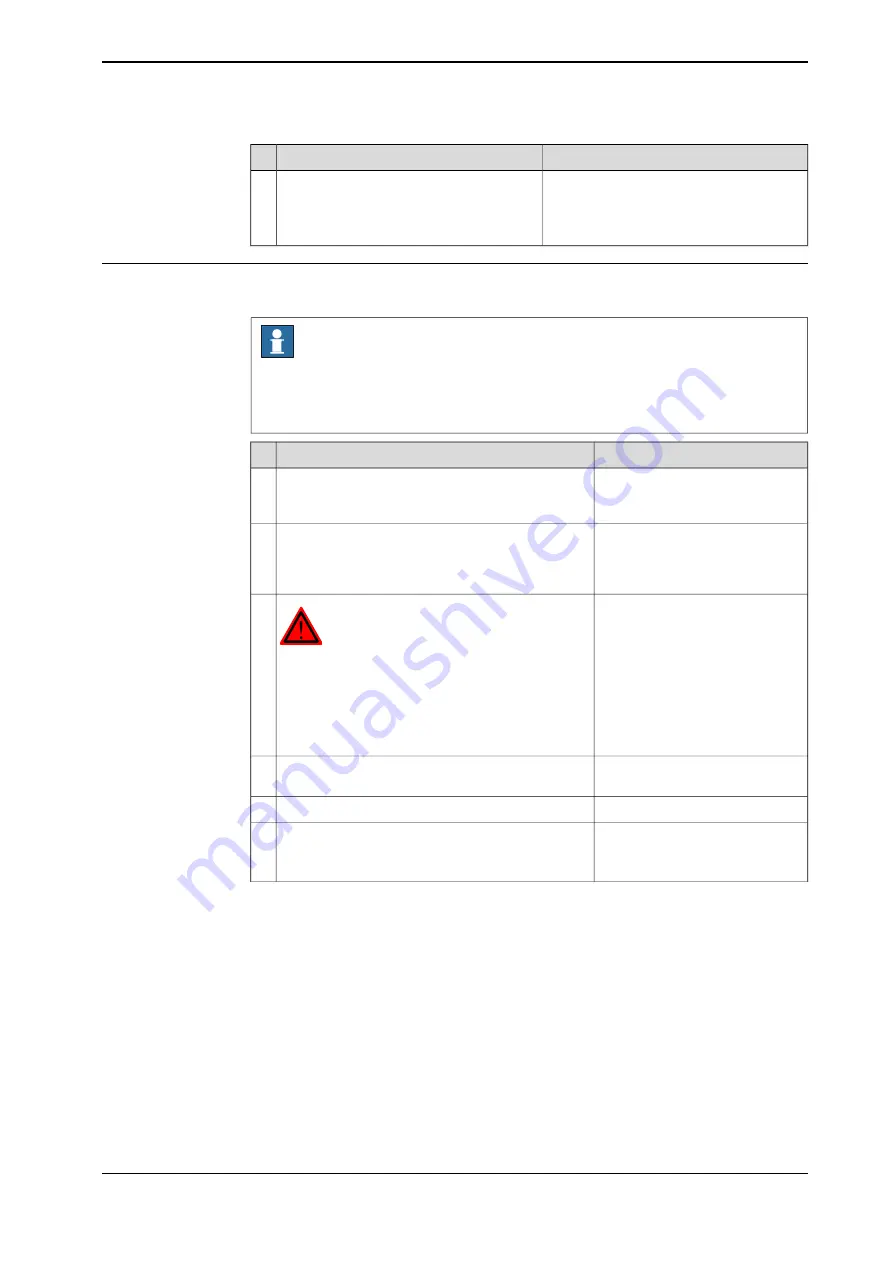
1
Move the robot to a position where the motor in
axis 6 is pointed straight up. This position enables
the motor to be replaced without draining the gear
oil, which in turn saves time.
2
DANGER
Turn off all:
•
electric power supply to the robot
•
hydraulic pressure supply to the robot
•
air pressure supply to the robot
Before entering the robot working area.
3
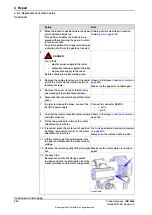
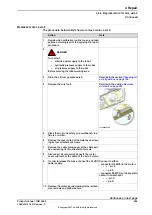
Remove the rear motor cover by unscrewing the
five attachment screws.
4
Disconnect all connectors beneath the cover.
5
Connect to connector R3.MP6
•
+: pin 2
•
-: pin 5
In order to release the brake, connect the 24 VDC
power supply.
6
Continues on next page
Product manual - IRB 6660
305
3HAC028197-001 Revision: S
© Copyright 2007-2018 ABB. All rights reserved.
4 Repair
4.6.5 Replacement of motor, axis 6
Continued
Summary of Contents for IRB 6660
Page 1: ...ROBOTICS Product manual IRB 6660 ...
Page 8: ...This page is intentionally left blank ...
Page 18: ...This page is intentionally left blank ...
Page 48: ...This page is intentionally left blank ...
Page 108: ...This page is intentionally left blank ...
Page 172: ...This page is intentionally left blank ...
Page 366: ...This page is intentionally left blank ...
Page 386: ...This page is intentionally left blank ...
Page 388: ...This page is intentionally left blank ...
Page 394: ......
Page 395: ......


