


Page 82
JANUARY 2010 - TD 220a DEPLOYMENT GUIDE, RDCP600
5.5.2
Instructions for uploading RDCP600 Image
If you already have a MMC card with a RDCP600 Image ready, skip to step 5.
1.
Use a MMC card of at least 32 Mbytes. Preferably use the MMC card you received with the
instrument.
2.
Insert the MMC Reader into the USB slot. Make sure a disk named
Removable Disk
appears
in
Explorer.
3.
Erase all content of the MMC card. If you prefer to erase the card using the F
ormat
command, use
FAT
file format (not FAT32 or NTFS).
4.
Copy the file named
NK.nb0
to the MMC card.
a)
Select the file in the PC directory.
b)
Right-click and select
Copy.
c)
Move to the
Removable Disk
folder, right-click and select
Paste.
d)
The large file (16 MBytes) takes a while to transfer. However,
Explorer
will report
finish
before the complete transfer has taken place. Thus, monitor the yellow light on the MMC
Reader for blinking. After the blinking stops, wait an additional minute.
e)
Remove the MMC card from the reader.
f)
Click
Refresh
in
Explorer
(or go to another directory and back to
Removable Disk
) and
confirm that there is no card in the reader.
g)
Insert the MMC card again and confirm that the file
NK.nb0
actually exists on the card.
5.
Install the MMC card in the RDCP 600 MMC slot.
6.
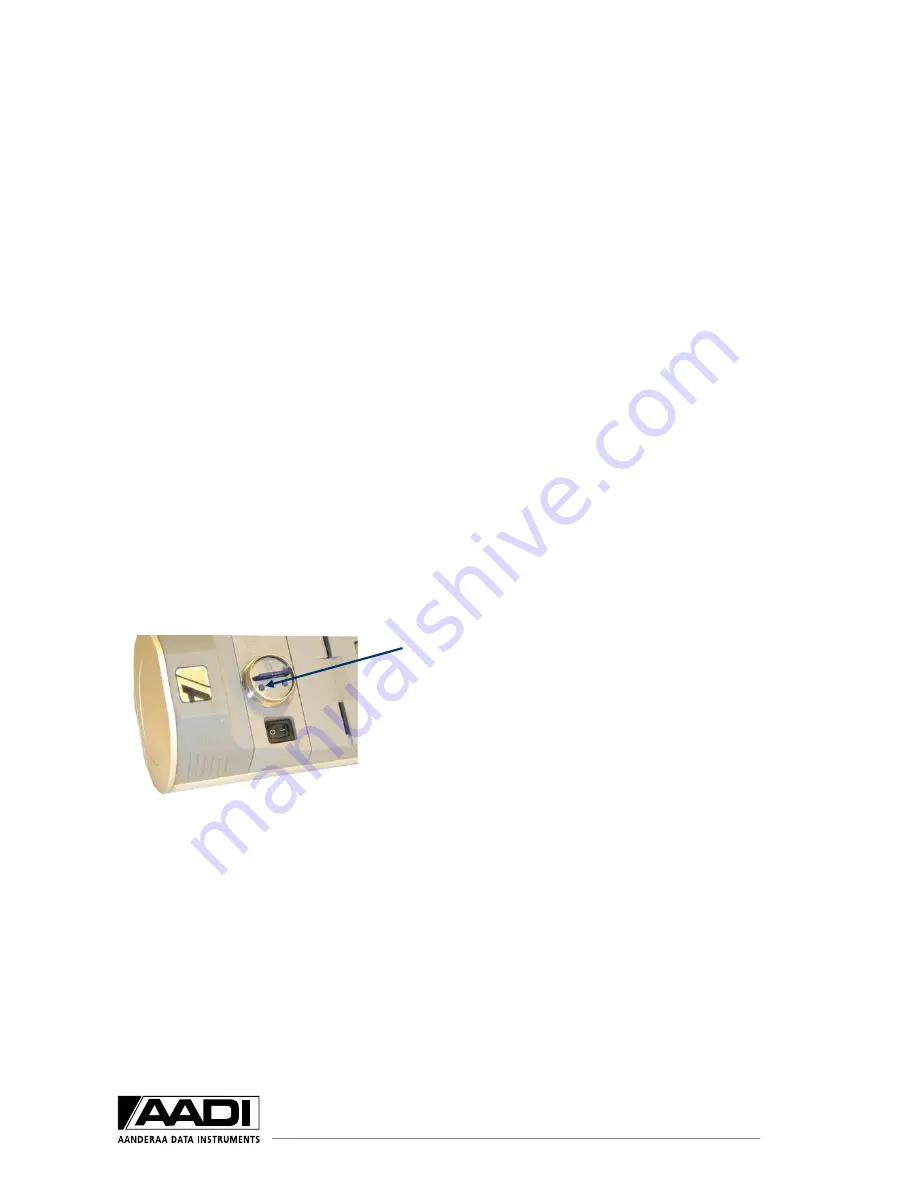
Open the Compact Flash Card Housing in the RDCP 600.
7.
Use the stylus to press and hold down the lower
boot button in the MMC Housing; Switch
ON
the
RDCP before releasing the boot
button. Observe
that the LCD screen turns on.
8.
Release the boot button.
9.
Tap the boot button once more; the LCD screen
will now appear dark yellow.
10.
Release the boot button once more and wait until
the LCD screen turns dark red; the new image is
about to be transferred. The image is large in size,
and will take approximately 20 minutes to
download
11.
After a while the LCD screen will turn dark red,
and the new image is about to be transferred. The image is large in size, and will take
approximately 20 minutes
to download.
12.
When the download has finished, the ordinary start-up screen, with the
Menu
button appears.
13.
Switch
OFF
the instrument using the power switch, and then switch it back
ON
to confirm
that the new image has been installed.


