Chapter 9. Maintaining Units
166
3ware Serial ATA RAID Controller User Guide
3
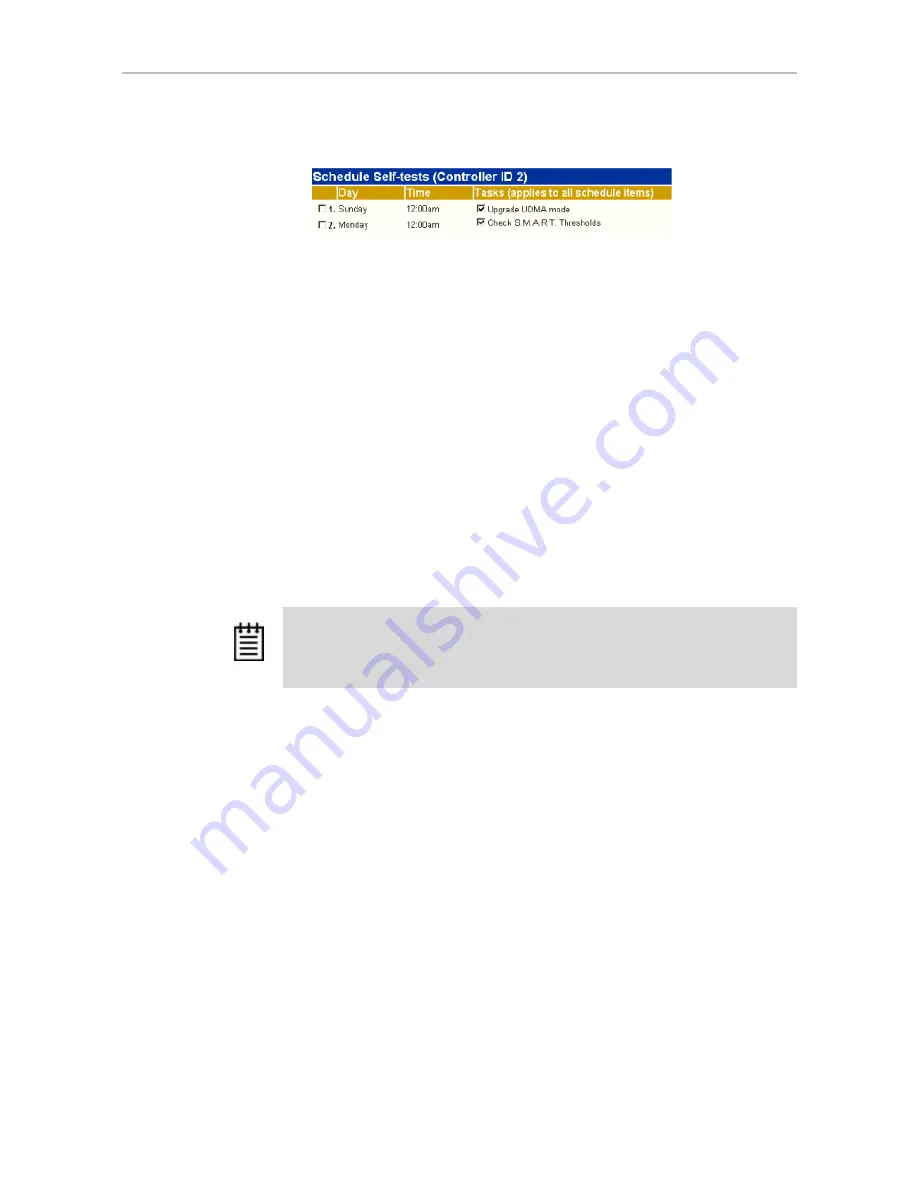
Check the boxes next to the self-tests you want to be performed.
To disable self-tests
Unlike scheduling of rebuilds and verifies, scheduling of self-tests is always
enabled.
To disable self-tests you must either remove all schedule times, or uncheck
the tests listed in the
Tasks
column.
Locating a Drive by Blinking Its LED
You can easily identify the drives in a unit, or an individual drive, by causing
the LEDs associated with the drives to blink.
When you have drives installed in an enclosure that has an integrated AMCC/
3ware CCU (chassis control unit) and have connected the I
2
C (chassis
control) connector on the 3ware RAID controller to the chassis, you can
locate individual drives by blinking their associated LED.
You can issue the command to blink the LED through 3DM.
(For details about what the different LED patterns on the enclosure mean, see
“Enclosure LED Status Indicators” on page 140.)
To blink the LED for a drive
1
Do one of the following:
•
Choose
Information > Drive Information
from the main menu in
3DM. On the Drive Information page, identify the drive you want to
physically locate.
•
Choose
Monitor > Enclosure
from the main menu in 3DM. On the
list of enclosures, click the ID number of the enclosure. On the
Enclosure Detail page, identify the drive you want to physically
locate.
2
Check the box in the
Identify
column.
Note:
Drive Locate is supported by some chassis vendors. This feature requires a
chassis with a Chassis Control Unit (CCU) designed according to AMCC/3ware
specifications. Check the 3ware support web site for future updates on a list of
chassis vendors that support the CCU, as they become available.


