32
3M™MicroTouch™ System DST2270DX Integration Guide
3M Touch Systems, Inc. Proprietary Information – TSD-25739
Adding Spacers to the Bezel
You may need to insert nylon spacers and washers over each bezel post to accommodate
the additional space of the sealing gasket and sensor. The spacers provide safety
clearance for the sensor and prevent the bezel from contacting the sensor. Do not omit
these spacers and washers and do not apply undue pressure to the installation.
You need to determine the correct amount of space to add to the bezel. At a minimum,
you must add enough space to adjust for the thickness of the sensor, the mounting tape
on the back of the sensor and the gasket seal.
The sealing gasket 3M 4508 (0.125 inches (3.2 mm)) and mounting tape 3M 5925 (0.025
inches (0.64 mm)) and 3M 5962 (0.062 inches (1.55 mm)) add approximately 0.212 inch
(5.39 mm) and the sensor adds approximately 0.086 inches (2.2 mm) to the thickness of
the display assembly. You will need to make sure there is at least 0.298 inches (7.59 mm)
space to reassemble the display once the gasket, tape, and sensor are fully integrated.
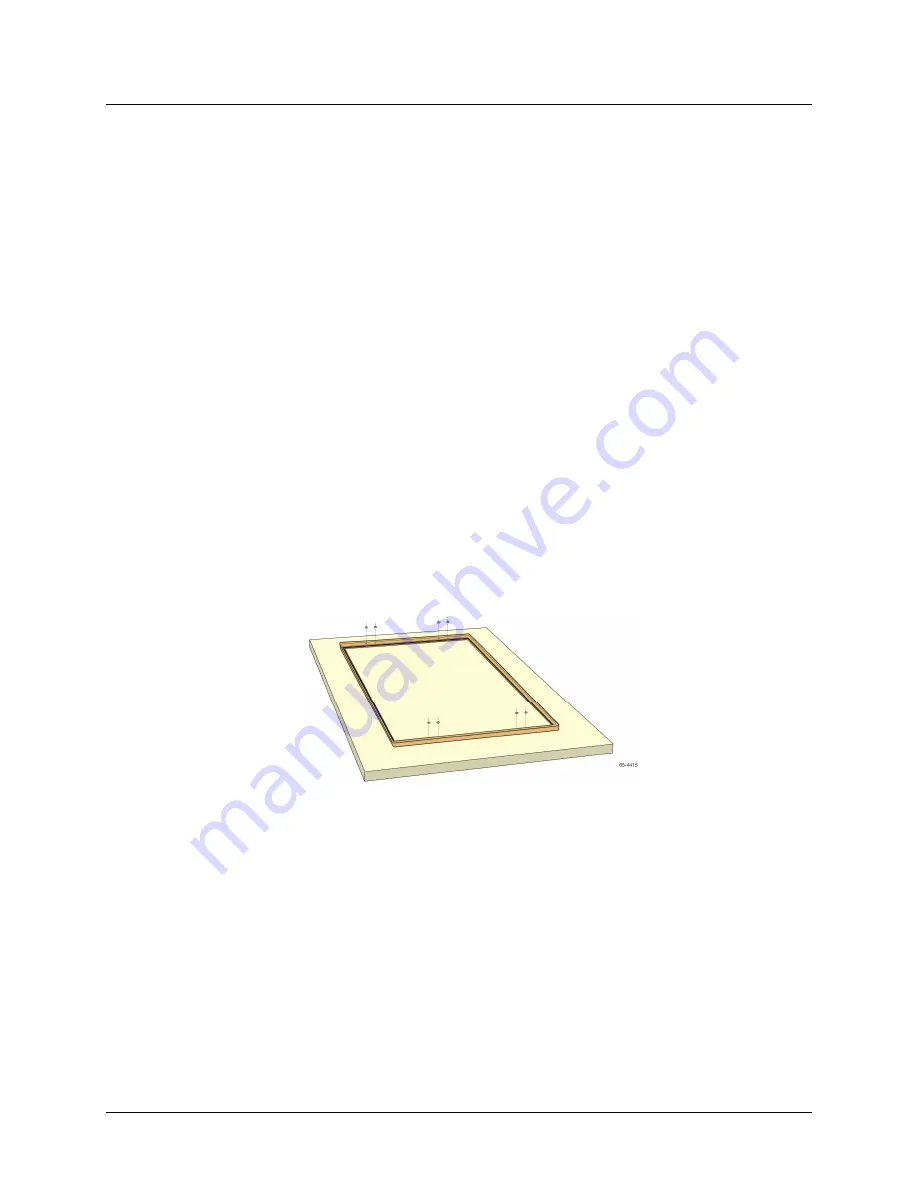
Following is an example of adding spacers to the bezel to accommodate the extra space
created by the sensor.
1.
Insert a temporary post, such as a cable tie-wrap or toothpick, in each bezel hole.
2.
Place a nylon spacer over each temporary post. The size of this spacer will
compensate for the thickness added by the sealing gasket, mounting tape, and sensor.
If the size of your spacer is different, you may need to provide additional spacing and
support.
3.
Align the screw holes (or tabs) over the temporary post. Each display hole/tab must
rest on top of the spacer and washer above the bezel screw hole.
4.
Adjust the display so that it is centered in the bezel and remove the temporary posts.
5.
Select a replacement screw for the factory-installed bezel screws. 3M Touch Systems
recommends that you replace the factory screws with longer screws to accommodate
the sealing gasket and sensor thickness and prevent the glass from breaking by
forcing too-short screws to work.
The replacement screws should be the same type and size as the factory screws, but
longer. The size depends on the amount of space you added between the bezel and
display.


