


Page 30
User Manual
Order Form details
Description
Patient ID
Patient Name or Anonymized ID
HeronCloud™ Connection
Connection to lab configured in the HeronCloud
TM
.
Delivery Date
Requested order delivery date
Printed Model
Order a printed model
Antagonist Scan
Include a scan of the opposing teeth (selected by
default)
HR Processing
Use High Resolution processing
Pre-Op Scan
Include a pre-operative scan
The antagonist can be de-selected if not required. Relevant Scan Flow steps will be
automatically removed from the Scan Flow menu.
To select a lab, a connection must first be set up with the lab via the HeronCloud
platform. See:
Connecting Heron™ IOS To HeronCloud™
You can select a default lab from those connected to your HeronCloud account in
system
Before sending an order, make sure the correct Patient ID and Lab are selected,
and that you have entered the requested delivery date from the Lab.
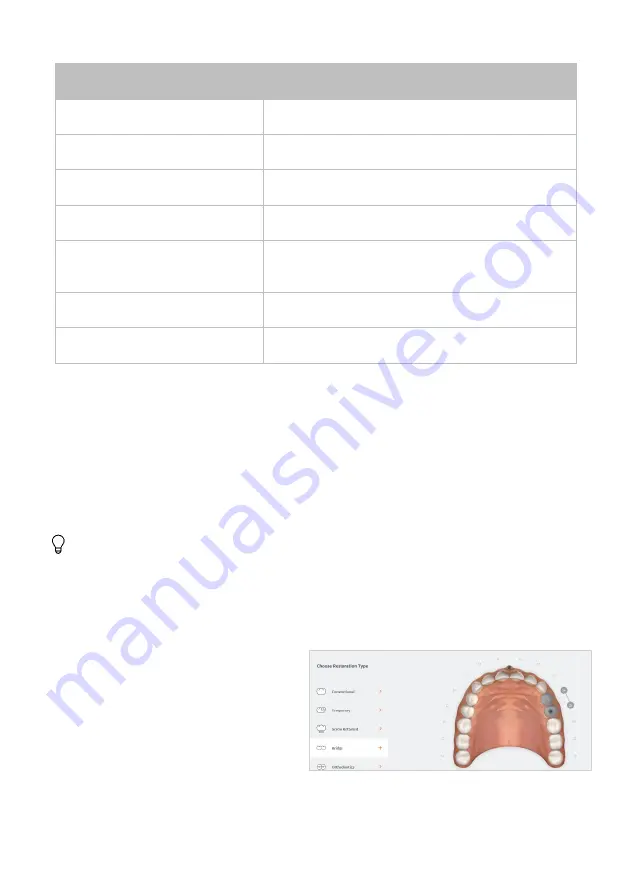
4.
Select tooth/teeth for restoration
•
Click on the tooth or teeth to select for restoration.
The
Choose Restoration Type
menu displays automatically.
Selecting a bridge
:
•
To select teeth to be bridged:
select a tooth and then
Hold
[CTL]
to select a second tooth.
Bridged teeth are displayed as
shown.


