30
C
HAPTER
4: C
LIENT
PC C
ONFIGURATION
6
On the
Port Settings
screen, shown above:
a
Select
LPR
in the
Protocol
section
b
Enter a
Queue name
(L1 for the USB Port)
c
Ensure the
LPR Byte Counting Enabled
setting is
Enabled
.
d
Click OK to confirm your changes and close this screen.
7
Follow the prompts to complete the Wizard.
Windows 9x/ME
Setup
Before performing the following procedure, the Print Server must be
installed on your LAN, and configured as described in
Chapter 3
. Both the
Print Server and the attached printer should be powered ON.
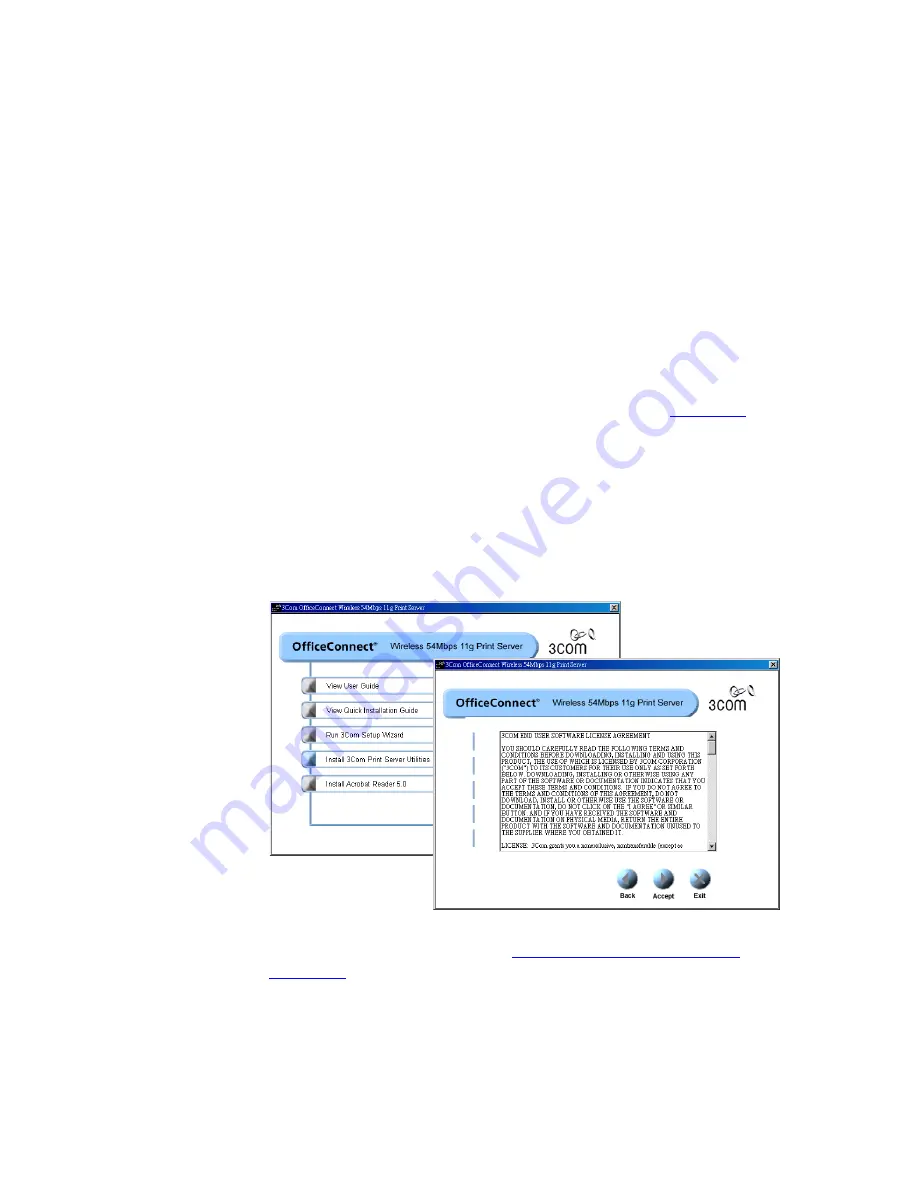
1
Insert the supplied CD-ROM into your drive. If the setup program does
not start, run
Autorun.exe
in the root folder.
2
Click
Install 3Com Print Server Utilities
and then accept the 3Com
software license. Click
Peer-to-Peer Driver
to install.
Figure 9
Installation Screens
3
Follow the prompts to complete the installation of the Peer-to-peer
Printer Port Driver. (Refer to the
“Windows Printing Problems”
in
Chapter 7
if there is a problem with the installation.)
4
The
Print Driver Setup
will then run.
In future, you can use
Start
-
Programs
-
3Com Print Server Utilities
-
Driver Setup
to run the program again.
Summary of Contents for 3CRWPS10075-US - OfficeConnect Wireless 54Mbps 11g Print Server
Page 8: ......
Page 12: ...12 ABOUT THIS GUIDE ...
Page 20: ...20 CHAPTER 2 LAN INSTALLATION ...
Page 40: ...40 CHAPTER 4 CLIENT PC CONFIGURATION 6 Click Add Configuration is now complete ...
Page 68: ...68 CHAPTER 7 TROUBLESHOOTING ...
Page 72: ...72 APPENDIX A SPECIFICATIONS ...
Page 76: ...76 APPENDIX B WINDOWS SERVER CONFIGURATION ...
Page 84: ...84 APPENDIX C UNIX SYSTEMS ...
Page 93: ......


