


P. 19
Fxbox 2.0 User Manual
1/22/19
3:54 PM
v. 2.0
Copyright ©1010music LLC 2019
Working with the Step Sequencer
The Step Sequencer creates a recurring pattern that controls when effects are applied. You can have a different pattern for
each effect.
Start and Configure the Step Sequencer
1.
On the Main screen, touch the
Play
button in the lower right corner to start the Step Sequencer if needed.
2.
With the
Play
button selected, push the
INFO
button to see the Step Sequencer Parameters screen.
3.
Use the control knobs to adjust the following parameters:
Parameter Settings
Sequencer
ON:
The Step Sequencer will run constantly
OFF:
The Step Sequencer will run in Toggle mode. Start and
stop the Step Sequencer by pressing the
Play
button on the
Main
screen or sending a CV signal to the bottom CV
Modulator
jack. Each high signal on the CV input toggles
between Play and Stop mode. An unfilled blue bar appears at
the bottom of the Play cell when the Step Sequencer is
playing.
Length
The length of each step in the sequence.
Values
: 2 bars, 1 bar,
½
,
½
T,
¼
,
¼
T, 1/8 , 1/8 T, 1/16, 1/16
T, 1/32, 1/32 T, 1/64
Steps
The number of steps in the sequence.
Values
: 2 through 32
Quant Size Determines when the sequencer will be engaged or
disengaged as specified in musical length. The incoming clock
or MIDI clock sets the tempo for this setting.
Values
: 2 bars, 1 bar,
½
,
½
T,
¼
,
¼
T, 1/8 , 1/8 T, 1/16, 1/16
T, 1/32, 1/32 T, 1/64
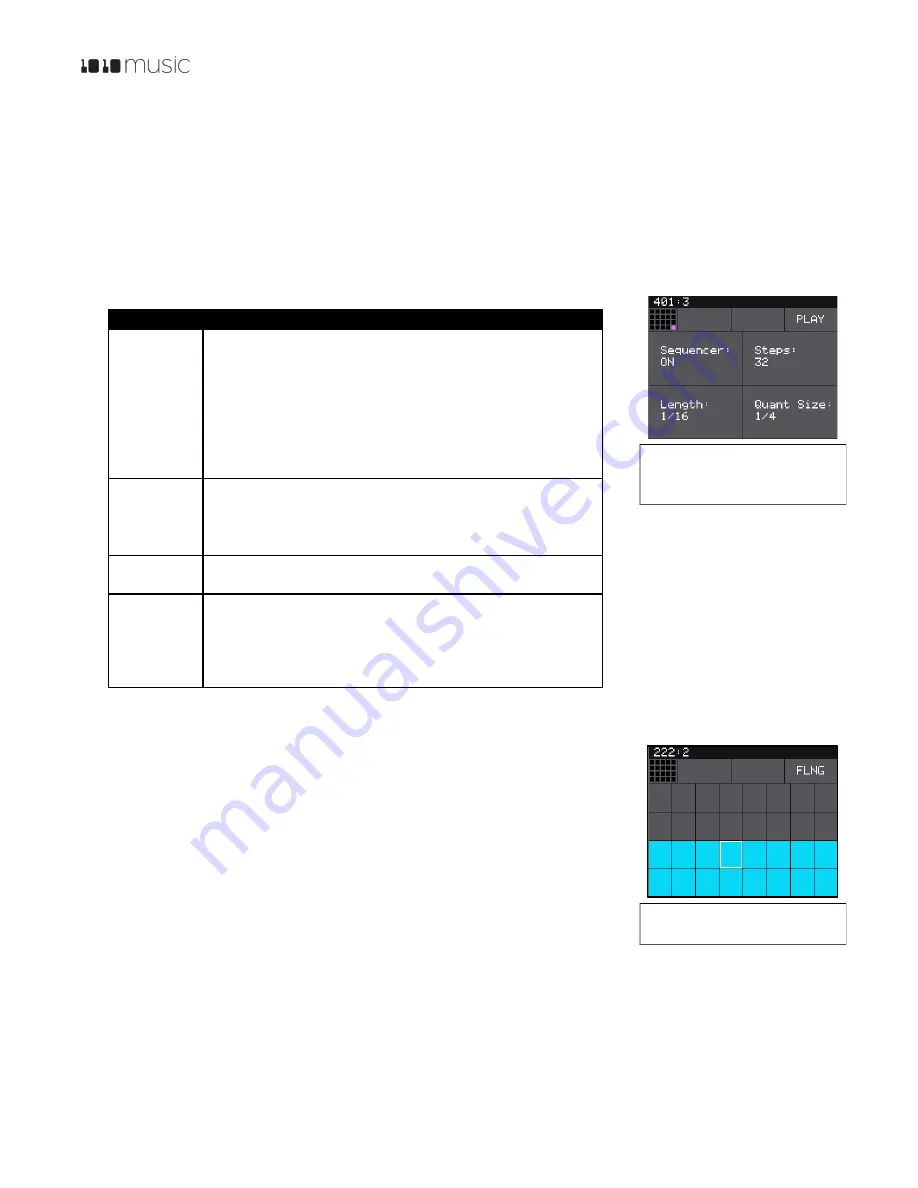
Sequence an Effect
1.
From the Main screen, select an effect to sequence by touching the grid cell.
2.
Push the
INFO
button twice to display the Step Sequencer screen. A box outline
moves across the grid to represent the currently playing step of the sequencer.
The number of boxes the sequencer moves through is controlled by the
Steps
parameter. The time spent in each box is controlled by the
Length
parameter.
The sequencer starts in the lower left corner, moves across to the right, and then
moves up to the next row.
3.
Touch the grid boxes on the screen to enable and disable the gate for the effect
on each step. The effect is enabled for the step when the grid box is highlighted
blue.
4.
Repeat steps 1 through 3 for other effects as desired.
On the Main screen, you can see the Step Sequencer in action by watching the blue bars that appear below the effects grid
cells when the sequencer enables the effect. You can have a different step sequence for each preset.
Figure 22: Step
Sequencer Parameters
Screen
Figure 23: Step
Sequencer Screen


