


Note:
► A microSD card must be inserted into bitbox before you can get started. All
presets are stored on the microSD card.
► Preset changes are only saved when you choose to save them.
modules do contain some buffering to prevent burning
out the module but that only
buffers for so long. Don’t power up yet.
Next make sure the microSD card that came with the
module is inserted into the MICRO SD slot. Most
modules come with the microSD card already inserted.
The card should be inserted with the straight edge
closest to the touchscreen. Bitbox has been tested with
microSD cards that hold up to 256 GB of data, but
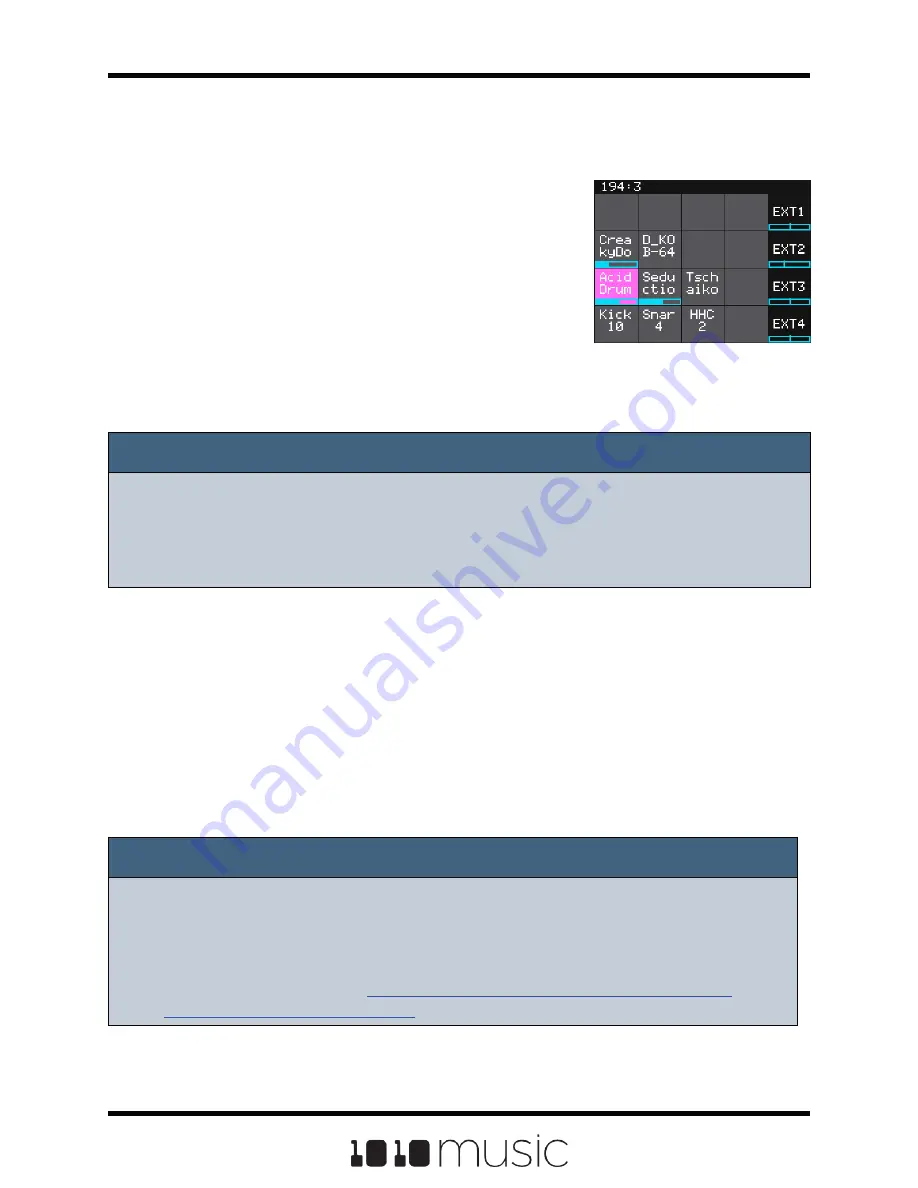
theoretically can support even larger cards. Now you can
power up the rack. The module should start up in less
than 10 seconds and you will see the Main screen as
shown on the right.
Main Screen
Connect an Output
In order to hear the sounds that are playing on your bitbox, you will need to connect the
outputs to some speakers. Start by inserting two mini TS cables to the OUT1 and OUT2
jacks and then connecting the other ends to your mixer or speakers.
Connect an Input
Bitbox accepts several different forms of input. For now we will set up some basic inputs
to get you started. If you are going to use a MIDI device to drive your bitbox, connect it
to the MIDI input on the bitbox.
Note:
► Not all mini TRS MIDI jacks work the same way. You can use mini TRS cables
to connect the bitbox MIDI input to the MIDI output of another 1010music
product, or other compatible products. For other products you may need to use
a MIDI adapter. For information about MIDI adapters and compatibility see our
knowledge base article at
Page 12 of 72
Bitbox 3.0.1 User Manual


