30
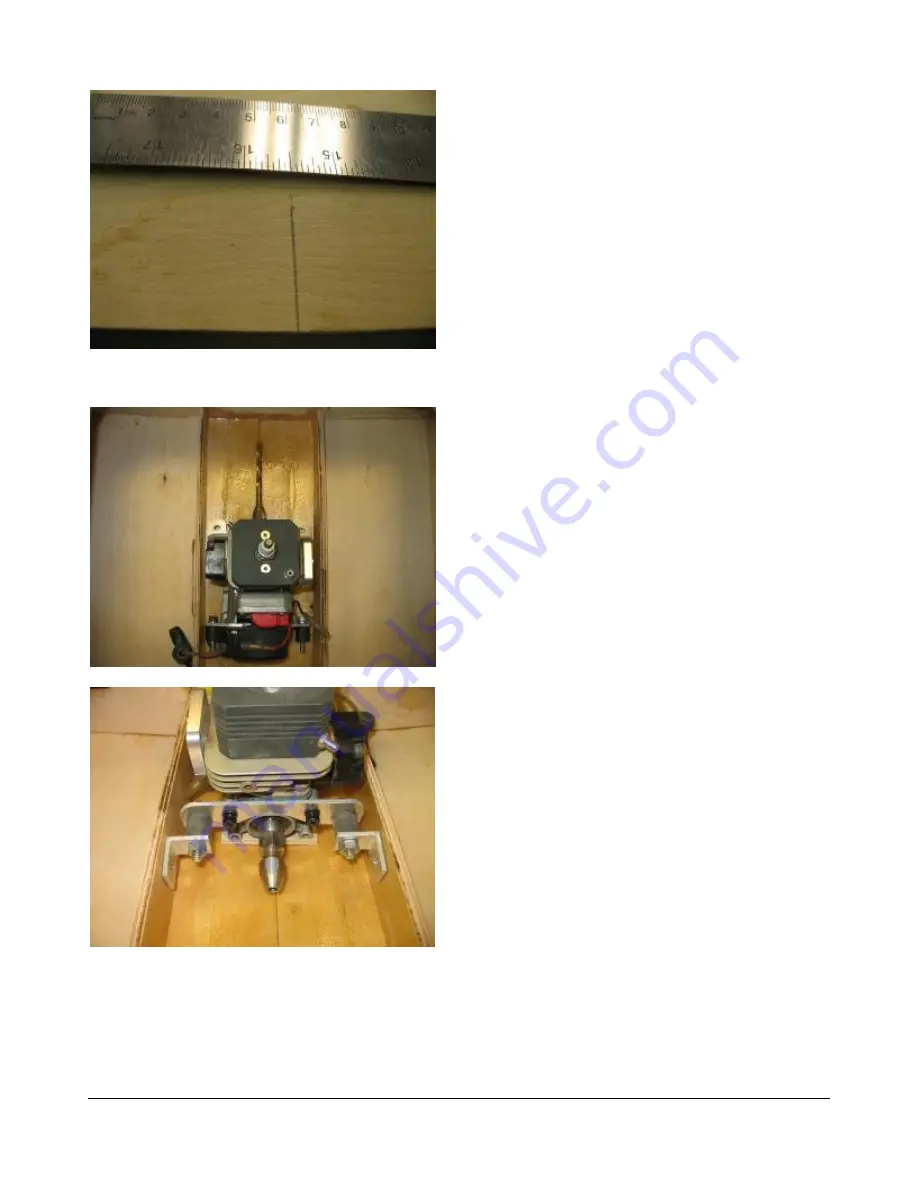
Mark bottom 15-1/2 from transom.
Use a 1/4 drill bit to help align engine.
Custom mounts being installed.
Center of Gravity
Mount engine as far forward as possible!
Engine mounting
Use scraps of wood to angle it so that the collet (or
square drive) points to the hull bottom, at least an
inch in front of bulkhead 5.
Mount the engine as low as possible, but make sure
the mounts don’t touch the bottom.
Mark the rear hole locations on the engine rails.
Remove the engine and drill the rear holes.
Mount the engine to the rails at the rear.
Put a ¼ inch drill bit in the collet. Block up the front
of the engine, and mark the rails.
Make sure the drill bit is pointing to the center of the
boat, and at least an inch in front of bulkhead 5.
Also use it to determine the exact location of the
hole for the stuffing tube in the hull bottom.
If using a square drive, find a drill bit that fits snugly.
Around 3/16.
Remove the engine and drill the front mounting
holes.
Remove all the hardware.
Bolt the engine back in, using all 4 mounts.
Mark the location of the hole for the stuffing tube.
Cover the engine to keep dust out of it.
Stuffing tube
Drill a 5/16 hole, about ½ inch behind your mark for
the stuffing tube. Use a round file to elongate this
hole to match the angle of the engine.
To get the exact angle, you can wrap masking tape
on the drill, and slide the 11/32 stuffing tube over
that, to get it centered.
When the hole is opened up properly, the stuffing
tube will slide onto the drill bit and tape without
Содержание I-BOX
Страница 8: ...I B O X N B O X 6...


