ZeverCloud website
~
54
~
8.3.2
Power & Energy
This menu provides detailed graphs such as power & energy of each inverter in
the PV plant.
8.3.3
Input
This menu provides detailed graphs such as Input PV Vpv & Ipv of each inverter
in the PV plant.
8.3.4
Output
This menu provides detailed graphs such as Vac, Iac & Fac of each inverter in the
PV plant.
8.3.5
Co2 Avoided & Income
This menu provides detailed graphs such as Co2 Avoided & Income.
8.3.6
Event
This menu provides detailed information of each inverter’s work state.
8.4
Add a ZeverCom/ZeverCom WiFi
A ZeverCom/ZeverCom WiFi can be added to a PV plant as follows:
Step1: Login to ZeverCloud and enter Configuration
→
Device Management page.
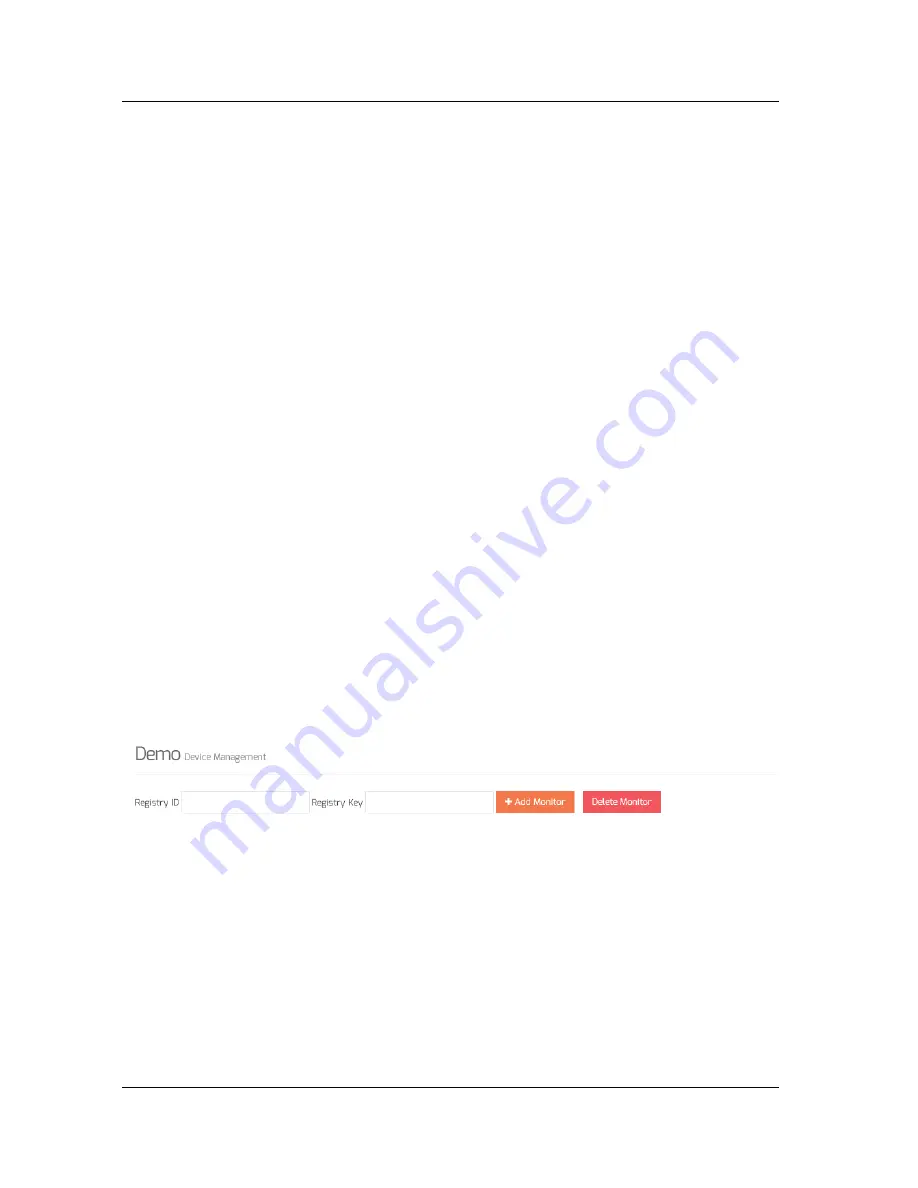
Step2: Enter the serial number and registry key of the ZeverCom/ZeverCom
WiFi into the textbox shown in Fig. 8-5.
Fig. 8-5: Add more ZeverCom/ZeverCom WiFis to the PV plant
Step3: Click the “Add monitor” button and the new ZeverCom/ZeverCom WiFi will
be added.
8.5
PV plant Sharing
Your PV plant can be shared with other ZeverCloud users, to enable other users
to view your PV plant. You can also configure the sharing authority when sharing
it.


