


15
Special Menu Options
- If a fixed image is displayed on the screen for a long time, that fixed image may become imprinted on the screen and
remain visible.
- 4:3 format is available in RGB-PC mode (Except 800x600).
- The menu options are 4:3, 16:9 or Zoom.
1. Use the ratio button to select an appropriate picture format.
• 4:3
- 4:3 is the standard picture format size.
• 16:9
- You can view either the cinema picture format 16:9 or standard picture format 4:3 in the 16:9 mode.
- 16:9 is viewed as is, 4:3 image is expanded to the left and right to fill the 16:9 screen.
- RGB-DTV (720p/1080i) and Component (720p/1080i) sources can only use the 16:9 screen aspect ratio.
• Zoom
- You can zoom the cinema picture format 16:9 and expand it to fill the top and bottom of the screen. When a 4:3 image is
zoomed, it is expanded to fill the 16:9 screen. Portions of the bottom and top of the picture may not be seen.
- Zoom is also available for RGB-PC (800x600).
- RGB-DTV (720p/1080i) or Component (720p/1080i) sources can’t use the Zoom feature.
- Use this function to correct jittering or picture instability while viewing a video tape.
1.
Press the menu button and then use
D
/
E
button to select the menu.
2.
Press the
G
button and then use
D
/
E
button to select Screen adj.
3.
Press the
G
button and then use
D
/
E
button to to select TV or VCR.
• Select the VCR option if watching a VCR.
• Select the TV option for other equipment (Except VCR).
4.
Press the enter button.
- Automatically adjusts picture position and minimizes image shaking.
- If the image is still not correct, your Monitor is functioning properly but needs further adjustment.
1.
Press the menu button and then use
D
/
E
button to select the menu.
2.
Press the
G
button and then use
D
/
E
button to select Screen adj.
3.
Press the
G
button and then use
D
/
E
button to select Auto-configure.
4.
Press the
G
button.
• When Auto-configure has finished, OK will appear on screen.
• If the position of the image is still not correct, try Auto adjustment again.
5.
If picture needs to be adjusted more after Auto adjustment in RGB mode, you can
adjust V-Position, H-Position and Phase.
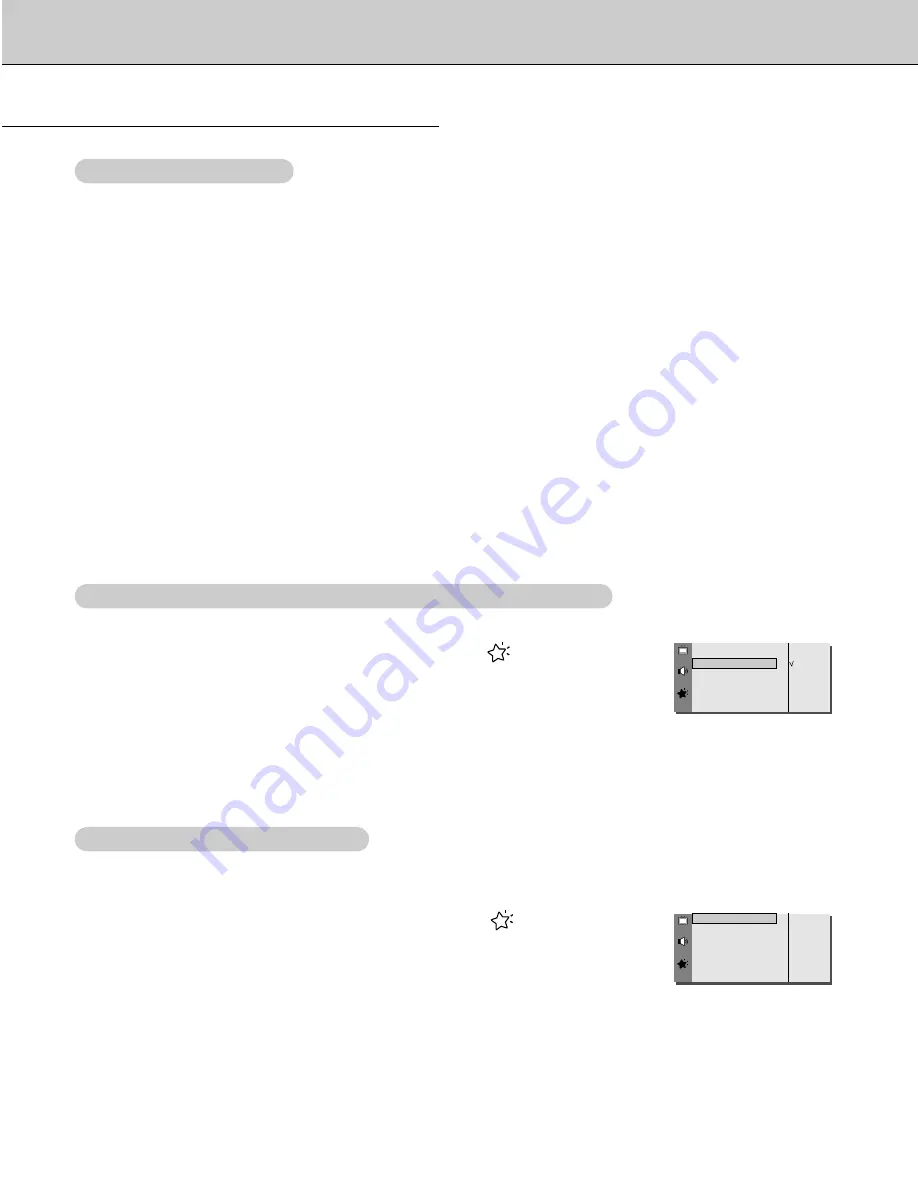
Language
G
ARC
G
Screen Adj.
G
Orbiter
G
White Wash
G
PIP
G
Transparency
G
Set ID
G
TV
VCR
Screen Adj.
Auto-Configure
G
V-Position
G
H-Position
G
Phase
G
Reset
G
To set
Auto-Configure
Selecting Picture Format
Selecting Picture Format
Screen
Screen
Adjustments (V
Adjustments (V
ideo, S-video and Component 480i mode only)
ideo, S-video and Component 480i mode only)
Auto
Auto
Adjustments (RGB mode only)
Adjustments (RGB mode only)
Содержание P40V24
Страница 29: ...29 Notes...
Страница 30: ...30 Notes...
Страница 32: ...P N 3828VA0355C NP00KC 206 3832...