Service Instructions VISUCAM
lite
Issue: 22.09.2003
SM-30-4044-A1-en
Replaces issue:
Page
35
of 41
Input and output signals of the electronic system
•
Start the service software (see "
Opening the Test Tools program"
).
•
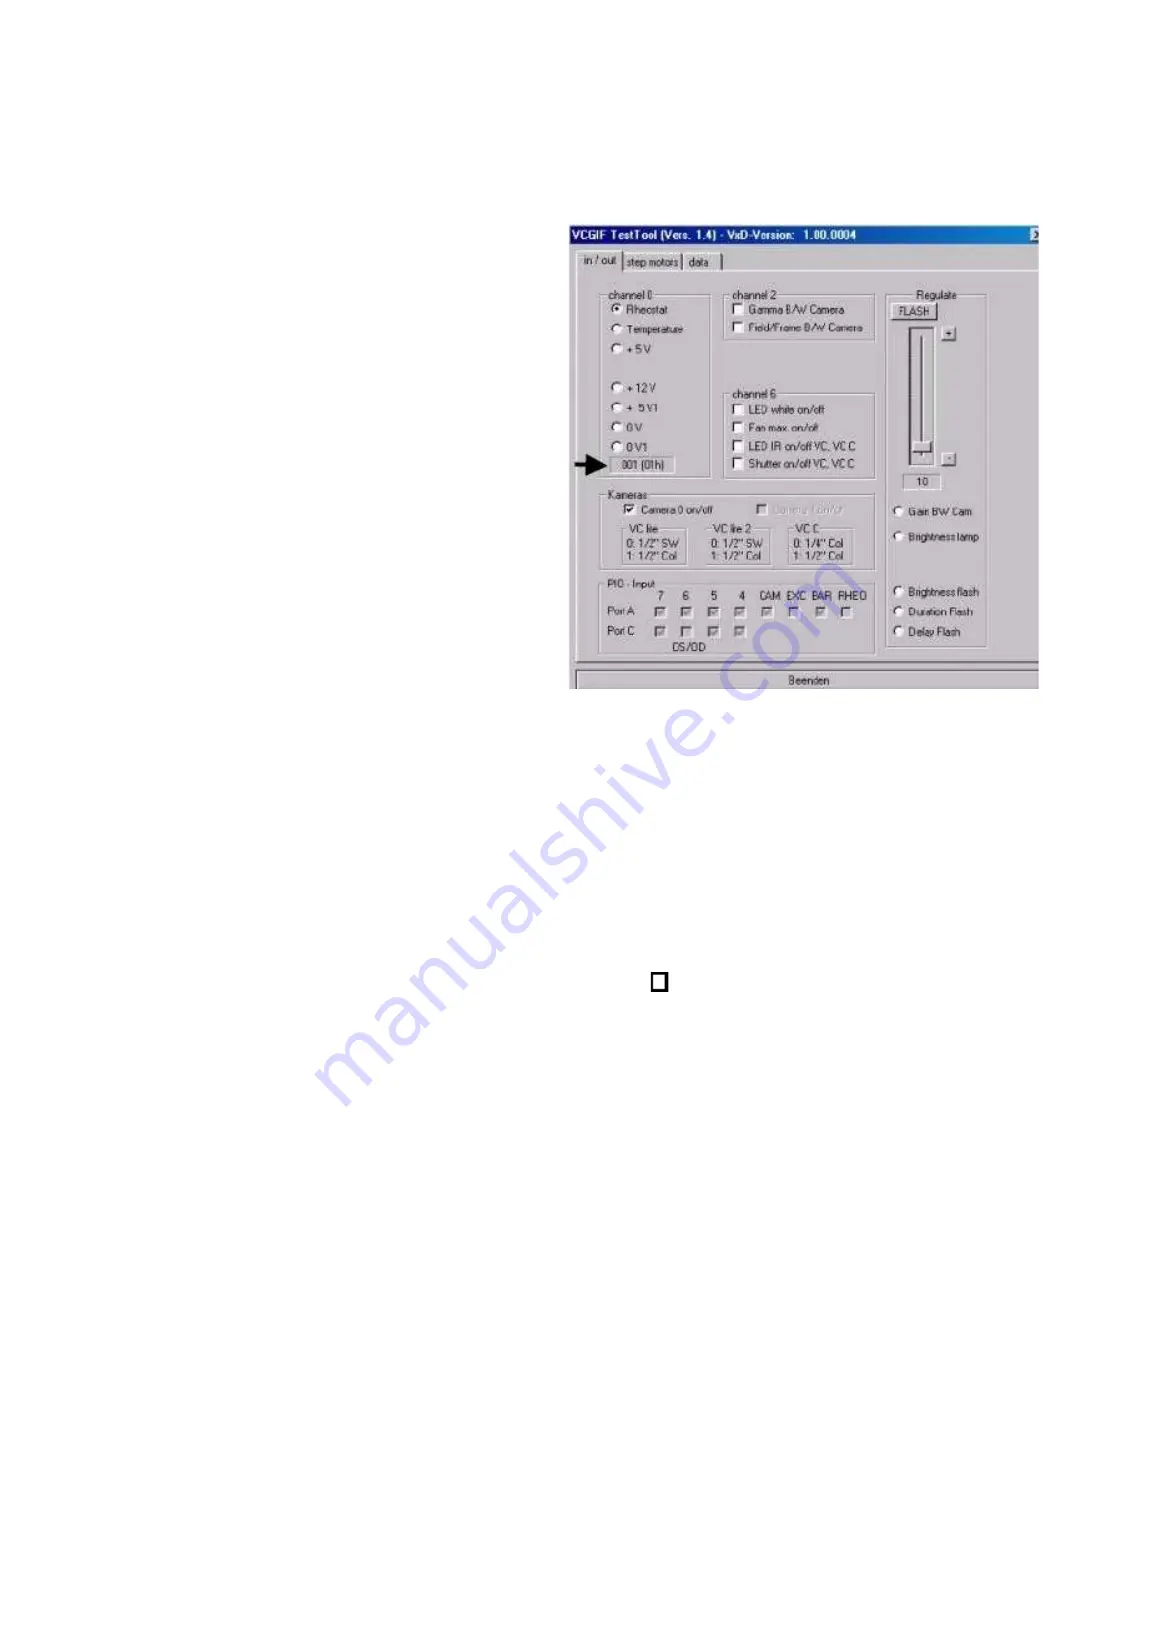
The
in / out
tab is displayed.
⇒
⇒
⇒
⇒
By clicking on the relevant function,
you can check the function or switch it
ON and OFF.
The display box shows the respective
values..
Checking the potentiometer input
•
Click on Rheostat (brightness
potentiometer) and turn the
potentiometer.
⇒
⇒
⇒
⇒
Display value ~1 – 254.
Checking the temperature sensor
•
Click on Temperature
⇒
⇒
⇒
⇒
The display values correspond to:
20°C–38, 50°C–85, 60°C-105.
From 50°C: max. fan speed.
From 60°C: instrument shutdown.
Checking the voltages with A/D converter.
•
Click on the voltage value.
⇒
⇒
⇒
⇒
+12V display value 200 ±5, 5% (12V from power supply unit)
+ 5V display value 50 ±5, 5% (5V from power supply unit)
+ 5V1 display value 200 ±5, 5% (5V1 from the VISUCAM
lite
contro system)
Checking of LED white, LED IR, fan, shutter camera supply
•
By clicking on the relevant function, you can switch it ON or OFF.
⇒
⇒
⇒
⇒
Checking is done visually, acoustically or by measuring the supply voltage.
Checking the joystick switch for right/left recognition and the opto-couplers
•
Operate the joystick switch.
➾
Display
RHEO of P/O input signal
•
Move the camera to the left.
➾
Display
OS/OD of P/O input signal
•
Move the camera to the right.
➾
Display
OS/OD of P/O input signal
•
Light barrier of barrier filter not activated (0 position)
➾
Display
BAR of P/O input signal
•
Light barrier of exciter filter not activated (0 position)
➾
Display
EXC of P/O input signal
•
Light barrier of camera shift not activated (0 position)
➾
Display
CAM of P/O input signal
Checking brightness adjustment using the service program
•
Click on Brightness lamp.
⇒
⇒
⇒
⇒
Use the slide to adjust the brightness level. Display level 0-200.
Checking the flash function
•
Click on Brightness flash.
⇒
⇒
⇒
⇒
The slider permits you to select the flash brightness. Display value 0-255.
•
Click on Flash. to trigger the flash.
Note:
When the flash is triggered, the lamp is set to the selected flash brightness. The
maximum flash brightness is the rated voltage (8V) of the lamp.
The flash duration and flash delay can also be selected.
Further functions not described here are not supported by the program.
Содержание VISUCAM lite
Страница 38: ......


