


6
01/2013
More features of
ZEN 2012
include:
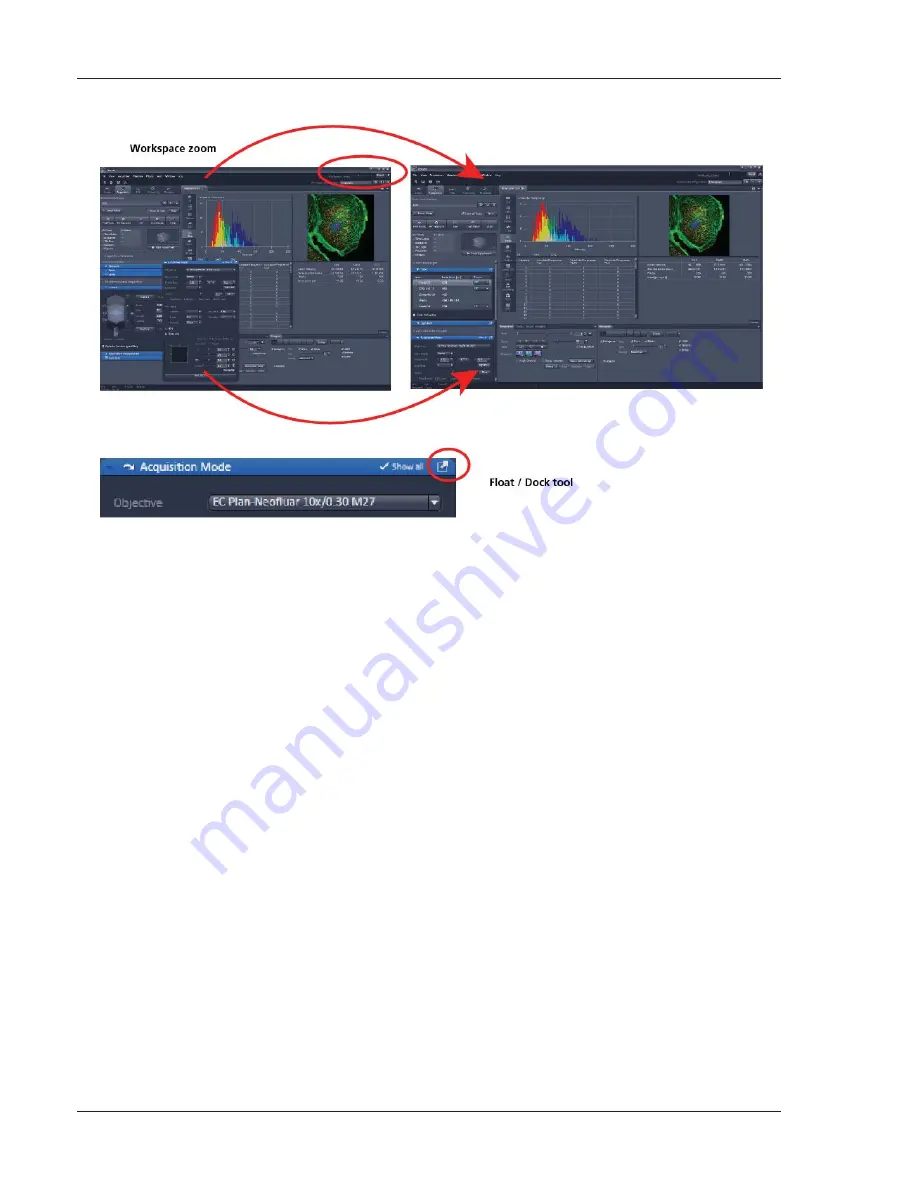
The user can add more columns for tools to the
Left Tool Area
or detach individual tools to
position them anywhere on the monitor. To add a column, drag a tool group by the title bar (e.g.,
Online Acquisition) to the right and a new tool column automatically opens. Alternatively use the
context menu "move toolgroup to next column". To detach a tool, click on the little icon on the
very right end of the blue tool header bar (Fig. 7).
Another unique feature in Imaging software is the scalable ZEN interface. This
Workspace Zoom
allows adjustment of the
ZEN 2012
window size and fonts to the situational needs or your
personal preferences (Fig. 7).
Setting up conventional confocal software for a specific experiment can take a long time and is
often tedious to repeat. With ZEN these adjustments have to be done only once – and may be
restored with just two clicks of the mouse. For each type of experiment one can now set-up and
save the suitable
Workspace Layout
. These configurations can also be shared between users.
For most controls, buttons and sliders, a
tool tip
is available. When the mouse pointer is kept over
the button, a small pop-up window will display which function is covered by this tool/button.
These are just some of the most important features of the ZEN interface. For a more detailed description
of the functionality for the
ZEN 2012
software, please refer to the User Manual that is provided with
your system.
Fig. 7
ZEN Window Layout configuration
Содержание LSM 700
Страница 2: ......
Страница 16: ...14 01 2013 Fig 15 Proposals panel of the Smart Setup tool...


