18
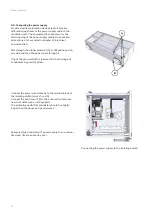
8.5.1. Fixing the bracket to the ceiling
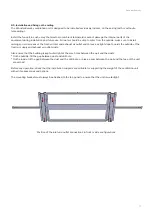
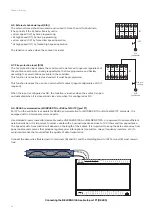
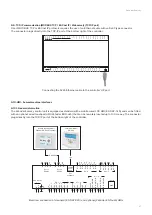
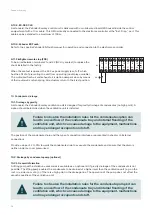
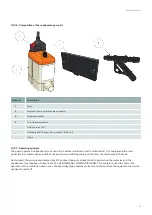
Example of a Zehnder Eversky unit with duct connection on the rear side and leaning against the wall.
Stage
Description
1
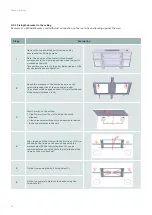
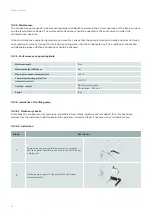
Remove the top panel support from the unit by
unscrewing the 4 fixing screws.
Note: The position of the factory-fitted bracket
corresponds to the clamping position when the unit is
mounted on the wall.
This position may refer to the prior dimensioning of the
chosen installation configuration.
2
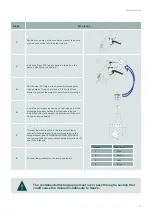
Check the presence of the tightening nuts on the
screws/threaded rods of the mounting bracket.
(the nuts should be engaged about 10 mm after the end
of the screws/threaded rods)
3
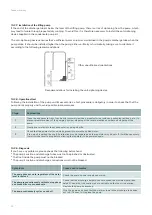
Draw 2 marks on the ceiling:
■
1 line 120 mm from the wall to which the unit is
attached
■
1 line perpendicular to the first and centred in relation
to the two drill holes in the wall.
4
Align the edge of the frame with the first line at 120 mm
and centre the frame on the second line using the
marker holes (B) (the template plates (A) can be
removed beforehand to facilitate the installation of the
frame and then reattached).
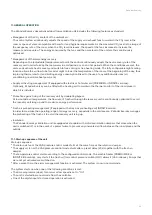
5
Fix the frame using the 4x4 fixing holes (C).
6
Fix the two template plates at their ends using the
fixing hole (D).
Zehnder Eversky


