4
Getting Started
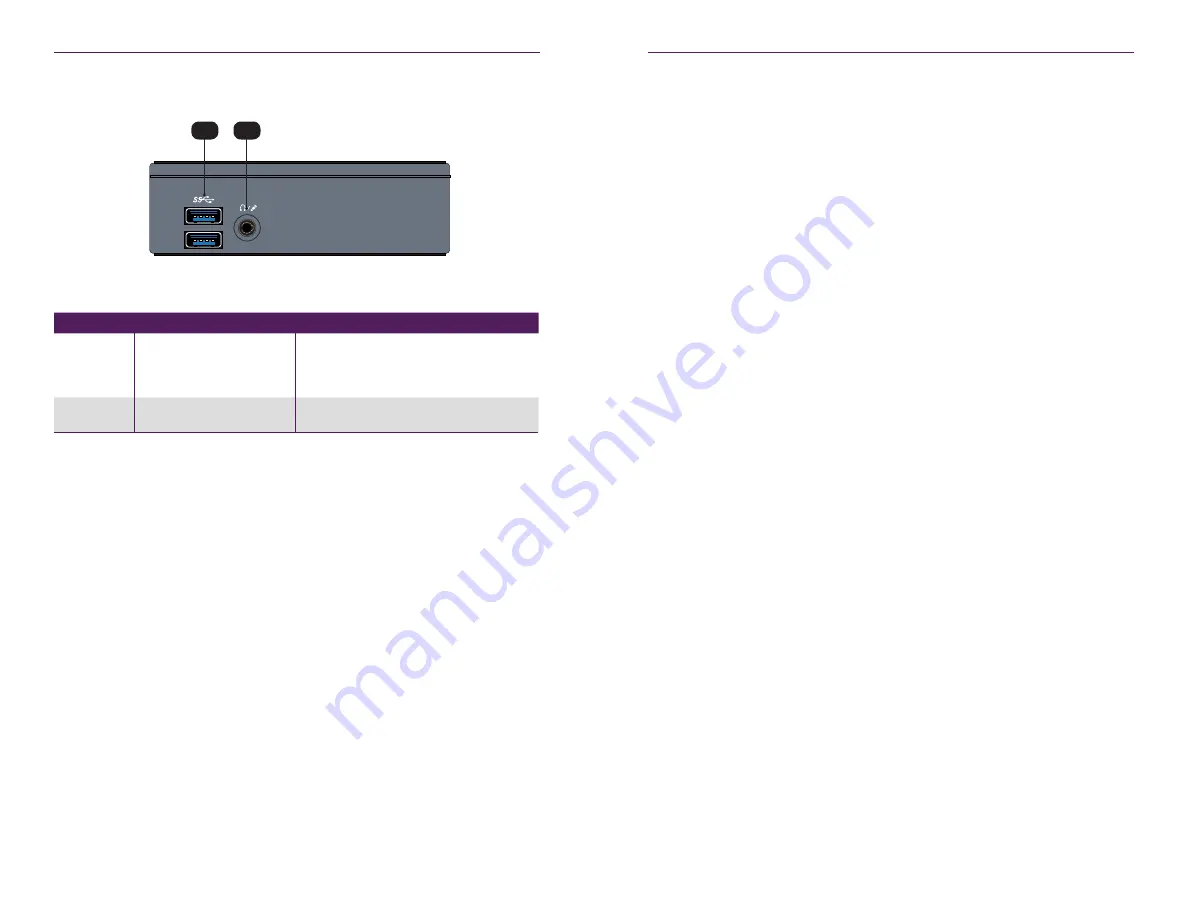
Front View
ID
Name
Description
8
USB port
Connect up to two USB 3.0 devices, such
as a keyboard and mouse, to these USB
ports.
9
Headphone / Mic jack
Not used.
ZyPerMP
ZyPer Management Platform
Intelligent IP Distribution
Power On/Off
8
9
Getting Started
5
Installation
BEFORE YOU BEGIN:
Make sure that all encoders and decoders are running the latest
version of firmware. Refer to the Support page on the ZeeVee web site to download the
latest firmware.
1. Connect the included power supply to the power receptacle on the ZyPer Manage-
ment Platform.
2. Connect the included AC power cord from the power supply to an available electrical
outlet.
3. Connect an Ethernet cable from the ZyPer Management Platform to a switch that
is on the same LAN that will be hosting the ZyPer devices. Although the ZyPer
Management Platform can be connected anywhere on the LAN, it is recommended
that it is connected to the primary switch where the ZyPer endpoints are connected.
NOTE:
If the ZyPer Management Platform does not detect a DHCP server within 60
seconds, a link-local address of
169.254.xxx.xxx
will be assigned to the ZyPer
Management Platform. If you wish to use static or fixed-mapping using DHCP, then
see
Network Configuration (page 8)
.
Using Windows®
a. Connect an Ethernet cable from your computer to the same switch as above.
b. Go to the
Network
folder.
c. Locate the icon titled “ZyPer Management Server” followed by an IP address.
This is the IP address of the ZyPer Management Platform.
Using OS X®
a. Connect an Ethernet cable from your computer to the same switch as above.
b. Open the Terminal application.
c. At the prompt, enter
ping zyper.local
.
d. The IP address of the ZyPer Management Platform will be displayed.
Содержание ZyPer
Страница 1: ...User Manual Updated March 2017 ZyPer Management Platform...
Страница 5: ...1 Getting Started...


