3 - 56
CHK
ADJ
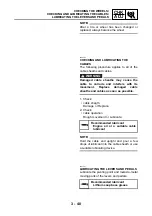
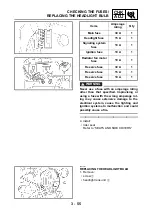
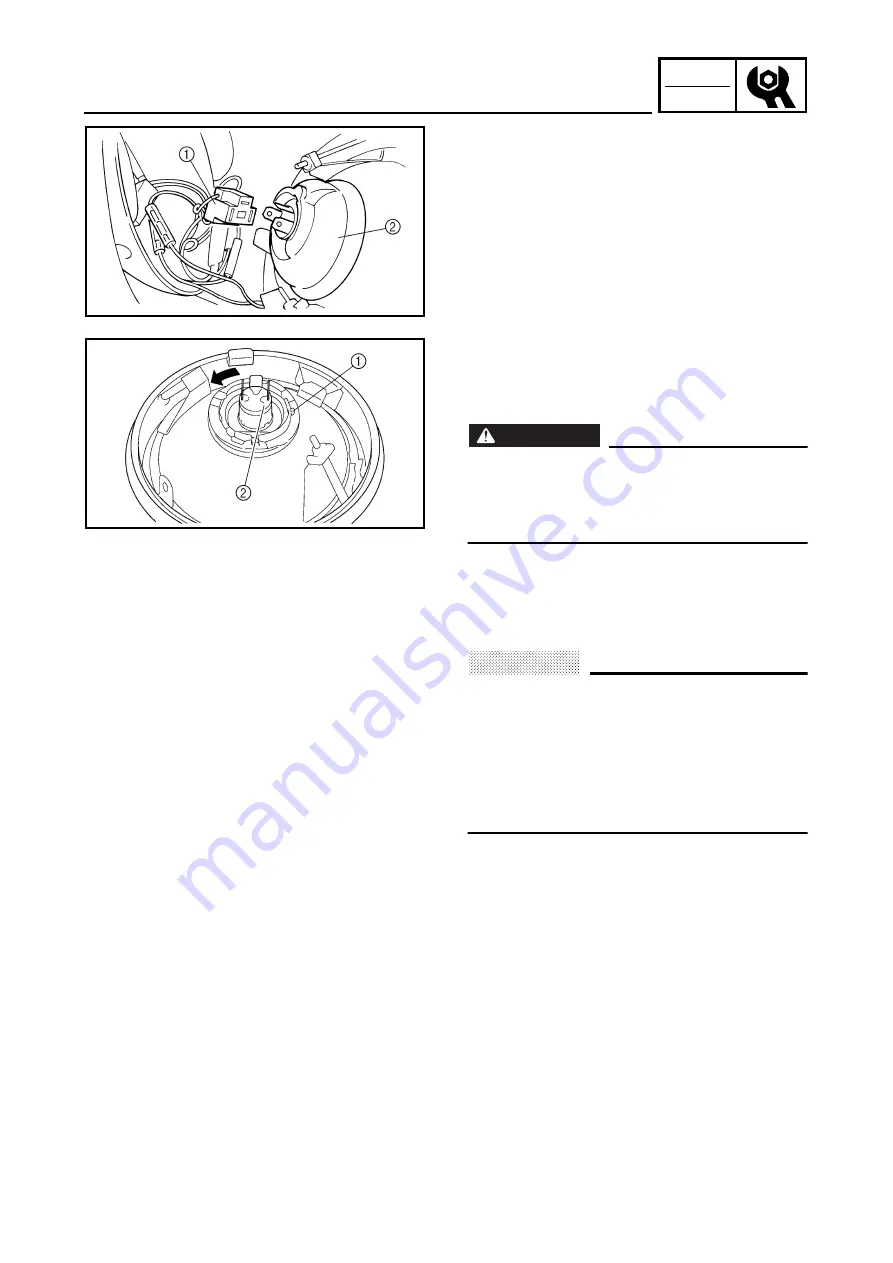
REPLACING THE HEADLIGHT BULB
2. Disconnect:
• headlight coupler
1
3. Remove:
• headlight bulb holder cover
2
4. Detach:
• headlight bulb holder
1
5. Remove:
• headlight bulb
2
WARNING
@
Since the headlight bulb gets extremely
hot, keep flammable products and your
hands away from the bulb until it has
cooled down.
@
6. Install:
• headlight bulb
Secure the new headlight bulb with the
headlight bulb holder.
CAUTION:
@
Avoid touching the glass part of the head-
light bulb to keep it free from oil, otherwise
the transparency of the glass, the life of the
bulb and the luminous flux will be
adversely affected. If the headlight bulb
gets soiled, thoroughly clean it with a cloth
moistened with alcohol or lacquer thinner.
@
7. Attach:
• headlight bulb holder
8. Install:
• headlight bulb holder cover
9. Connect:
• headlight coupler
10.Install:
• headlight lens unit
• screws
Содержание VMX12 2001
Страница 1: ...VMX12 2001 3LRD AE1 SERVICEMANUAL ...
Страница 2: ......
Страница 8: ......
Страница 9: ...GEN INFO 1 ...
Страница 11: ...GEN INFO ...
Страница 21: ......
Страница 22: ...SPEC 2 ...
Страница 24: ...SPEC ...
Страница 52: ...2 28 SPEC OIL FLOW DIAGRAMS 1 Camshaft 2 Main gallery 3 Crankshaft 4 Oil level switch ...
Страница 54: ...2 30 SPEC OIL FLOW DIAGRAMS 1 Crankshaft 2 Oil pipe 3 Oil filter ...
Страница 65: ...CHK ADJ 3 ...
Страница 125: ......
Страница 126: ...ENG 4 ...
Страница 130: ...ENG ...
Страница 150: ...4 20 ENG 4 Install timing mark accessing screw 1 crankshaft end cover 2 T R 7 Nm 0 7 m kg CAMSHAFTS ...
Страница 236: ......
Страница 237: ...COOL 5 ...
Страница 239: ...COOL ...
Страница 258: ...CARB 6 ...
Страница 260: ...CARB ...
Страница 272: ......
Страница 273: ...CHAS 7 ...
Страница 389: ......
Страница 390: ...ELEC 8 ...
Страница 396: ...8 4 ELEC SWITCHES ...
Страница 417: ...8 25 ELEC STARTER MOTOR 3 Install O rings 1 bolts 2 New T R 5 Nm 0 5 m kg ...
Страница 445: ...TRBL SHTG 9 ...


