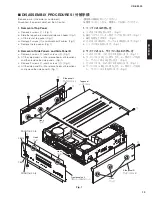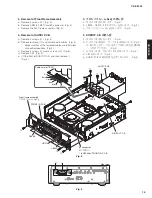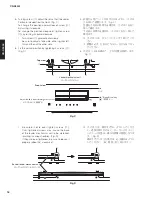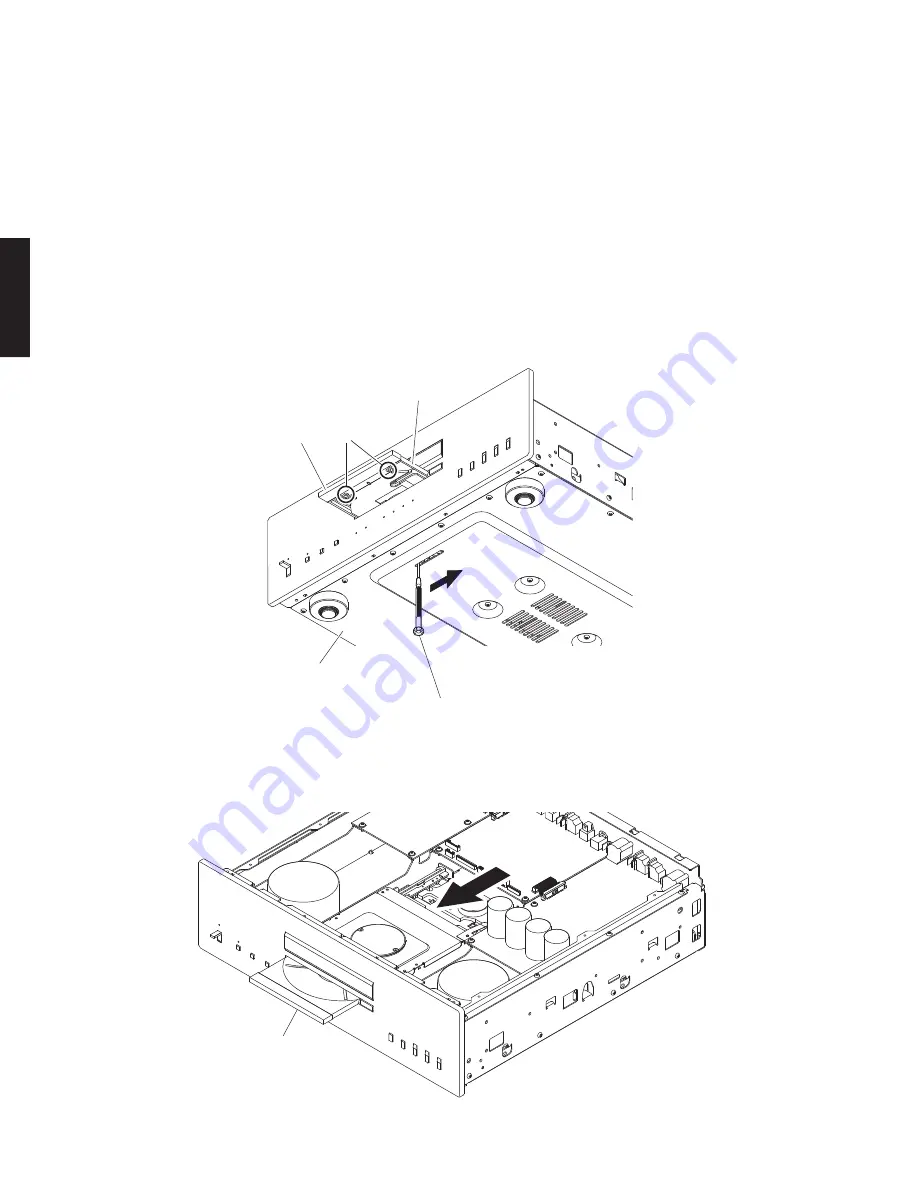
Lid
リッド
Disc tray
ディスクトレイ
Bottom side
底面
Flatblade screwdriver
マイナスドライバー
⑦
Disc tray
ディスクトレイ
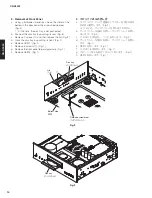
3. Removal of Front Panel
a. Using a flatblade screwdriver, move the slider at the
bottom in the direction of the arrow shown below.
(Fig. 2)
*
At this time, the disc tray is not pushed out.
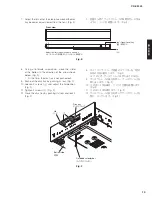
b. Push out the disc tray by pushing its rear. (Fig. 3)
c. Remove 2 screws (
⑦
) and then remove the lid. (Fig. 2)
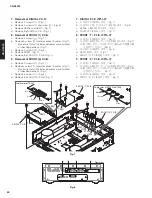
d. Close the disc tray by pushing its front. (Fig. 1)
e. Remove CB911. (Fig. 1)
f. Remove 8 screws (
⑧
). (Fig. 1)
g. Remove the front panel forward gradually. (Fig. 1)
h. Remove CB913. (Fig. 1)
3. フロントパネルの外し方
a. マイナスドライバーで底面のスライダーを下図の矢印
の方向に動かします。(Fig. 2)
※ このとき、ディスクトレイは押し出されません。
b. ディスクトレイの後方を押し、ディスクトレイを押し
出します。(Fig. 3)
c. ⑦ のネジ 2 本を外し、リッドを外します。(Fig. 2)
d. ディスクトレイの前方を押し、ディスクトレイを閉じ
ます。(Fig. 1)
e. CB911 を外します。(Fig. 1)
f. ⑧ のネジ 8 本を外します。(Fig. 1)
g. フロントパネルを前方へゆっくり外します。(Fig. 1)
h. CB913 を外します。(Fig. 1)
Fig. 2
Fig. 3
14
CD-S3000
CD-S30
0
0
Содержание CD-S3000
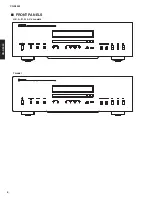
Страница 6: ... FRONT PANELS U K A B G L V J models T model 6 CD S3000 CD S3000 ...
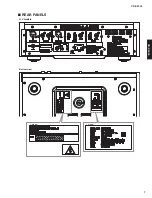
Страница 7: ... REAR PANELS U V models U model V model Bottom view 7 CD S3000 CD S3000 ...
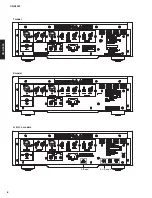
Страница 8: ...A B G L models K model T model A model B G models 8 CD S3000 CD S3000 ...
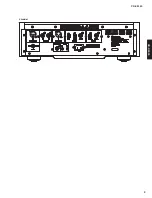
Страница 9: ...J model 9 CD S3000 CD S3000 ...
Страница 86: ...86 CD S3000 CD S3000 ...
Страница 87: ...MEMO 87 CD S3000 CD S3000 87 ...
Страница 88: ...CD S3000 ...


