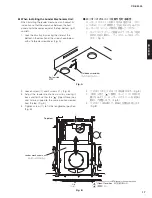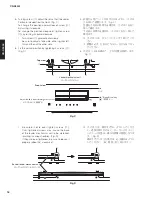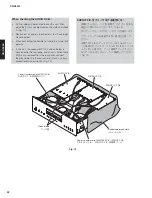
7. Adjust the lid so that the clearance around the disc
tray becomes equal viewed from the front. (Fig. E)
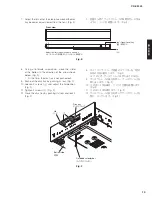
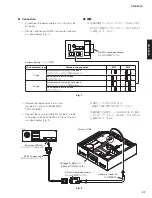
8. Using a flatblade screwdriver, move the slider
at the bottom in the direction of the arrow shown
below. (Fig. F)
*
At this time, the disc tray is not pushed out.
9. Push out the disc tray by pushing its rear. (Fig. F)
10. Loosen 2 screws (
③
) and adjust the lid position.
(Fig. F)
11. Tighten 2 screws (
③
). (Fig. F)
12. Close the disc tray by pushing its front and lock it.
(Fig. F)
7. 前面から見てディスクトレイの隙間が均一になる
ように、リッドを調整します。(Fig. E)
8. マイナスドライバーで底面のスライダーを下図の
矢印の方向に動かします。(Fig. F)
※ このとき、ディスクトレイは押し出されません。
9. ディスクトレイの後方を押し、ディスクトレイを
押し出します。(Fig. F)
10. ③ のネジ 2 本を緩め、リッドの位置を調整します。
(Fig. F)
11. ③ のネジ 2 本を締めます。(Fig. F)
12. ディスクトレイの前方を押してディスクトレイを
閉じ、ロックします。(Fig. F)
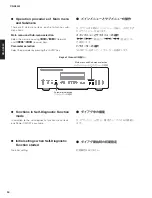
Fig. E
Fig. F
Front view
“ ” (Open/Close) key
(開閉)キー
Lid
リッド
Adjust the lid for equal clearance around it
ディスクトレイの隙間が均一になるように調整する
Lid
リッド
Disc tray
ディスクトレイ
Bottom side
底面
Flatblade screwdriver
マイナスドライバー
③
19
CD-S3000
CD-S30
0
0
Содержание CD-S3000
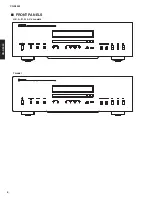
Страница 6: ... FRONT PANELS U K A B G L V J models T model 6 CD S3000 CD S3000 ...
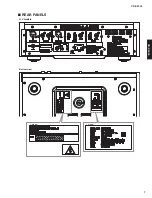
Страница 7: ... REAR PANELS U V models U model V model Bottom view 7 CD S3000 CD S3000 ...
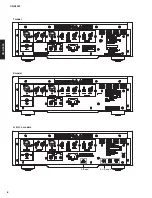
Страница 8: ...A B G L models K model T model A model B G models 8 CD S3000 CD S3000 ...
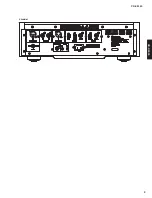
Страница 9: ...J model 9 CD S3000 CD S3000 ...
Страница 86: ...86 CD S3000 CD S3000 ...
Страница 87: ...MEMO 87 CD S3000 CD S3000 87 ...
Страница 88: ...CD S3000 ...

