AD8HR
41
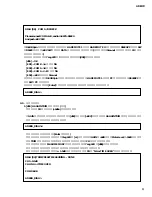
3. [d10] Memory Initialize
Select the test program No. [d10] on the GAIN encoder and press the [+48V] key to run memory initialize. You can also
run it by entering the following characters:
from the terminal software. (You don't need to press the Enter key.)
The following is displayed by the terminal software when this program is run.
4. [d11] Program Version Display
Select the test program No. [d11] on the GAIN encoder and press the [+48V] key to display the program version on the
7 segment LED display for about 1 second. You can also do this by entering the following characters:
from the terminal software. (You don't need to press the Enter key.)
The following is displayed by the terminal software when this program is run.
There is no need to run this in a test.
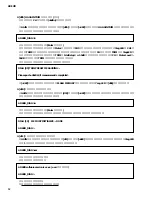
2. [d05] HA GAIN TRIM Preset Value Setting (Manual)
Setup: Input a reference signal (+6dBu) to each channel
Select test program No. [d05] on the GAIN encoder and press the [+48V] key to run the HA GAIN TRIM preset value
setup. You can also enter the following characters from the terminal software:
and run the test. (You don't need to press the Enter key.)
A meter is displayed when this program No. is run. The channel select button of CH1 (channel 1) lights up and the current
TRIM value appears in the 7 segment LED. Pressing the channel select button selects a particular channel and the TRIM
value selected for that channel appear in the 7 segment LED display. Turning the encoder changes the trim in 0.1dB steps
within a range of
±
1.5dB. Manually adjust the trim value so that the meter level reaches -18dB on each channel.
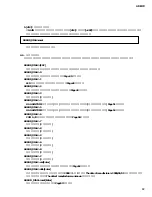
The terminal software displays the following message.
Pressing the [+48V] key ends this adjustment, writes this value in the Flash Memory, and makes the [d06] 7 segment LED flash.
DIAG [05] TRIM PRESET MEASURING ...
Please push +48v SW, if measurement is completed.
AD8HR_DIAG>5
AD8HR_DIAG>A
DIAG [10]
MEMORY INITIALIZE ... DONE
AD8HR_DIAG>
AD8HR_DIAG>ver
AD8HR software version is v x.xx (x.xx version)
AD8HR_DIAG>
Содержание AD8HR
Страница 8: ...8 AD8HR CIRCUIT BOARD LAYOUT DC MAIN COMB SW SUB PN PNCOM PNCOM PNCOM PNCOM PNCOM HIC HA ユニットレイアウト ...
Страница 24: ...24 AD8HR MAIN Circuit Board B B 2NAP WC06220 D010 1 ...
Страница 25: ...AD8HR 25 B B Shield MAIN Soldering ハンダ付け シールドMAIN Pattern side 2NAP WC06220 D010 1 パターン側 ...
Страница 26: ...26 AD8HR C C 1 2 3 4 5 6 D D PN Circuit Board E E to MAIN CN982 F F DC Circuit Board 2NAP WC06230 D010 1 ...


