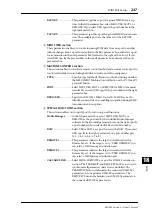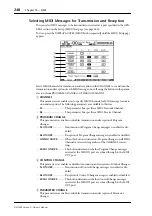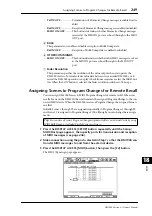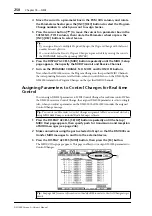
238
Chapter 17—Remote Control
DM1000 Version 2—Owner’s Manual
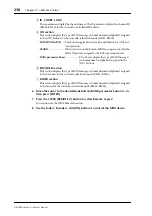
D
ID, SHORT, LONG
These parameters display the channel names. The ID parameter displays the channel ID
(RM01–RM16) for the currently-controlled MIDI device.
E
ON section
This section displays the type of MIDI messages (in hexadecimal or alphabet) assigned
to the [ON] buttons for the currently-selected channels (RM01–RM16).
•
LATCH/UNLATCH
..... This button toggles between Latch and Unlatch for [ON] but-
ton operation.
•
LEARN
.......................... When you turn on this button, MIDI messages received at the
MIDI IN port are assigned to the DATA parameter boxes.
•
DATA parameter boxes
.......................These boxes display the type of MIDI messages
(in hexadecimal or alphabets) assigned to the
[ON] button).
F
ENCODER section
This section displays the type of MIDI messages (in hexadecimal or alphabet) assigned
to the Encoders for the currently-selected channels (RM01–RM16).
G
FADER section
This section displays the type of MIDI messages (in hexadecimal or alphabet) assigned
to the faders for the currently-selected channels (RM01–RM16).
6 Move the cursor to the desired bank button (BANK parameter buttons 1–4),
then press [ENTER].
7 Press the LAYER [REMOTE 2] button to select Remote Layer 2.
You can now use the MIDI Remote function.
8 Use the faders, Encoders, and [ON] buttons to control the MIDI device.
Содержание 006IPTO-F0
Страница 42: ...42 Chapter 3 Operating Basics DM1000 Version 2 Owner s Manual ...
Страница 52: ...52 Chapter 4 Connections and Setup DM1000 Version 2 Owner s Manual ...
Страница 92: ...92 Chapter 7 Bus Outs DM1000 Version 2 Owner s Manual ...
Страница 108: ...108 Chapter 8 Aux Sends DM1000 Version 2 Owner s Manual ...
Страница 146: ...146 Chapter 11 Surround Functions DM1000 Version 2 Owner s Manual ...
Страница 214: ...214 Chapter 16 Automix DM1000 Version 2 Owner s Manual ...
Страница 385: ...DM1000 Block Diagram ...


