


P 20
da Vinci
Jr. WiFi Pro
Install Laser Engraving Module
Software Functions
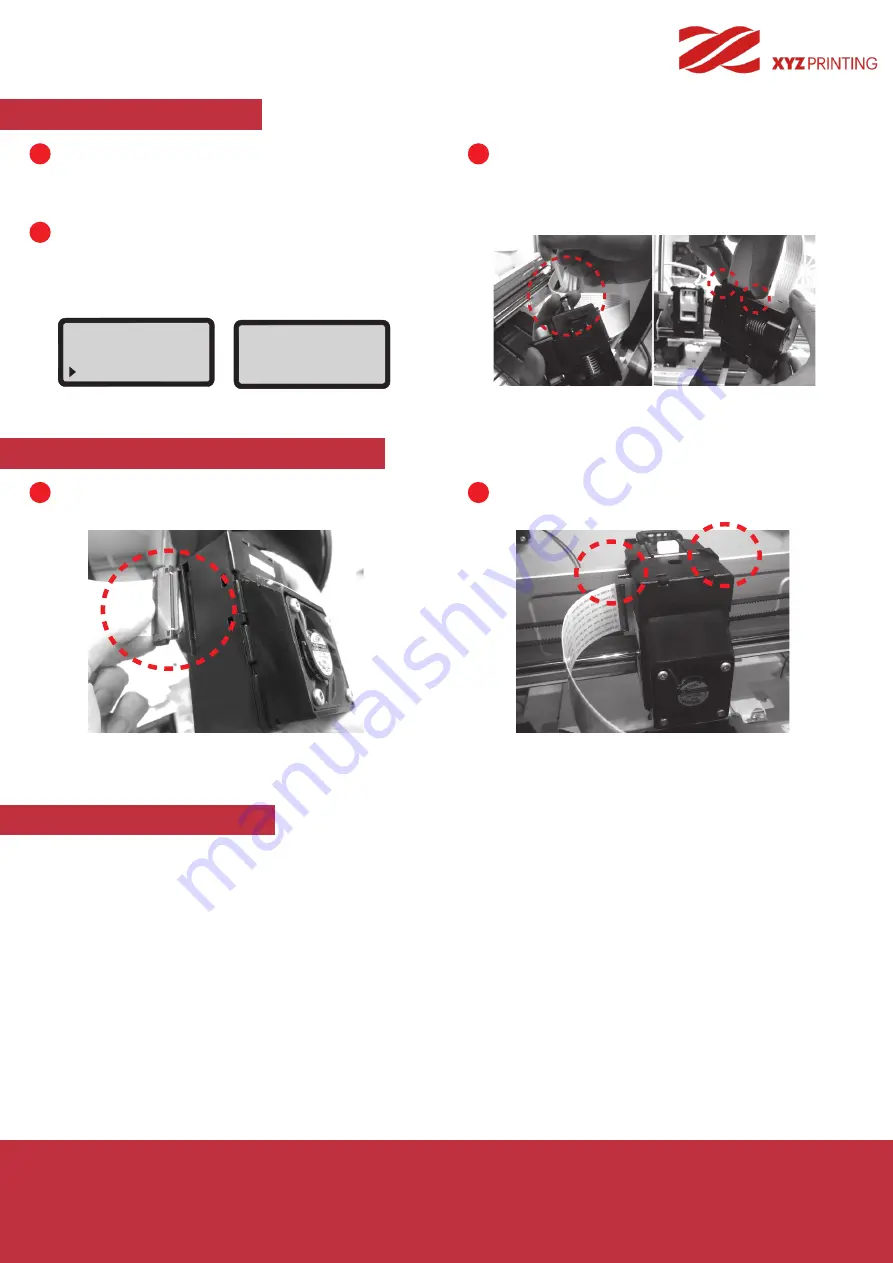
Connect the flat cable to the laser engraver.
(Remind the flat cable direction.)
NOTE : To disassemble the extruder module, gently press the sides of the flat cable, remove the white flat
cable, and then press the white quick release button.
Please select “XYZengraver” software and select the laser engraving function in the toolbar. At the same time, import the file
you want to edit, edit and set the laser engraving effect then operate the laser engraving.
For more detailed laser engraving instructions, please refer to the laser engraving manual.
(Official website: www.xyzprinting.com)
Align the laser engraver with the bracket and
press it to fix the holder.
1
2
CHANGE NOZZLE
Please operate the “UNLOAD FILAMENT” function and
remove filament spool in the printer.
Please select “CHANGE NOZZLE ”and smart extruder will
reposition to working position.
Then, screen on the printer will show ”TURN OFF PROWER
AND THEN CHANGE NOZZLE MODULE” and you can
turn off power.
Please remove extruder model and guide tube.
(Please refer to“Guide Tube and Extruder Module
Removement” section in the “Accessories Installation”
chapter.)
TURN OFF POWER
AND THEN CHANGE
NOZZLE MODULE
UTILITIES
CALIBRATE
BUILD SAMPLE
CHANGE NOZZLE
1
3
2
Selective Module


