


P 11
da Vinci
Jr. WiFi Pro
UTILITIES
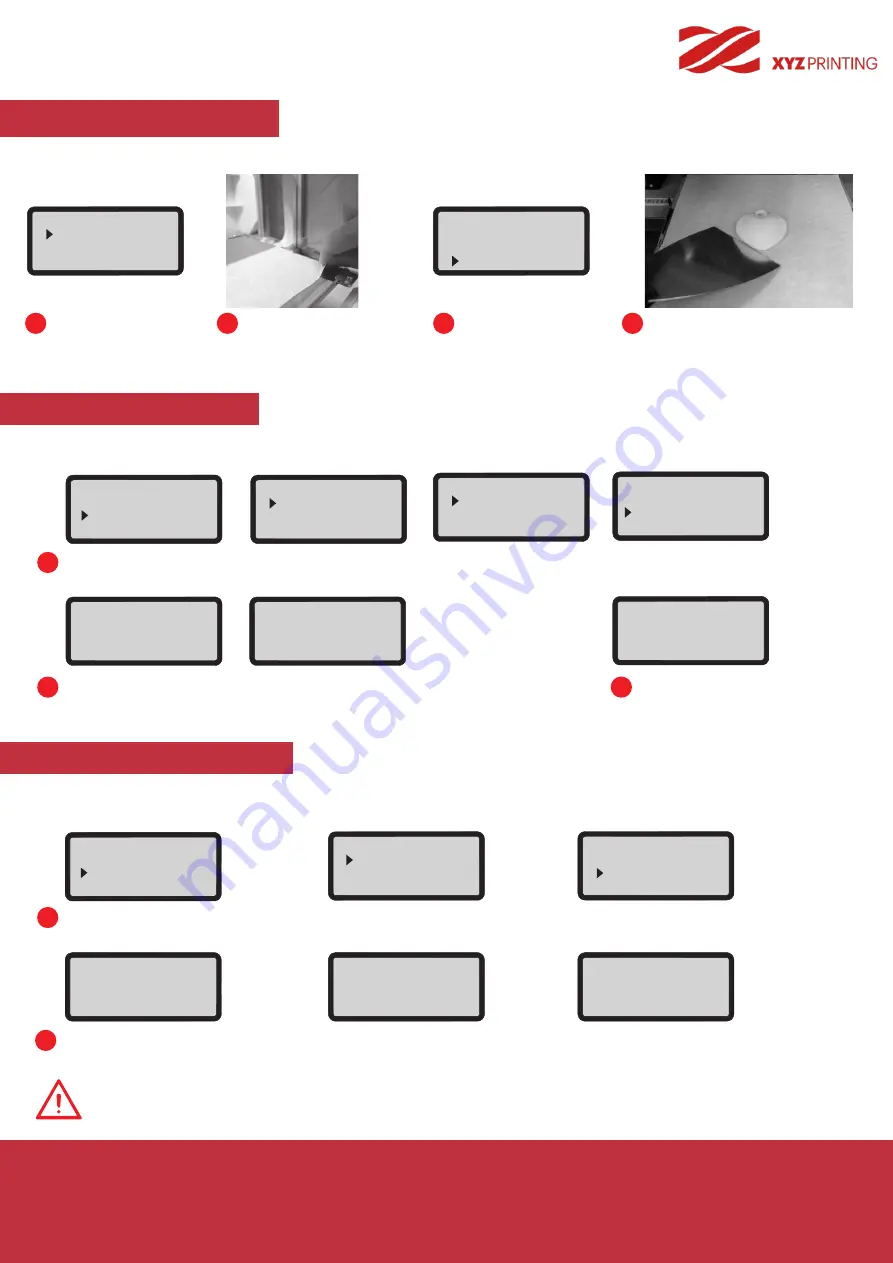
BUILD FROM CARD
1 sample models are built into the printer. You may begin your first 3D prints with the samples.
Select a sample
to print.
To print a sample
:
Select "YES" to
start printing.
Put the bed tape
on the print bed.
Remove the printed object when
the printing has finished and the
print bed has descended.The bed
tape is reusable and it can be
replaced when it's worn.
Enable the LOAD FILAMENT function on the control panel…
Enable the UNLOAD FILAMENT function on the control panel…
1
1
Select "UTILITIES" > "CHANGE SPOOL" > "LOAD FILAMENT" > "USE XYZPRINTING SPOOL?" > "YES".
*Please refer to P.24 for third party filaments.
Select "UTILITIES" > "CHANGE SPOOL" > "UNLOAD FILAMENT".
2
3
2
Insert the filament right into the feed hole. The printer will load the filament automatically.
After loading, select "OK" to continue. The printer will warm up to the operating
temperature and load the filament.
Wait for the extruder to heat up and unload filament. Press "OK" and pull out the filament.
Confirm that the filament is flowing out
from the extruder; If the filament flows
out, press "OK" to exit.
LOAD FILAMENT
UNLOAD FILAMENT
Note: Always implement the "UNLOAD FILAMENT" function when replacing the Spool in order to ensure proper
removal of the filament. Cutting filament too closely to the Extruder Module may result in residual filament
blocking and causing damage to your Extruder Module.
1
2
3
4
BUILD (SD CARD)
SAMPLE
START BUILDING
SAMPLE
NO
YES
UTILITIES
CHANGE SPOOL
HOME AXES
Z OFFSET
Jr. WiFi Pro
BUILD FROM CARD
UTILITIES
SETTINGS
CHANGE SPOOL
LOAD FILAMENT
UNLOAD FILAMENT
USE XYZPRINTING
SPOOL?
YES
NO
LOAD FILAMENT
EXTRUDER HEATING
TEMPERATURE 210 °C
PLEASE WAIT
LOADING
PLEASE WAIT
CHECK FILAMENT
OUT FROM NOZZLE
[
<
]
TO RETRY
[ OK ]
TO RETURN
UTILITIES
CHANGE SPOOL
HOME AXES
Z OFFSET
CHANGE SPOOL
LOAD FILAMENT
UNLOAD FILAMENT
Jr. WiFi Pro
BUILD FROM CARD
UTILITIES
SETTINGS
UNLOAD
COMPLETED
[ OK ] TO FINISH
UNLOAD FILAMENT
EXTRUDER HEATING
TEMPERATURE 210 °C
PLEASE WAIT
UNLOADING
PLEASE WAIT
[ OK ] TO RETURN


