Virtex-6 FPGA Connectivity Kit Getting Started
55
UG664 (v1.4) July 6, 2011
Modifying the Virtex-6 FPGA Targeted Reference Design
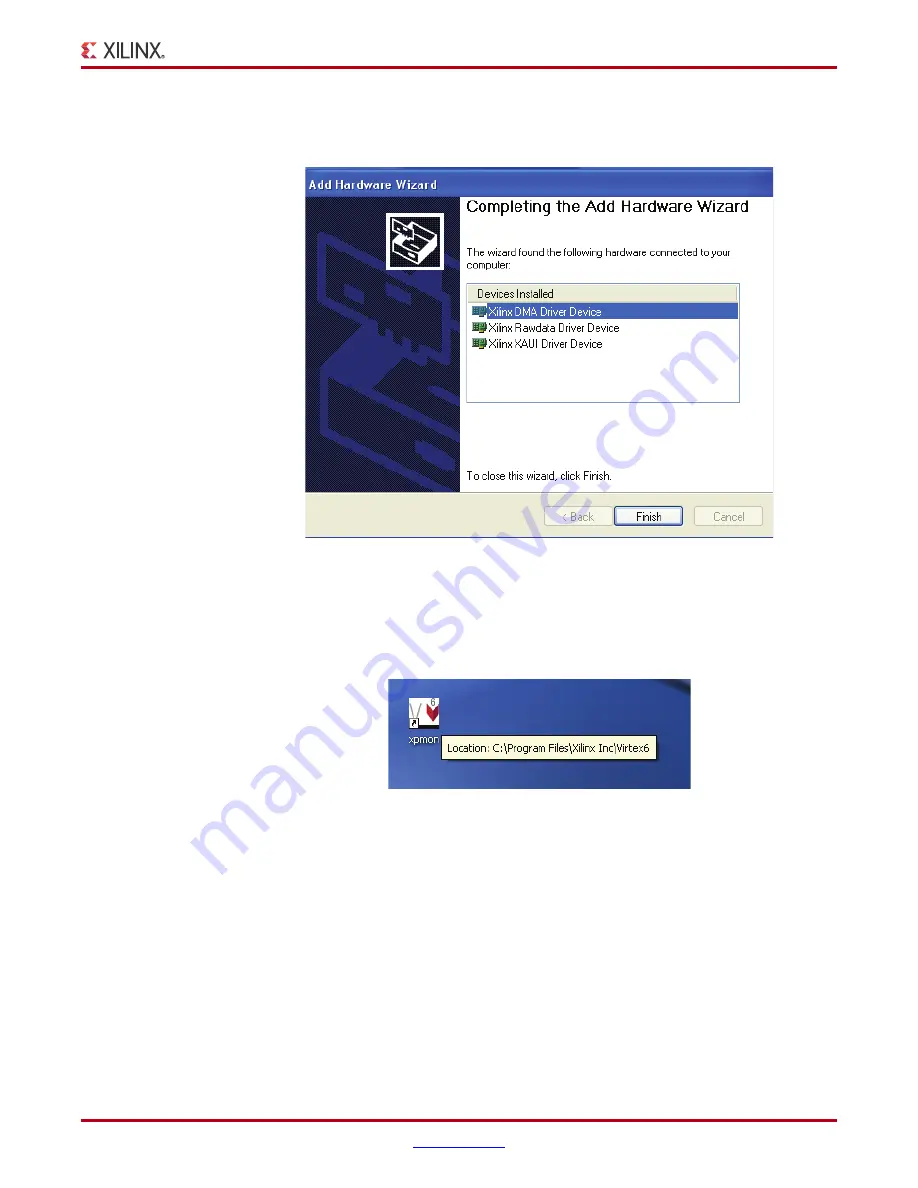
All the drivers required to run the Virtex-6 FPGA Connectivity TRD are found. Click
Finish
to exit the Add Hardware Wizard (
).
7.
Launch GUI:
Double-click on the xpmon icon available on the desktop to launch the Performance
Monitor application.
8.
Follow
through
,
to completely verify the modified settings.
9.
Follow
,
through
,
to evaluate the performance for the modified design.
10. Click
System Status
to review:
a.
PCIe link status, Vendor ID, and Device ID information.
b. The vendor ID displayed on this screen should be equal to
19AA
, corresponding to
the hardware change that was performed.
X-Ref Target - Figure 50
Figure 50:
All Virtex-6 FPGA Connectivity TRD Drivers are Installed
X-Ref Target - Figure 51
Figure 51:
Launch GUI
UG664_
8
0_052011
UG664_
8
1_052011
Содержание Virtex-6 FPGA
Страница 1: ...Virtex 6 FPGA Connectivity Kit Getting Started Guide UG664 v1 4 July 6 2011 XPN 0402826 03...
Страница 4: ...Virtex 6 FPGA Connectivity Kit Getting Started www xilinx com UG664 v1 4 July 6 2011...
Страница 6: ...6 www xilinx com Virtex 6 FPGA Connectivity Kit Getting Started UG664 v1 4 July 6 2011...


