Hard Drive
140
Hard Drive
If a hard disk is installed, fonts can be downloaded and saved, and the
overlay function can be used.
Installing a Hard Drive
CAUTION
It’s very important to protect the printer controller board and any associated
circuit boards from electrostatic damage. Before performing this procedure,
review the antistatic caution on Page 136. In addition, always handle circuit
boards by the edges only.
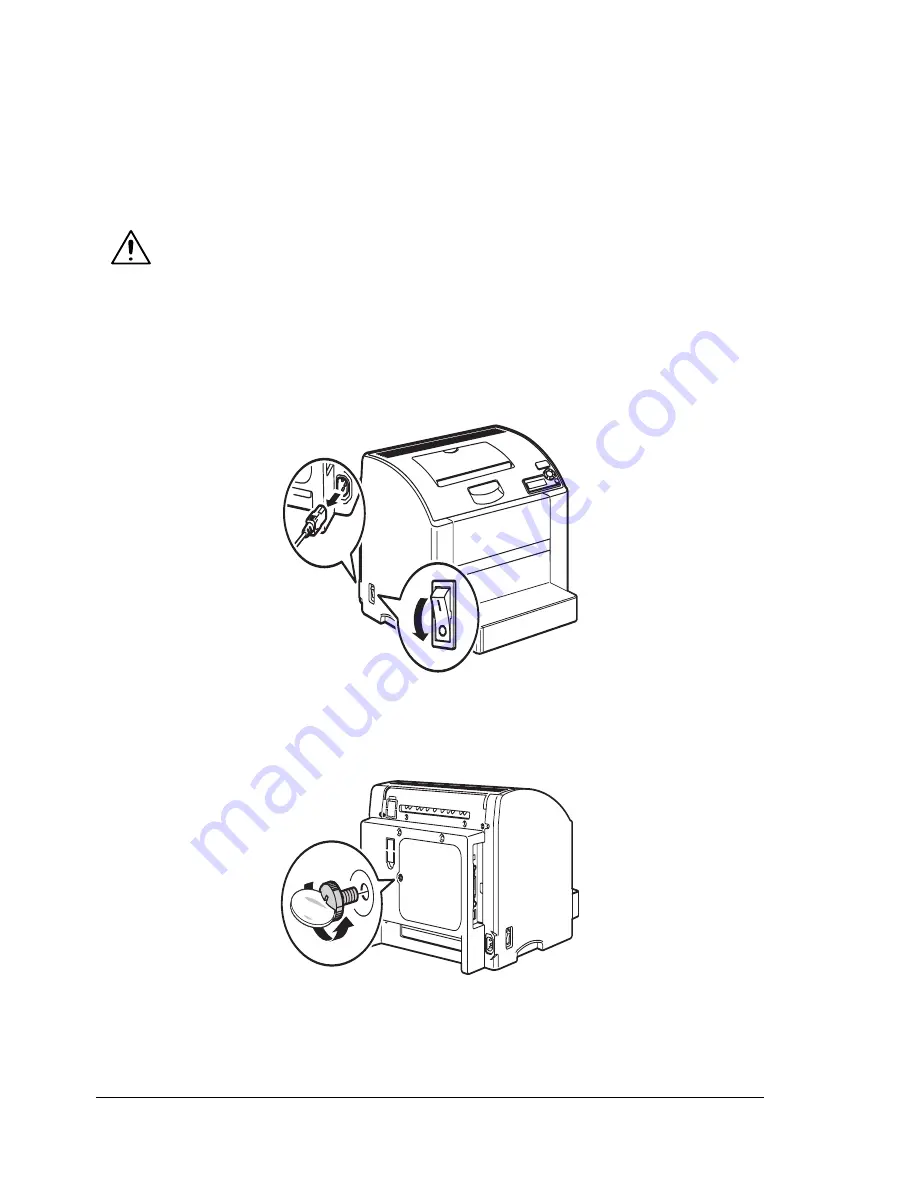
1
Turn off the printer and disconnect the power cord and interface cables.
"
If the duplex unit is installed, remove it.
2
Using a coin, remove the screw on the back of the printer.
Содержание Phaser 6120
Страница 8: ...Introduction...
Страница 11: ...Getting Acquainted with Your Printer 4 Front View with Options Tray 2 Rear View with Options Duplex unit...
Страница 12: ...Network Printing...
Страница 20: ...About the Software...
Страница 31: ...Printer Control Panel and Configuration Menu...
Страница 51: ...Using Media...
Страница 70: ...Loading Media 63 8 Raise both green fuser separator levers 9 Carefully close the top cover...
Страница 72: ...Loading Media 65 b Lower both green fuser separator levers c Close the top cover...
Страница 75: ...Loading Media 68 Tray 2 Loading Plain Paper 1 Pull out Tray 2 as far as possible 2 Lift up Tray 2 to remove it...
Страница 78: ...Loading Media 71 7 Reinsert Tray 2 into the printer...
Страница 82: ...Replacing Supplies...
Страница 95: ...Maintaining the Printer...
Страница 101: ...Cleaning the Printer 94 4 Clean the laser lens by wiping them with a soft dry cloth 5 Reinstall the imaging unit...
Страница 102: ...Cleaning the Printer 95 6 Carefully close the top cover...
Страница 104: ...Cleaning the Printer 97 4 Carefully close the duplex cover...
Страница 108: ...Troubleshooting...
Страница 117: ...Clearing Paper Jams 110 5 Carefully close the top cover...
Страница 120: ...Clearing Paper Jams 113 6 Load the media in Tray 2 and attach the lid 7 Reinsert Tray 2...
Страница 142: ...Installing Options...
Страница 157: ...Appendix...
Страница 169: ...Appendix...


