


Solving Problems with Printing Quality
121
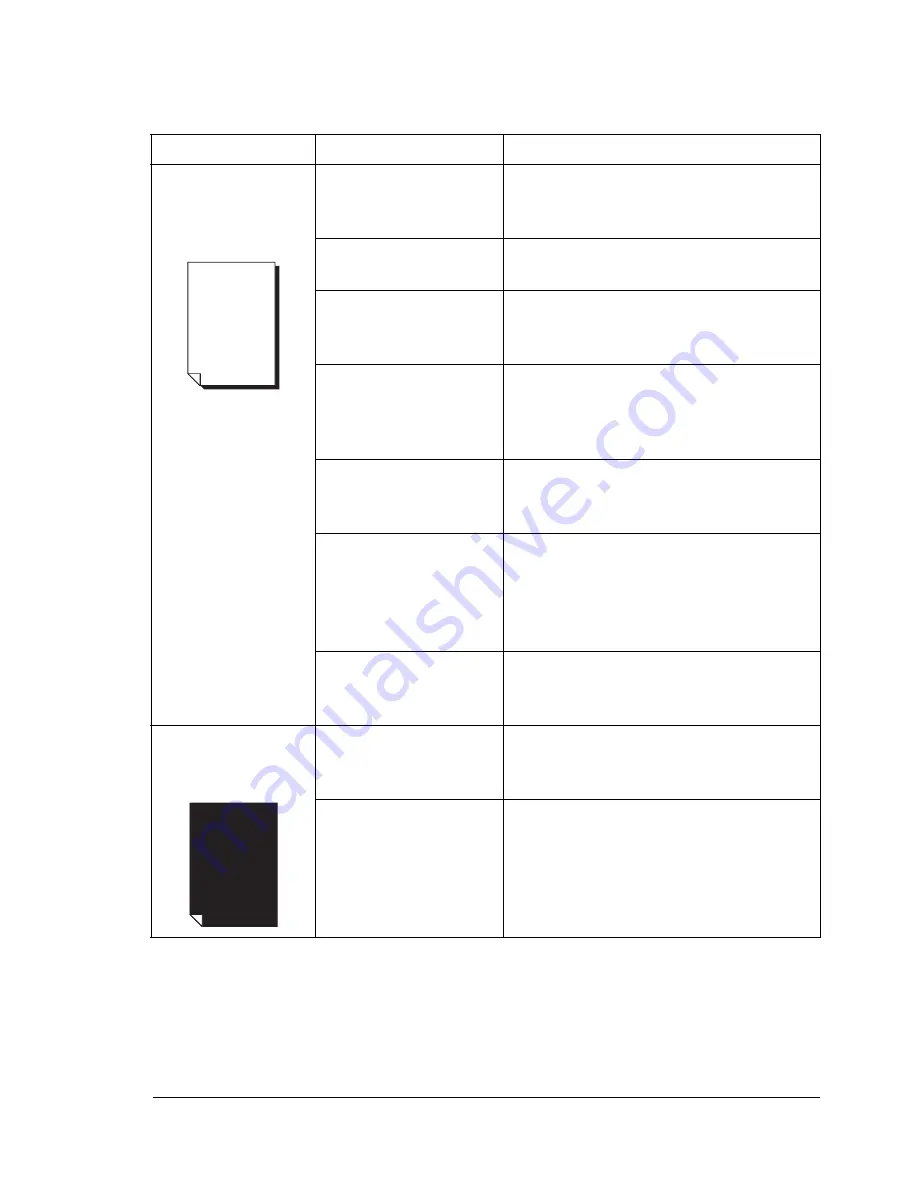
Solving Problems with Printing Quality
Symptom
Cause
Solution
Nothing is printed,
or there are blank
spots on the printed
page.
One or more of the
toner cartridges may
be defective.
Remove the toner cartridges and
check if any is damaged.
The imaging unit may
be defective.
Remove the imaging unit and check for
damage. If it is damaged, replace it.
The media is moist
from humidity.
Adjust the humidity for media storage.
Remove the moist media and replace it
with new, dry media.
The media set in the
printer driver
mismatches the media
loaded in the printer.
Load the correct media in the printer.
The power source
does not match the
printer specifications.
Use a power source with the proper
specifications.
Several sheets are
being fed at the same
time.
Remove the media from the tray and
check for static electricity. Fan plain
paper or other media (but not
transparencies), and replace it in
the tray.
Media is not set
properly in the tray(s).
Remove the media, tap it to straighten
it out, return it into the tray, and realign
the media guides.
Entire sheet is
printed in black or
color.
One or more of the
toner cartridges may
be defective.
Remove the toner cartridges and
check each for damage. If one or more
is damaged, replace it.
The imaging unit may
be defective.
Remove the imaging unit and check for
damage. If it is damaged, replace it.
Содержание Phaser 6120
Страница 8: ...Introduction...
Страница 11: ...Getting Acquainted with Your Printer 4 Front View with Options Tray 2 Rear View with Options Duplex unit...
Страница 12: ...Network Printing...
Страница 20: ...About the Software...
Страница 31: ...Printer Control Panel and Configuration Menu...
Страница 51: ...Using Media...
Страница 70: ...Loading Media 63 8 Raise both green fuser separator levers 9 Carefully close the top cover...
Страница 72: ...Loading Media 65 b Lower both green fuser separator levers c Close the top cover...
Страница 75: ...Loading Media 68 Tray 2 Loading Plain Paper 1 Pull out Tray 2 as far as possible 2 Lift up Tray 2 to remove it...
Страница 78: ...Loading Media 71 7 Reinsert Tray 2 into the printer...
Страница 82: ...Replacing Supplies...
Страница 95: ...Maintaining the Printer...
Страница 101: ...Cleaning the Printer 94 4 Clean the laser lens by wiping them with a soft dry cloth 5 Reinstall the imaging unit...
Страница 102: ...Cleaning the Printer 95 6 Carefully close the top cover...
Страница 104: ...Cleaning the Printer 97 4 Carefully close the duplex cover...
Страница 108: ...Troubleshooting...
Страница 117: ...Clearing Paper Jams 110 5 Carefully close the top cover...
Страница 120: ...Clearing Paper Jams 113 6 Load the media in Tray 2 and attach the lid 7 Reinsert Tray 2...
Страница 142: ...Installing Options...
Страница 157: ...Appendix...
Страница 169: ...Appendix...


