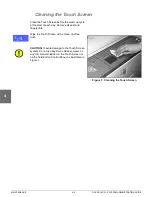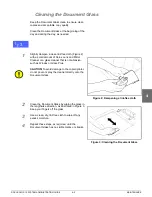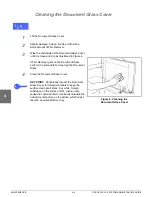
DOCUCOLOR 12 SYSTEM ADMINISTRATION GUIDE
3–35
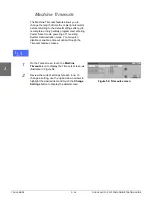
TOOLS MODE
1
2
3
4
5
6
7
3
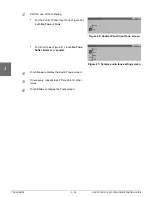
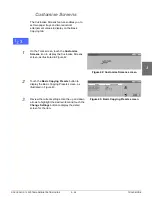
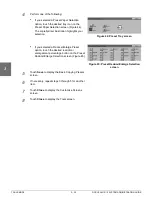
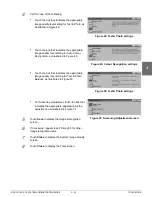
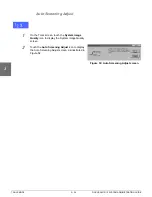
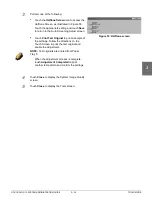
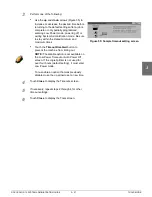
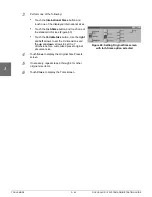
Perform one of the following:
•
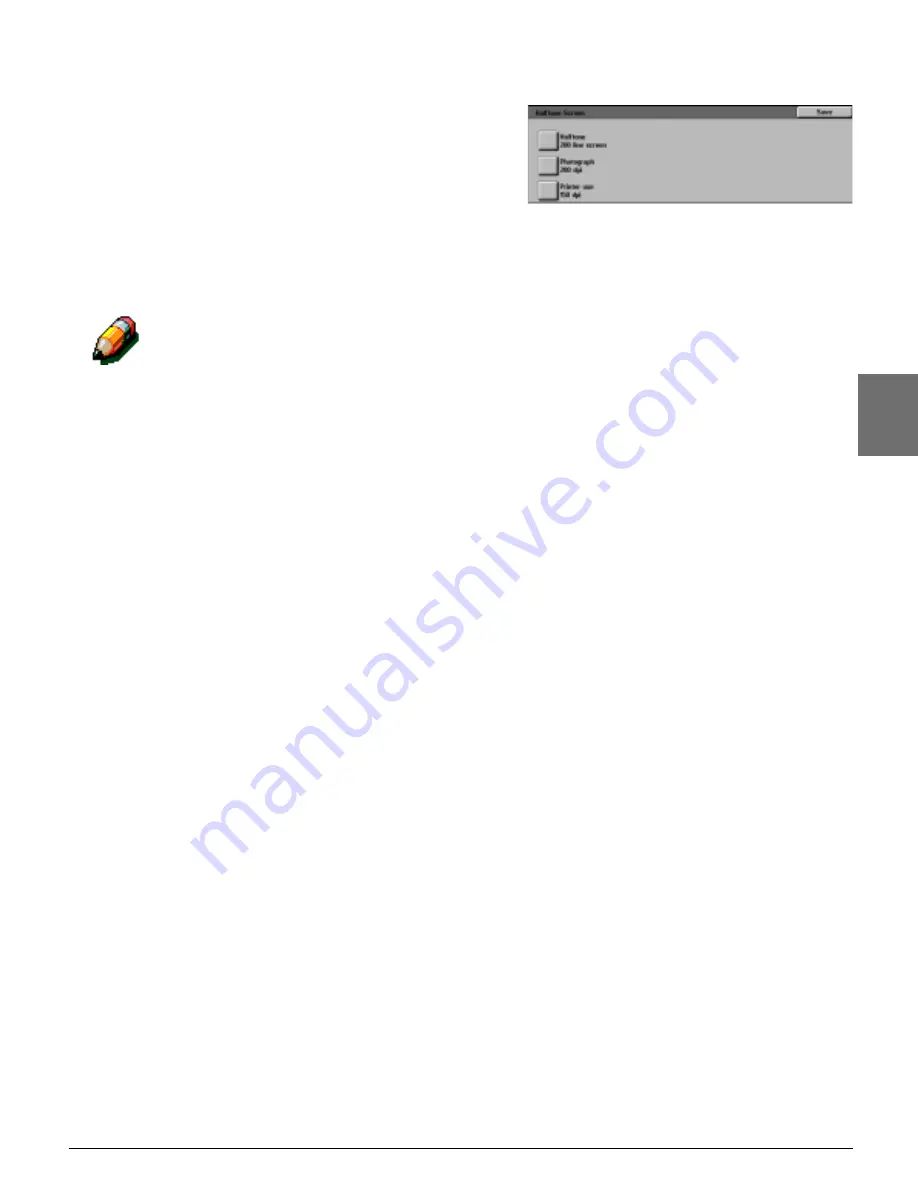
Touch the Halftone Screen icon to access the
Halftone Screen, as illustrated in Figure 53.
Touch the appropriate setting and touch Save
to return to the Auto Screening Adjust screen.
•
Touch Print Test Original to print a sample of
the settings. Follow the directions on the
Touch Screen to print the test original and
enable the adjustment.
NOTE: Test originals are printed from Paper
Tray 5.
When the adjustment process is complete,
touch Adjustment Completed to print
another test pattern and confirm the settings.
4
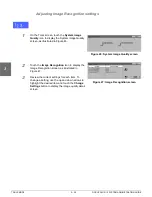
Touch Close to display the System Image Quality
screen.
5
Touch Close to display the Tools screen.
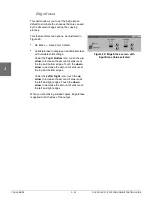
Figure 53: Halftone screen
Содержание DOCUCOLOR 12
Страница 1: ...Xerox DocuColor 12 Digital Colour Printer Copier System Administration Guide...
Страница 8: ...VI DOCUCOLOR 12 USER GUIDE 1 2 3 4 5 6 7...
Страница 18: ...XVIII DOCUCOLOR 12 USER GUIDE 1 2 3 4 5 6 7...
Страница 108: ...MAINTENANCE 4 32 DOCUCOLOR 12 SYSTEM ADMINISTRATION GUIDE 1 2 3 4 5 6 7...
Страница 109: ......


