X8222r User’s Manual Version 1.0
- 32 -
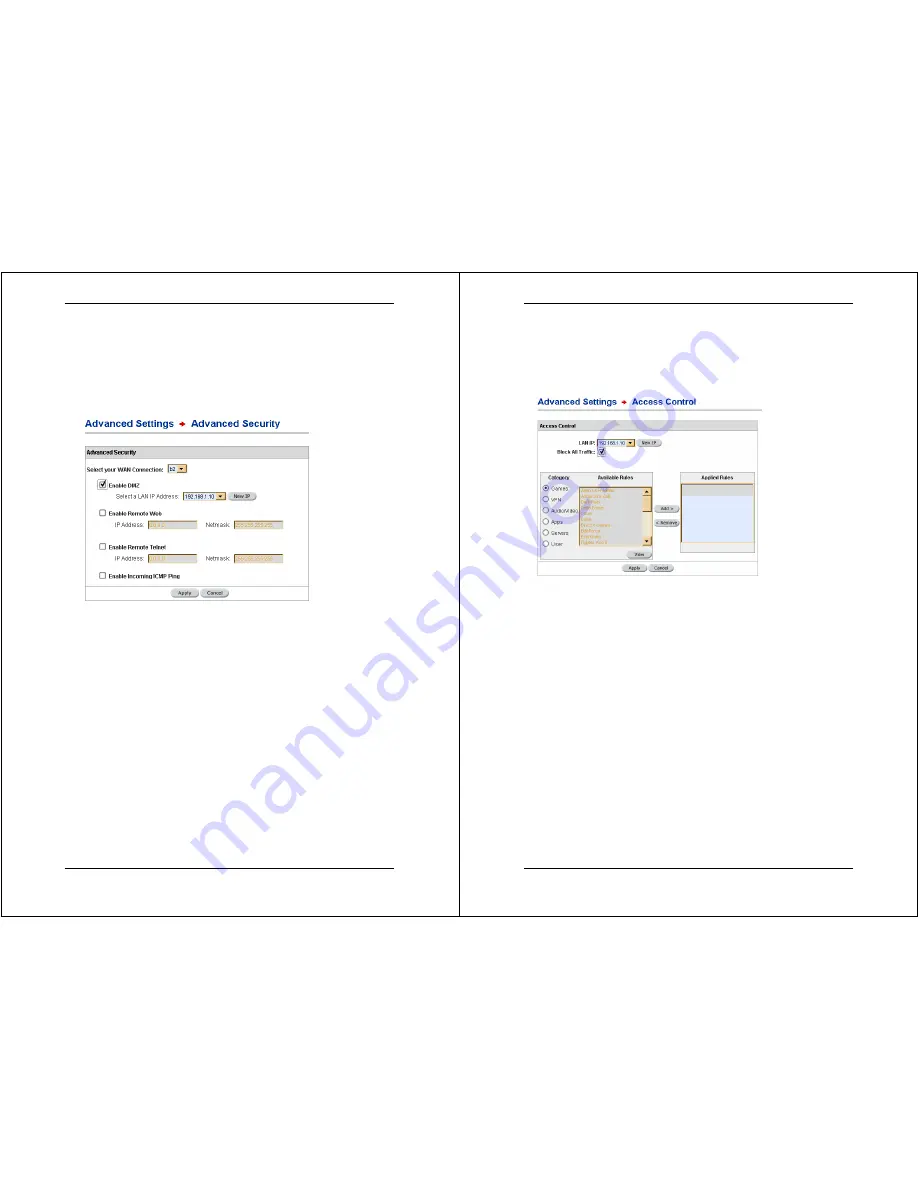
2.3 Advanced Security
Click on the
Advanced Security
link in the navigation bar to
view the Advanced Security settings table. You can use these
settings to redirect anonymous Internet traffic when there is a
firewall in effect.
Select a connection from the drop-down list for the destination
address that the security settings will apply to.
Enable DMZ:
You can enable security settings for a DMZ
interface by selecting this checkbox. Network traffic that is not
redirected by Port Forwarding rules will be redirected to the DMZ
interface. Select the IP Address of the server from the drop-down
list, or click on the New IP button to establish a new address for
a host IP.
Enable Remote Web:
You can enable Web access for
management of the DSL router by selecting this checkbox. Enter
the IP Address and Subnet Mask of the remote Web server into
the corresponding fields.
Enable Remote Telnet:
You can enable remote Telnet access
for management of the DSL router by selecting this checkbox.
Enter the IP address and Subnet Mask of the remote Telnet
server into the corresponding fields.
Enable ICMP Ping:
You can allow the router to respond to
incoming pings by selecting this checkbox.
X8222r User’s Manual Version 1.0
- 33 -
2.4 Access Control
Click on the
Access Control
link in the navigation bar to view
the Access Control table. You can use this feature to block traffic
from any or all IP addresses on the network.
LAN IP:
Choose a LAN IP address from the drop-down menu for
which you would like to block traffic. If you select
Any
from the
drop-down list, traffic will be blocked for all addresses in the list.
Block All Traffic:
Check this box to block all traffic from the
selected IP Address. If you check this box, you won’t need to
select rules for blocking traffic. If you choose not to check this
box, you can select rules for blocking only certain kinds of traffic.
Category:
Use the toggle buttons to choose a category, and to
view the pre-defined rules for that category.
Available Rules:
Select one of the rules available for the chosen
category.
View:
Click on the View button to view the settings for the
selected rule.
Add/Remove:
Click on the
Add
button to add the selected rule
to the list of rules for blocking traffic. Traffic will then be blocked
for the selected IP Address according to the selected rule. Select
a rule in the Applied Rules box and then click on the
Remove
button to remove the rule from the list.
Click on the
Apply
button to complete the configuration. Please
note that configurations can only be permanently saved through
the
Maintenance
interface.


