


X - R i t e e X a c t ™ I n s t r u m e n t
35
(
)
100
10
1
10
1
T
2
1
B
×
−
−
=
+
−
−
D
D
D
OP
Ritz formula
100
10
1
10
1
T
2
)
(
R
1
×
−
−
=
−
−
−
D
D
D
OP
Where:
•
D
OP
= Density of overprint minus paper
•
D
2
= Density of 2
nd
ink minus paper
•
D
1
= Density of 1
st
ink minus paper
Trapping Function Setting
Tap the Trapping button and set the trapping formula. Options are: Preucil, Brunner, and Ritz.
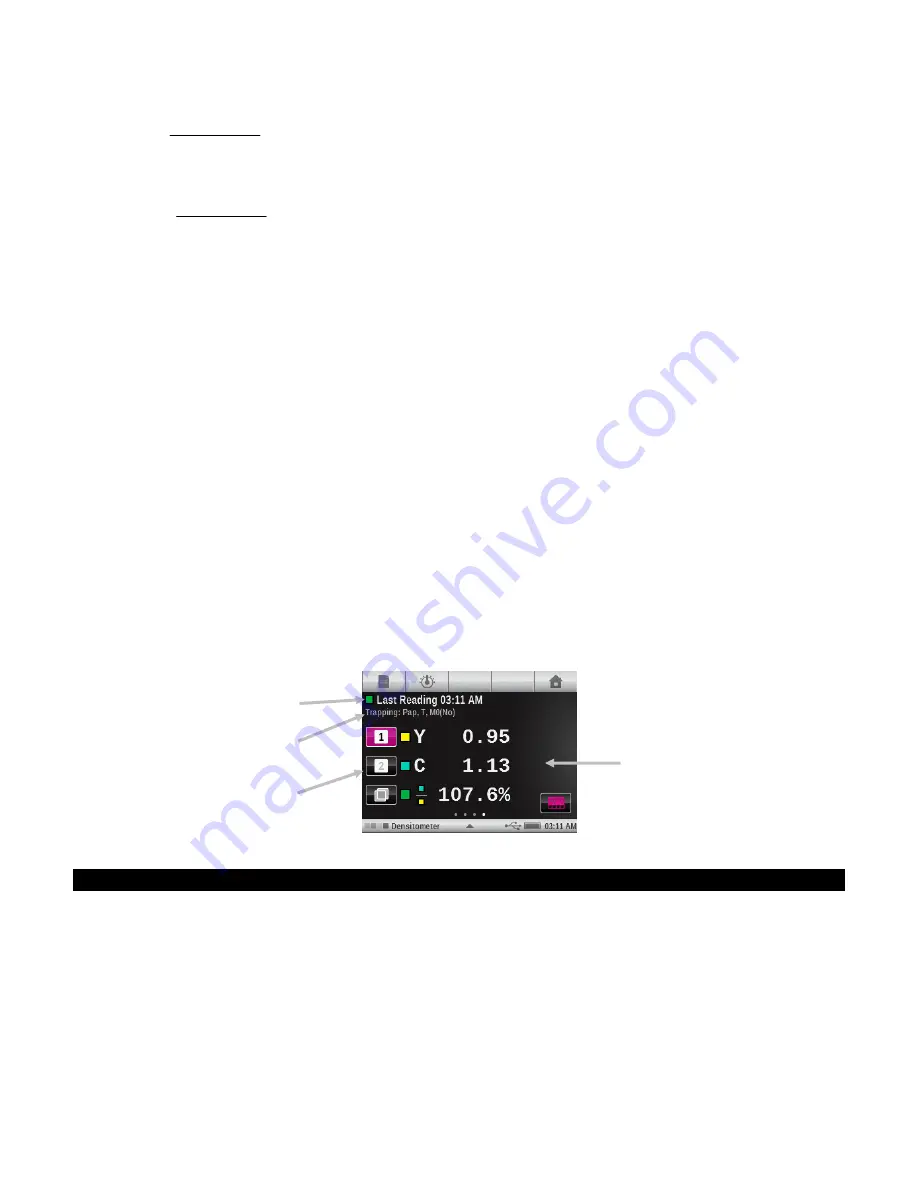
Trapping Measurement
Displays the solid ink densities and overprint values. The procedure requires the first ink down,
second ink down, and overprint measurements.
Note:
After measuring a patch, you can touch a patch on the left of the screen and remeasure
the patch if required.
1.
Select Trapping function.
2.
Measure paper. Once paper is measured it is not required until there is a new substrate.
3.
Measure 1st ink down patch.
4.
Measure 2nd ink down patch.
5.
Measure overprint patch.
6.
View data.
7.
Continue with additional trap measurements.
Print Characteristics Function
This function plots out a series of tone value measurements made against a step wedge target.
This function can be configured for a tint patch each 5%, 10%, 20%, or 25% from 0 to 100%.
You start out reading the solid and then the graph will automatically take you through each
defined step. By tapping the arrows on either side of the graph, you can revisit previous
measurements to re-measure them or view their results.
Print Characteristics Function Setting
Tap the Print Characteristics button and set the step wedge configuration. Selection options
include: 5%, 10%, 20%, and 25%.
Solid and overprint values
Function, paper, response, and
Measurement Condition selected
Measurement patch steps
Simulated color and timestamp of
reading displayed


