background image

Detailed Safety Instructions

SAFETY INSTRUCTIONS

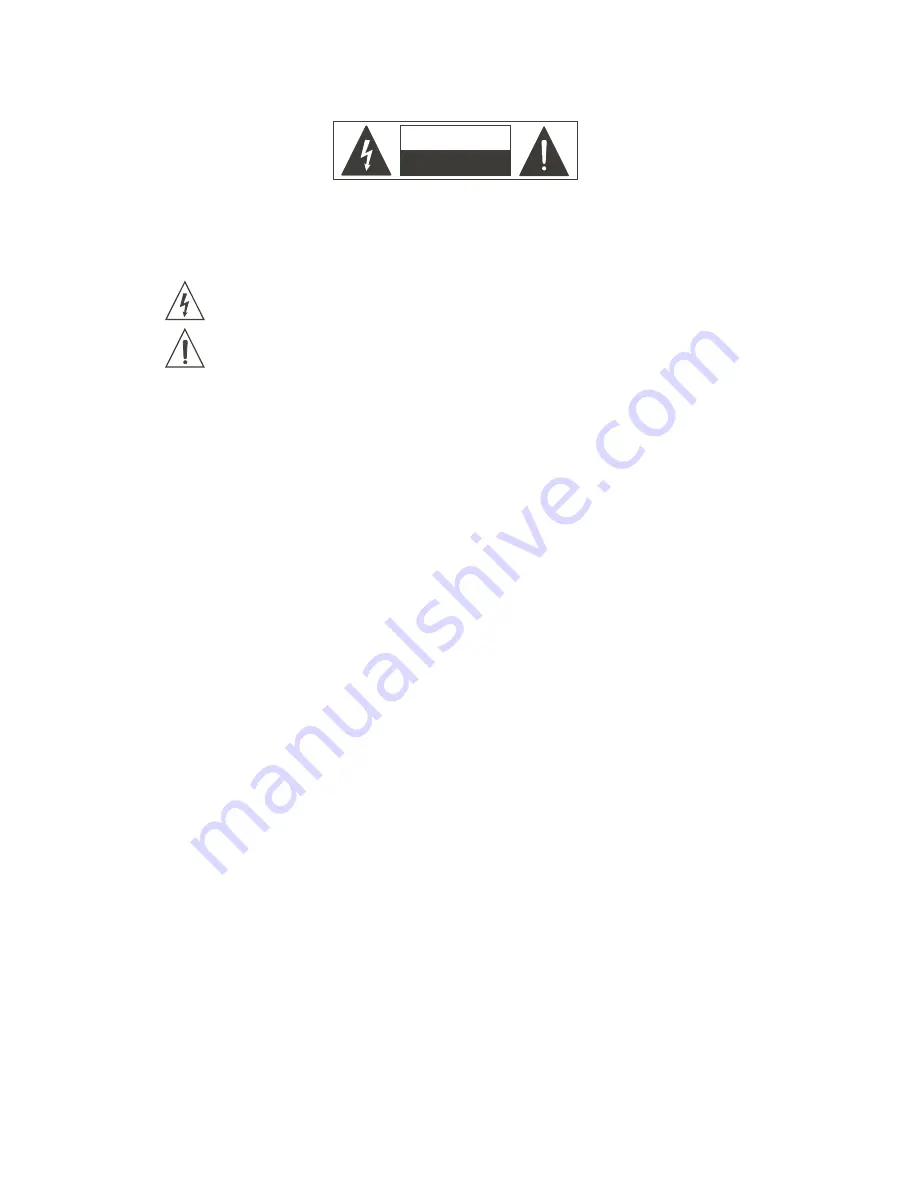
CAUTION

RISKOFELECTRICSHOCK

DONOTOPEN

WARNING:

CAUTION:

Read the Instructions:

Main Supply:

Ventilation:

Moisture:

Hot:

Operating:

Service:

To reduce the risk of electric shock, do not remove cover of the device. There is not serviciable 
elements inside it. For service purpose, refer to qualified personnel.

To reduce the risk of fire or electric shock, do not expose the unit to rain or moisture.

This sign, when displayed, warms of the presence of a dangerous voltage without isolating inside the unit and that 
may be sufficient to constitute a risk of electric shock.

This sign, when displayed, warms of the presence of an important statement for the operation and maintenance 
of the unit.

Read all safety and operating instructions before starting the device by
first time. Keep the user manual for future reference beside the unit.
Follow all instructions and warnings inside the user manual and the own
device.

Switch off the unit and disconnect the main supply after using it, specially,
during an electric storm. If liquids have been spilled, metallic objects have
entered inside the unit or the device generates smoke or strange smell
and looks like malfunction, switch it off immediately and contact with your
distributor.

The device must be placed far from hot sources like radiators,
temperature registers, heating conductions or anything heat source.

In order to avoid the risk of electric shock or fire, do not expose the unit to
rain or moisture, using it in dry environments. Also, avoid spill liquids
inside the unit.

To avoid damages in the unit, be carefully during the transport, using its
original package and avoiding to place heavy objects over it. During its
installation avoid to hit or scratch it. Also, avoid to expose the device to
great vibration environments.

Use the main supply cable closed to the unit in a grounded socket
If the socket has not ground terminal, consult with an electrician
to amend it.
 The device must be connected to earth by security and optimum
performance. DO NOT remove the ground pin in the socket.
Connect the unit with the voltage and power recommended in this
manual.

Do not cover the air opens in order to achieve a perfect ventilation
of the unit.

Page 3

DIGILINE 8 / DIGILINE MX

Содержание Digiline 8

Страница 1: ...User manual POWER www work es Rev 13 04 01 ...

Страница 2: ......

Страница 3: ... 1 3 Contents 5 1 4 Front Panel 5 1 5 Rear Panel 5 1 6 Block Diagram 7 1 7 Device Connection 8 1 7 1 Audio Signal Connection 8 1 7 2 LAN Connections 8 2 WORKCAD DESIGNER 9 2 1 Installing WorkCAD software 9 2 2 WorkCAD Common Interface 10 2 2 1 DEVICES 10 2 2 1 1 Library 10 2 2 1 2 Network 11 2 2 1 3 Connecting virtual physical devices between them 11 2 2 2 PROJECT INSPECTOR 12 2 2 3 OSC HISTORY 13...

Страница 4: ...E 14 3 1 DSP 17 3 1 1 EQ 17 3 1 2 MIXER 18 3 1 3 XOVER 18 3 1 4 LIMITER 20 3 2 PRESETS 21 3 3 GPI 22 3 3 1 Commands 4 Updating Firmware 29 5 OSC ASCII converter 31 24 3 3 2 Other Commands 26 Page 2 DIGILINE 8 DIGILINE MX ...

Страница 5: ...during an electric storm If liquids have been spilled metallic objects have entered inside the unit or the device generates smoke or strange smell and looks like malfunction switch it off immediately and contact with your distributor The device must be placed far from hot sources like radiators temperature registers heating conductions or anything heat source In order to avoid the risk of electric...

Страница 6: ... with up to 7 filters per output Equalizer Equalizations with peak type curves low pass high pass notch low shelving high shelving and band pass with up to 7 filter per output maximum Dynamic control Common Limiter compressor for f irst 7 channels and an independent one for the last one Output channel volume control Selectable by software and frontal potentiometer 36 dB to 109 dB range 48 bit proc...

Страница 7: ...ON OFF 1 MIC Inputs 1 8 Balanced MIC level inputs 2 LINE Inputs 1 8 Balanced LINE level inputs 3 PAD Selection Select the attenuation level for each input using this dip switch block 0 dB or 20 dB 4 PHANTOM Power Select the MIC channel to apply 24V Phantom power usi 6 LMI Balanced level Input 7 GPIO Inputs 1 12 8 RS 232 port It allows to receive OSC sentences for external device 9 LAN network conn...

Страница 8: ...order to adjust automatically the processed signal 7 GPIO Inputs The device incorporates 4 GPIO inputs General Purpose Input Output with TTL level 0 5 V DC for presets triggering from a wallmount controller 8 SRL Input RS 232 interface for external preset control and interfaces with control devices Digiline MX only 9 OUTPUTS 1 8 Balanced outputs of LINE level for connecting to external amplified s...

Страница 9: ...OLUME L XOVER H XOVER EQUALIZER MASTER FRONTAL LIMITER SOFTWARE VOLUME VOLUME VOLUME L XOVER H XOVER EQUALIZER MASTER FRONTAL LIMITER SOFTWARE VOLUME VOLUME VOLUME L XOVER H XOVER EQUALIZER MASTER FRONTAL LIMITER SOFTWARE VOLUME VOLUME VOLUME L XOVER H XOVER EQUALIZER MASTER FRONTAL LIMITER SOFTWARE VOLUME VOLUME VOLUME L XOVER H XOVER EQUALIZER MASTER FRONTAL LIMITER SOFTWARE VOLUME VOLUME VOLUME...

Страница 10: ...s Digiline devices network has DHCP which will provide a valid IP address to the device In the same network must be connected a computer with installed WorkCAD control software NOTE If your network has no DHCP connection the device will usea local link IP within 169 254 XX range being XX a direction supplied by the device upon its connection to not interfere with other devices in the same network ...

Страница 11: ...tions can be done online and offline modes Changes are instantaneously saved when WorkCAD Designer is connected On the contrary user can use the offline mode to prepare and save a show without affecting current process Day after day engineers of WORK R D department design new products and improve existing ones For this reason WorkCAD software makes possible the integration in the same interface of...

Страница 12: ... connected to the network You can create presets but in order to use them you need to download them into a physical device Consult 3 2 PRESETS section for further information Accessing to the Library tab it displays a menu with the WorkCAD software compatible devices After selecting the device double click the sign next to the name to display its control interface on the right side of the screen F...

Страница 13: ... device form the library and work on this virtual device and later dump the information into the physical device There are two possibilities 1st Possibility We are working in a computer in the same LAN where the device will be connected In that case search the device from Network and follow the steps to add it in Project Inspector tab Now there 2 devices in Project Inspector one with green circle ...

Страница 14: ...CTED state and Digiline 8 created from the library and not associated with any physical device Press Edit to change featuras like Interface language English Spanish Enable Disable the search of updates Enable Disable the hardware acceleration This features must be disable if the software shows problems loading the device Two devices in project Inspector Physical green circle Virtual no circle C Se...

Страница 15: ...nt as presets created in the software It is necessary a sync NOTE When a device is selected from network and the software is loading the presets this color appears during the process When the load finish the color change to green See 2 2 1 3 Connecting virtual physical devices between them section for further information User Manual DIGILINE Series Page 13 DIGILINE 8 DIGILINE MX In this example we...

Страница 16: ...ected device 2 PRESETS DIGILINE devices allows to create and manage up to 9 presets to store different configurations Using this tab you can select Change their names copy paste and store them Also you can establish a backup point and access to it Push Pop Finally you can work in LIVE or EDIT mode NOTE See the 3 2 PRESET section for further information The unit has been selected from network We ar...

Страница 17: ...re section on the next pages 4 COMPLETE RESPONSE Click over the triangle closed Complete Response A graphic window will show the complete curve response of each output with the applied EQ filters Gain Xovers etc Push the tick close to the name to show a hide the corresponding output The current output is highlighted 5 MASTER CONTROL This fader controsl the master level of the device It appears at ...

Страница 18: ...raphs Connection Setting Show all device connection information IP adresses Subnet MAC The two Copy Paste buttons allows to associate a virtual device loaded from library with a physical device loaded from network See 2 2 1 3 Connecting virtual physical devices bewtween them section for further information Password Lock Allows to lock any device section against unwanted manipulations Simply pick t...

Страница 19: ...o select the filter type between Bypass Peak Low Pass High Pass Low Shelving High Shelving Band Pass Notch and All Pass Frequency Changes the central frequency point of the filter in Hz Type the chosen value Gain Changes the filter gain in dB Type the chosen value Qfactor Changes the Qfactor of the filter Type the chosen value The graphic window will show the curve response after apply the changes...

Страница 20: ...er Up to 8 orders N The obtained response curve applying both filters is displayed on the screen The horizontal axis shows the frequency in Hz and vertical the gain in dB As much as Master fader or Level fader the gain level can be set moving the fader or typing the value in the cell Also it is posible to change the state of each input MUTE in red colour INVERT yellow color or active both icon not...

Страница 21: ...r to another output Like each DSP section a command sentence will appear in OSC HISTORY each time that we change any value In that case the last action has been to create the Low Pass filter to Output 1 with the example values At this moment the Complete Response and if it is shown only Output 1 you can see the complete response after applying the Xover and EQ filter explained in this example User...

Страница 22: ...sion knob you can adjust the ratio Noise Gate A noise gate is set to the lowest point the ratio can be adjusted with the related knob Take into account that outputs 1 to 7 has the same Limiter and the Output 8 has its own Limiter configuration NOTE Each Limiter section can be enabled or not Simply push the chosen selection Use the Copy Paste icon to copy the Limiter setting In that case from Limit...

Страница 23: ... in DIGILINE CHANGE NAME The preset can be renamed selecting the preset and pressing this button STORE PRESET It allows to save the whole configuration in the selected preset EXECUTE It allows to execute a preset previously stored In EDIT mode select a preset and press EXECUTE WorkCAD retrieves the preset activate LIVE mode and execute the selected preset NOTE This preset will act immediately due ...

Страница 24: ...cal DIGILINE both devices will be different therefore they need to be synchronized In that case the correct choice will be Local 3 3 GPI DIGILINE devices incorporate GPIs General Purpose Input 4 GPI for DIGILINE 8 and 12 GPI for DIGILINE MX Also both devices incorporate LMI input These inputs are contacts We can assign to them commands to be executed in both states When the GPI is activated or dea...

Страница 25: ...w to The icons allow to copy all the commands contained in another GPI to another GPI Copy Paste The icon will save the entire list of commands in the GPI and state previously selected After creating a command in section pressing this icon the command will appear in the OSC Method window After creating a command in section pressing this icon and having selected a command in OSC Method window this ...

Страница 26: ... the value of the output channel to modify In the second line the dB value you want for the selected output The third line allows you to select the Mute status In this case the options are T true if you want the output is in Mute or F false if we do not want to mute the output The fourth line to select the state Invert In this case the selection is performed in the same manner as in Mute previous ...

Страница 27: ...re are parameters of two states 0 if not want to activate this parameter or 1 to activate c Float type parameters that include the following text Float float number and in description in dBs In this case these parameters allow edit the value in dBs d Float float number and in description negative for decrecement If the value is negative placing a dash before the value this value reduces the value ...

Страница 28: ...s previously shown refer to actions performed with the outputs They all appear in the dropdown menu as Output Gain 1 Mixer In this series of commands you can assign a certain number of inputs to a particular output and modify its gain and MUTE or INVERT IMPORTANT refer to INPUT CHANNELS status MUTE and INVERT In this example we have assigned to output 3 inputs 2 and 4 with a value of 4 dB These tw...

Страница 29: ...equency in Hz Gain in dB and Q allow to adjust the values of the filter created CrossOver In this case we have created two crossover filters at Output 3 Output Channel 3 We have created a tButterworth type high pass filter high pass type 0 and another Linkwith Riley as low pass filter Low pass type 3 The nomenclature of these filters is due to the following table Butterworth 0 Butterworth 1 Linkwi...

Страница 30: ...e selected preset Live Copy to Preset Copy the preset in Live mode to a selected preset Live Push Stores the preset as a backup to restore it after Live Pop Restores the previously saved preset with Push discarding any changes made meanwhile IMPORTANT In the list of commands in this section shows a number of them starting with Preset Get and that they have associated parameters In this case the sc...

Страница 31: ...the Digiline devices firmware could be necessary to update it PROCESS The first step is to check the firmware version of the device 1 Select the Network tab the software will show the devices found in the LAN in this example Digiline MX 3 Push the symbol in the same line to start the updating process A confirmation will appears This symbol only appears when the device is not updated windows reques...

Страница 32: ...ared IMPORTANT If you have used and setup a Digiline with a previous software version take into account these points before updating the device A The GPIs previously stored in the DIGILINE device WILL BE DELETED AFTER UPDATING PROCESS and must be to created again B Check your current firmware version if this version is 9 13 14 0 0 or later the presets previously stored in the DIGILINE ARE FULLY CO...

Страница 33: ...Press Edit tab and select OSC To ASCII Utility 2 Select the device from the Device List drop down menu It Includes all compatible devices Digiline 8 MX etc WorkCAD 3 Depending on the selected device has been associated commands to generate the ASCII string Each command has its own set of parameters to edit You can see then in the main window its description value and type of input variable string ...

Страница 34: ...HISTORY for additional information 5 Press Copy Ethernet or Copy according to the control mode to use and the command line will be copied to the clipboard for later use NOTE Click the Help icon in the lower left corner for additional information on this application NOTE For an explanation of the commands that incorporate Digiline series devices see section 3 3 GPI for additional information Serial...

Страница 35: ...DIGILINE Series Notes ...

Страница 36: ...EQUIPSON S A Avda El Saler 14 Pol Ind L Alteró 46460 Silla Valencia Spain Tel 34 96 121 63 01 Fax 34 96 120 02 42 www work es support work es ...

Отзывы: