LEONARDO PRO X
User manual
EN
20
- Counters Reset:
in one of the submenus 5.x keep pressed for 1 sec. the EDIT key so as to select the counter start date.
Press the UP key, the word "RESET" will appear. Then press and hold for 1 sec. the OK button.
- Start Autoconfig:
in menu 8.0 keep pressed for 1 sec. the EDIT key to enter editing mode, then the SELECT key and
modify the first item with INC to display "RUN". Press the UP button, "SCANNING..x / 32" will appear. At the end of the
procedure to save press and hold for 1 sec. the SAVE key.
4.1.2. Basic / Advanced
Through the display it is possible to view a series of information regarding the operation of the system and, if necessary,
make changes to the various settings. Normally the parameter "U.I. Mode" of menu 7.4 INFO is set to the value "Basic",
in this mode you can only access the SETUP menus 7.3 and 7.4 and only perform the internet connection settings.
Setting to "Advanced" allows you to access all menus.
(N.B. This setting is recommended only to qualified personnel, during the installation and system setting phase)
4.1.3. System Setup
In the menu:
7.0 SYSTEM
the system settings are executed, the list of parameters changes according to the current
configuration. Detailed explanations are described in the chapter
Configurations
.
4.1.4. Date Time Setup
In the menu:
7.1 DATE / TIME
you set the system clock and the time zone (Timezone). It is important to correctly set
this last parameter with the Timezone of the place where the system is located, so that the remote clock can be
updated correctly.
4.1.5. Data Logger Setup
In the menu:
7.2 DATA LOGGER
you can enable the data logger by setting the minutes for the sampling parameters:
10min. is the default value (enabled). It is also possible to request information regarding the μSD.
4.1.6. Network Setup
In the menu:
7.3 NETWORK
you make the settings of the various network parameters. The DHCP function is set by
default, which automatically retrieves the necessary values. The connection to the remote server can be enabled or
disabled by the user. The internet connection is essential to receive updates and remote assistance.
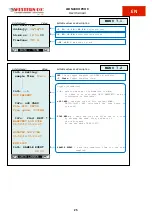
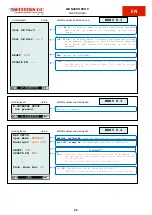
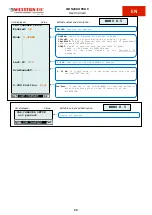
4.2. Main Screens
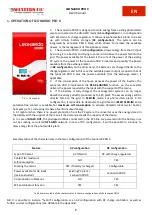
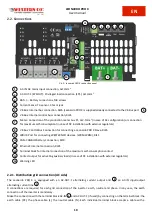
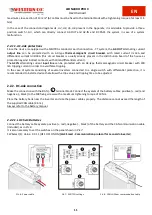
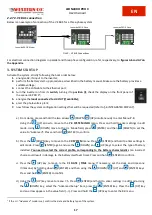
In the following picture are described the graphic used in the various screens of the main menu.
N.B. Take into account the notes shown in the pictures.
NOTES:
1
- not present in WRD + WBM Configuration;
2
- not present in WRD + WRMxx Configuration;
3
- the Lamp icon appears in WRD + WRMxx Configuration;
4
- replaces or adds the menu, only in Configuration with
Leonardo
inverter;
5
- only if WRMxx is present;
6
- only if WRM60 X is present;


