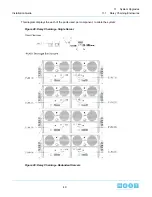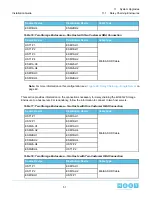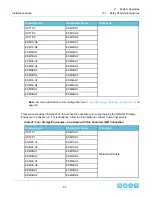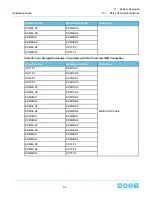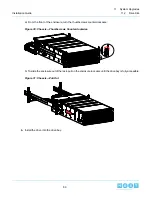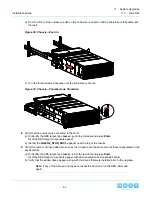
a) From the front of the enclosure, push on the enclosure rack ears until the enclosure is full seated into
the rack.
Figure 36: Chassis—Push In
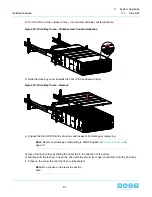
b) Turn the thumbscrews clockwise until the enclosure is secure.
Figure 37: Chassis—Thumbscrews Clockwise
8. Verify that the enclosure is connected to the Host.
a) To identify the SES target, type lsscsi –g into the terminal and press Enter.
All of the SES target components appear.
b) Identify the 4U60G2_STOR_ENCL appears near the top of the results.
9. Verify the number of drive added are seen by the firmware are the same amount that are populated in the
physical slots.
a) To identify the SES target, type lsscsi –s into the terminal and press Enter.
All of the SES target components appear with drive population and capacities listed.
b) Verify that the added drives appear along with the drives that were installed prior to the upgrade.
Note: If any of the drives do not appear, reseat the drive and run the SES command
again.
63
11
System Upgrades
Installation Guide
11.2
Drive Kits

