Chapter
8
8 Installing the 4U60 G2 Storage Enclosure
The following chapter instructs you on how to install the 4U60 G2 Storage Enclosure.
8.1
Recommended Torque of Machined Fasteners
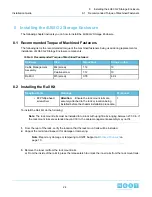
The following list is the recommended torque of the machined fasteners being used during replacement or
installation of 4U60 G2 Storage Enclosure components.
Table 6: Recommended Torque of Machined Fasteners
Torque in.-lbs.
Torque N-m
Size
Hardware
10
1.12
M4 (screw)
Cable Management
Assembly
10
1.12
Captive screw
6.94
0.78
M5 (screw)
Rail Kit
8.2
Installing the Rail Kit
Personnel
Warnings
Required Tools
1
Attention
Ensure the rack mount rails are
securely attached to the rack or location being
installed before the chassis installation procedure.
• #2 Phillips-head
screwdriver
To install the Rail Kit, do the following:
Note: The rack mount rails must be installed into a rack with upright rails ranging between 27-30 in. If
the rack mount rails are extended beyond 30 in. the cable management assembly may not fit.
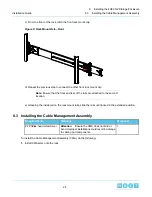
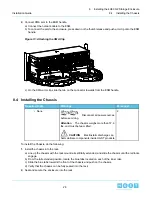
1. From the rear of the rack, verify the location that the rack mount rails will be installed.
2. Unpack the rail kit and inspect it for damage or tampering.
Note: Report any damage or tampering to HGST Support at
on
page 10.
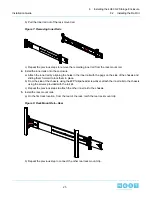
3. Remove the inner rail from the rack mount rails.
a) From the inside of the rail kit, press the release latch to unlock the inner rails from the rack mount rails.
24
8
Installing the 4U60 G2 Storage Enclosure
Installation Guide
8.1
Recommended Torque of Machined Fasteners

