Wellsys W9CT Скачать руководство пользователя страница 1

Service Manual


W9CT


1

NOTE:


P l e a s e   r e a d   t h e s e   i n s t r u c t i o n s   b e f o r e   o p e r a t i n g   t h e   u n i t .  


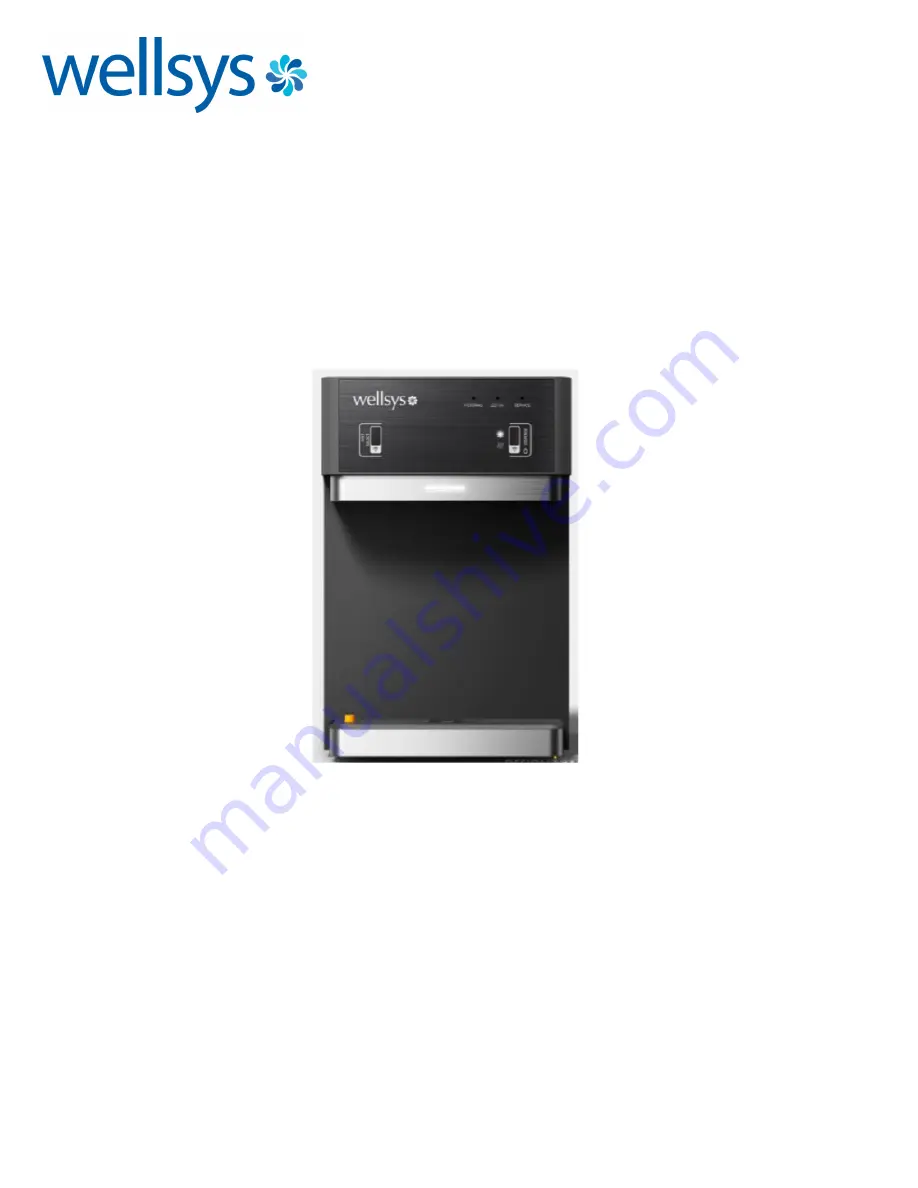
D e s i g n   a n d   c o l o r   m a y   d i f f e r   f r o m   t h e   i m a g e .   T h e   u n i t  
s p e c i f i c a t i o n s   a r e   s u b j e c t   t o   c h a n g e   w i t h o u t   p r i o r   n o t i c e .   T h e  
r a t e d   v o l t a g e   o f   t h i s   u n i t   i s   1 2 0   V A C   /   6 0   H z  


V: 

| 11

22

2021 | JDM


1

Содержание W9CT

Страница 1: ...a t i n g t h e u n i t D e s i g n a n d c o l o r m a y d i f f e r f r o m t h e i m a g e T h e u n i t s p e c i f i c a t i o n s a r e s u b j e c t t o c h a n g e w i t h o u t p r i o r n o...

Страница 2: ...COMPLETE SYSTEM 9 FINAL INSPECTION 10 SERVICE AND FILTERCHANGE PROCEDURES 13 FILTER LIGHT RESET 15 PART DIAGRAMS 16 SPECIFICATIONS 35 Before you begin Please read the information contained in this ma...

Страница 3: ...ure spikes could exceed 80 PSI 5 5 bar Failure to comply will void all warranties The manufactureraccepts no liability for and damage caused by excessive water pressure Environmental Conditions System...

Страница 4: ...ove contaminants These are A 10 micron sediment filter P N QC WS Sediment B 5 micron pre carbon block filter P N QC WS Pre Carbon C 80 gallon per day RO membrane P N QC WS RO D Bio Sure Plus filter mi...

Страница 5: ...and have the driver sign acknowledgement of damages After receiving the equipment from the carrier remove packaging and inspect for any hidden freight damage If freight damage has occurred call Wells...

Страница 6: ...the waterpressure includingany possible spikes could exceed 80 PSI 5 5 bar Failure to comply will void all warranties The manufacturer accepts no liability for damagecaused by excessivewater pressure...

Страница 7: ...y and wait for water to reach ambienttemperature before draining v Hot wateris extremelyhot Do Not dispense hot water directlyto hands directly v Hot water may cause serious injury If systemwill not b...

Страница 8: ...inlet and drain port The inlet and drain ports are quick connect fittings Units are shipped with plugs in each fitting Remove the plugs prior to inserting water supply and drain lines A water shut off...

Страница 9: ...er line access and if applicable drain locations The system must have 2 clearance from the wall 2 In most cases the water supply will be located under a sink that has a 3 8 cold water line Install a c...

Страница 10: ...urn the water on for 5 minutes a This will allow the Bio sure Plus to properly flush 9 Reinstall the Bio sure Plus in its proper position 10 Move the Sediment filter to the 2nd position where the Pre...

Страница 11: ...ilter in position 4 a This is where you remove it from during step 5 9 Turn water on for 5 minutes a This will allow the Bio sure Plus filter to be flushed 10 Install the TCR post carbon filter 11 Rem...

Страница 12: ...side of the leak stop gray collet and connect your source line directly to the tubing with a union fitting 2 Remove the tubing that connects to the out fitting on the pre carbon filter head and conne...

Страница 13: ...stalled locations Flushing the RO membrane for 30 minutes 1 It is important to flush the RO membrane with all filters inline for a full 30 minutes Although the RO membrane will flush down to 98 reduct...

Страница 14: ...re below 6 Turn the water on for 30 minutes 7 Prior to turning off the water supply ensure a For RO only systems the TDS is 02 vs the tap water TDS 98 reduction 8 If you have issues achieving these re...

Страница 15: ...the follow steps to properly perform this important step 1 Remove the cold tank lid 2 Using a mixture of Hydrogen Peroxide to water spray the inside of the tank lid floats and all parts visible parts...

Страница 16: ...each optimal operating temperature Verify the following There are no leaks or loose components The hot water is over 160 F The cold water is below 50 F Confirm acceptable product water flow W9CT RO sy...

Страница 17: ...ing This system uses dip switches for programming The W9CT allows for fully adjustable filter alert settings ability to turn off filter alerts and adjustable temperature settings The system comes pres...

Страница 18: ...ion 3 Electrical inspection 4 Pressure flow test 5 Filter monitoring system reset 6 Gallon counter reset to zero Refer to procedure below 7 Clean the exterior of system and condenser coils on rear of...

Страница 19: ...eal for filling larger bottles However in certain settings the flow may be too fast An example is a waiting room that provides only small cups for the visitors The Flow Rate can be reduced to 2 liters...

Страница 20: ...m 4 Check all fittings for signs of scale or wear and replace as needed 5 Check condition of the float mechanisms Pay special attention to ensure no water has infiltrated the float 6 Check solenoids f...

Страница 21: ...lectrical Wiring Diagram 2 Exploded Views a Entire System b Front Upper Assembly c Drip Tray Assembly d Front Lower Assembly e Cold Tank Assembly f Hot Tank Assembly g Filter Box Assembly RO h Filter...

Страница 22: ...22...

Страница 23: ...23...

Страница 24: ...24...

Страница 25: ...25...

Страница 26: ...26...

Страница 27: ...27...

Страница 28: ...28...

Страница 29: ...29...

Страница 30: ...30...

Страница 31: ...31...

Страница 32: ...32...

Страница 33: ...33...

Страница 34: ...34 34...

Страница 35: ...anufactured with R134a refrigerant WARNING A pressure regulator such as a slow flow regulator must be installed in front of the system s water inlet if the water pressure including any possible pressu...

Страница 36: ...37 36...

Отзывы: